How to Make No Sew Grommet Curtains
- By Clara
- Beginner
- 1 hour
Making grommet curtains is easier than it may look! You don’t need a sewing machine to create custom drapes that look polished and professional. I’ll be making a no sew version using iron-on bonding tape. Or you could just as easily sew the seams if you prefer. This curtain uses grommet tape and snap-on grommets, making the project even easier.
Want to get the printable PDF instructions? Sign up to our mailing list to download the PDF.
Materials
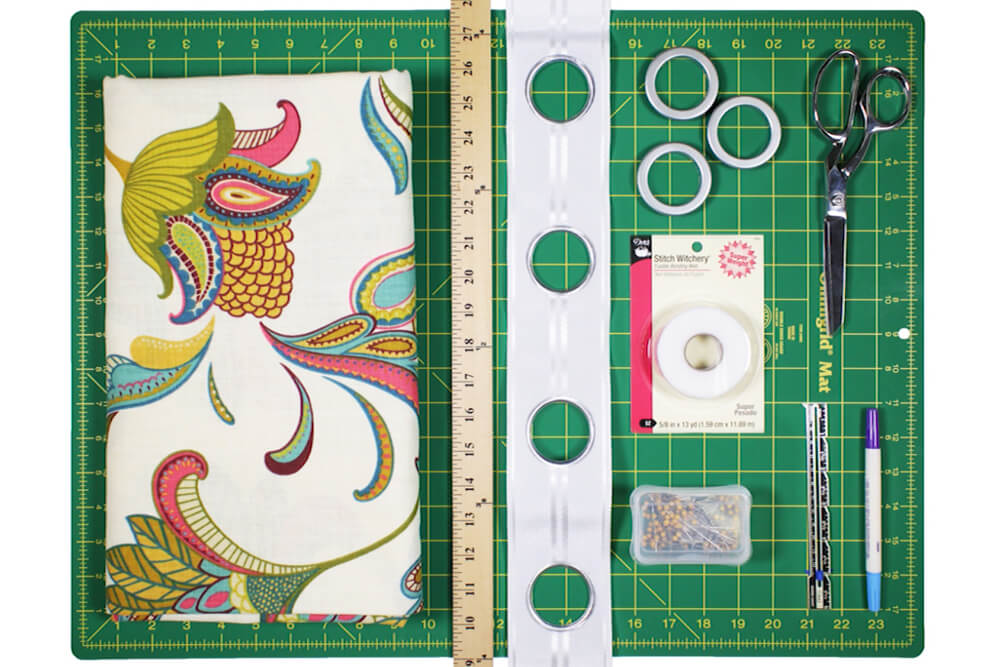
Related Products


Video
Instructions
Step 1: Measure & cut the fabric
It works best if the curtain has an even number of grommets, so also take this into consideration when determining the width.
To determine the size to cut your fabric, take the dimensions you want your curtain panel to be and add 4” to the width and 16” to the height to account for the hems. To figure out what total width your curtains should be, multiply the width of the window (or the total width you want the curtain to cover) by about 2. We recommend between 1.5 and 2.5 times, depending on how full you want the curtains to look.
[Finished Width] + 4″ by [Finished Height] + 16″
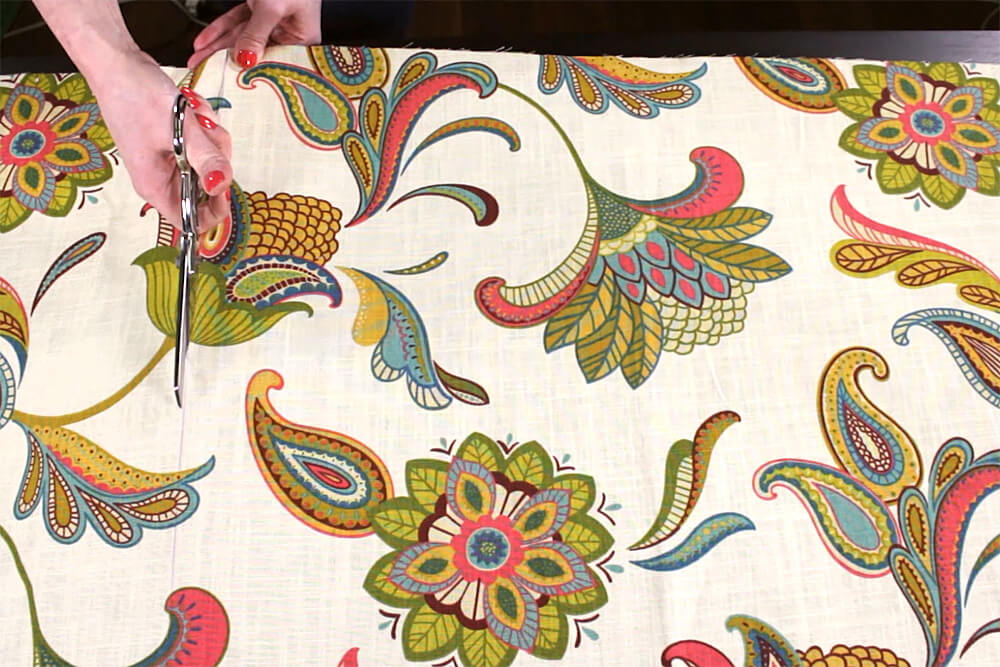
This curtain will be 3 ft wide and 4 ft tall when finished so I’m cutting the fabric 40” wide by 64” high.
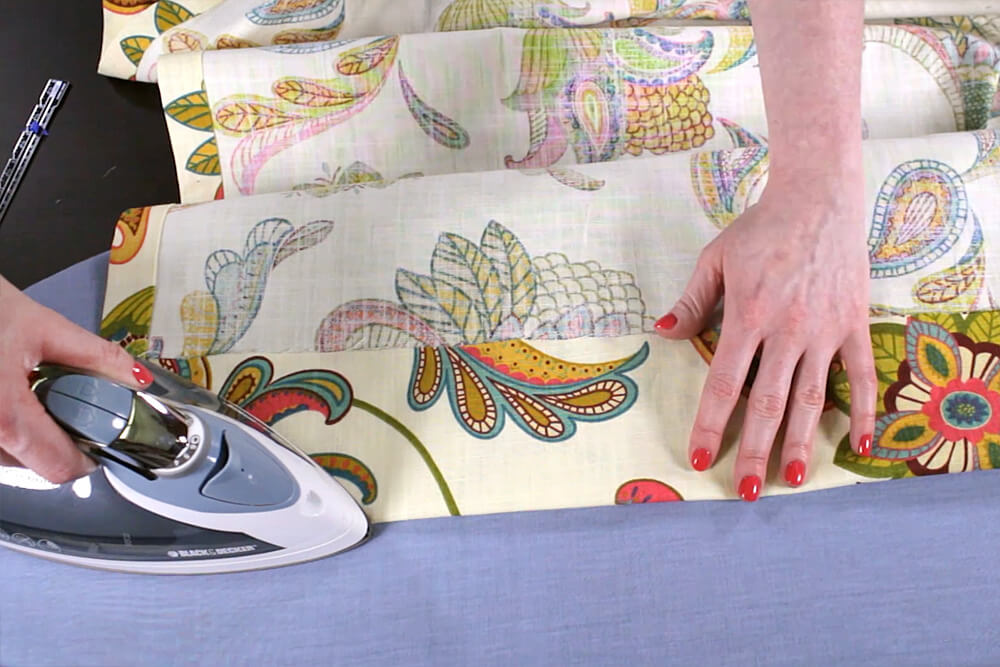
Step 2: Hem the edges of the panel
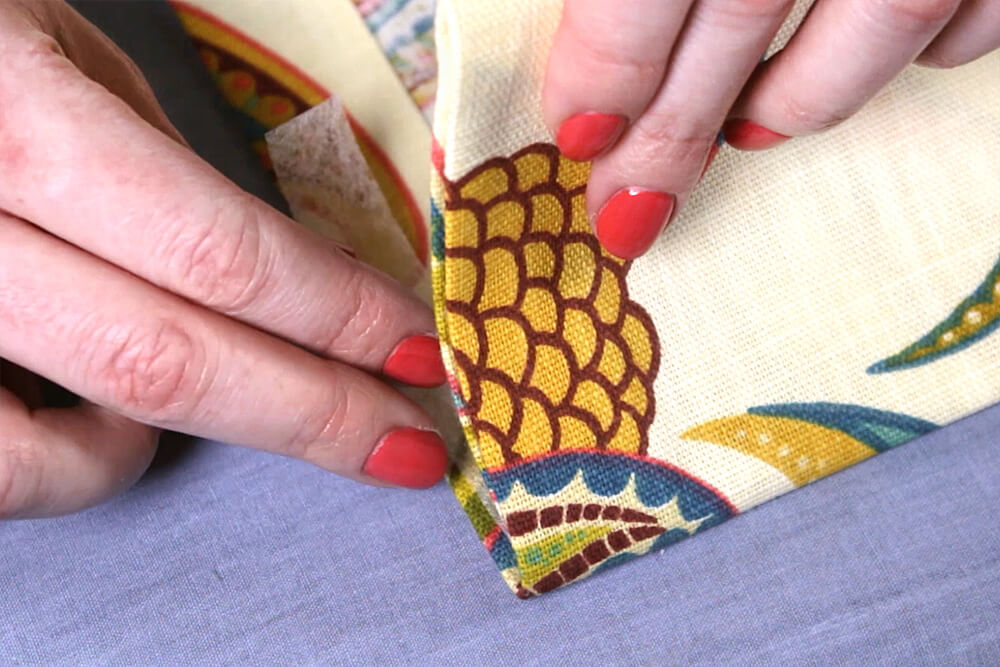
First, hem the 2 sides of the panel. Fold the edge over 1” and press. Then fold it over another inch and iron it again.
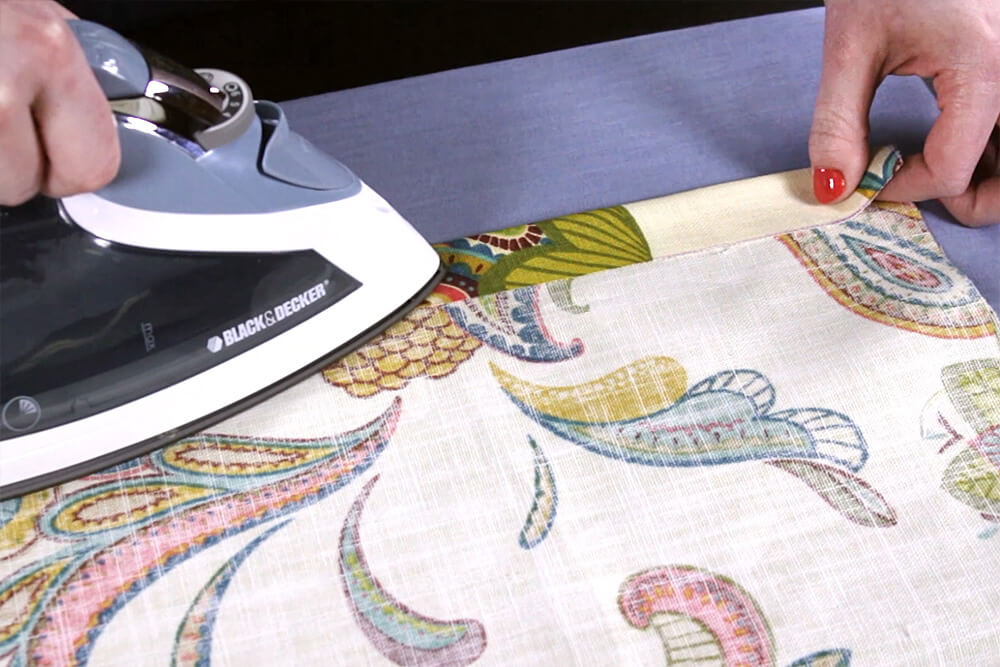
Now take the 5/8″ fusible bonding web and slide it under the fold. With the iron on a high steam setting, hold it on the seam for about 10 seconds to melt the bonding web. Lift the iron and place it on the next section and repeat down the length of the panel.
Flip the panel over and slowly iron down the other side to make sure it’s fully melted. Repeat for the other side of the panel.

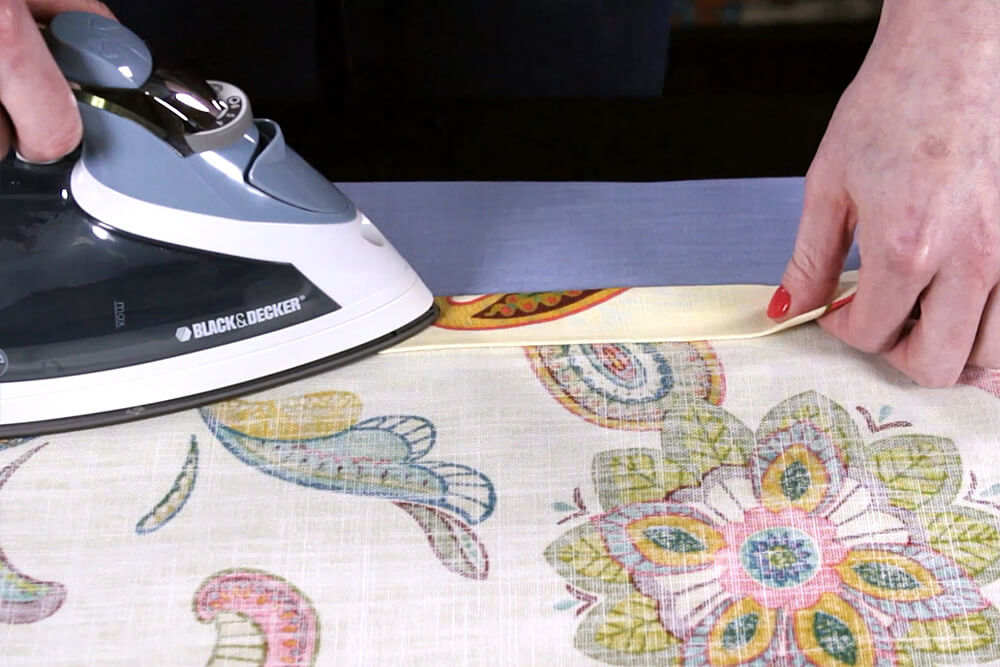
You can easily add a drapery lining if you wish. Cut out the lining to the size of your finished curtain panel, then place it under the folded edges of the curtains with the Stitch Witchery between the lining and folded edges.
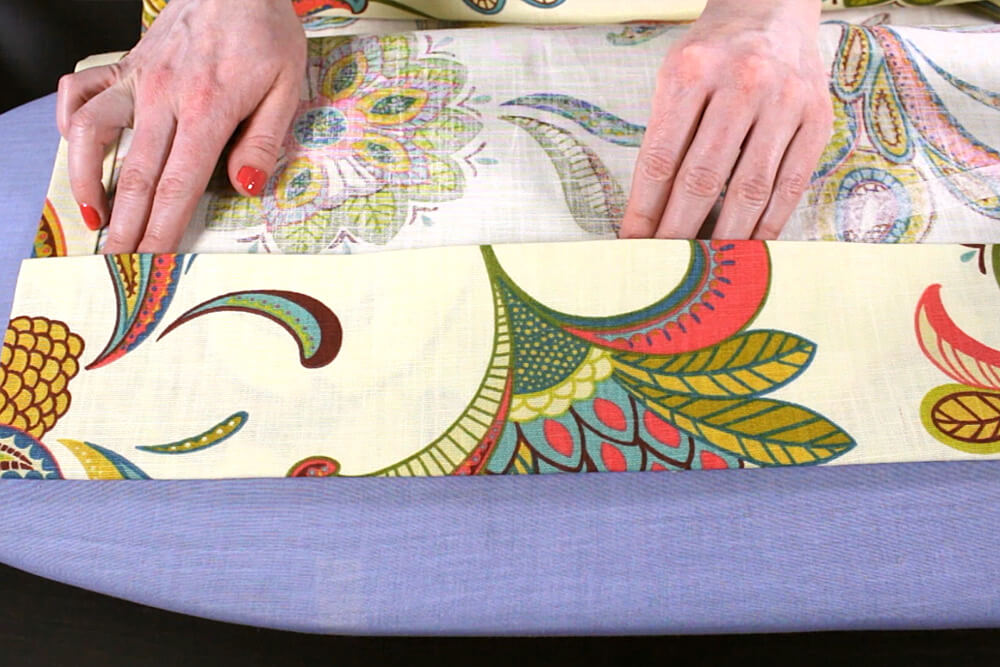
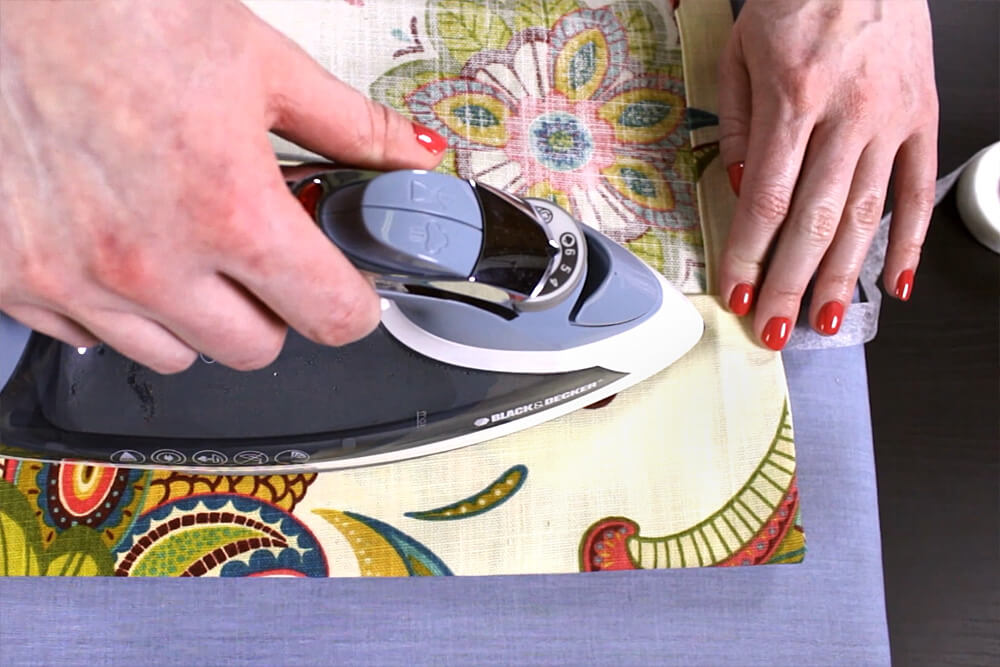
For the top hem, fold the fabric over 4” and iron. Then fold it over again another 4”. Slip the bonding web under the edges of the fabric and iron.
Repeat for the bottom hem. Or you can wait to hem the bottom until after you hang the curtains to determine exactly how much to hem to make it fall exactly where you want.
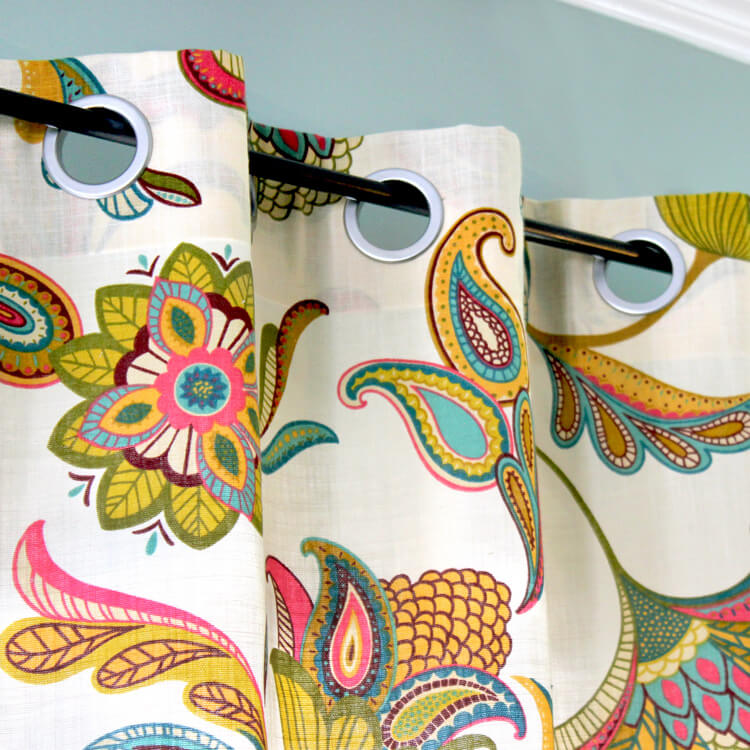
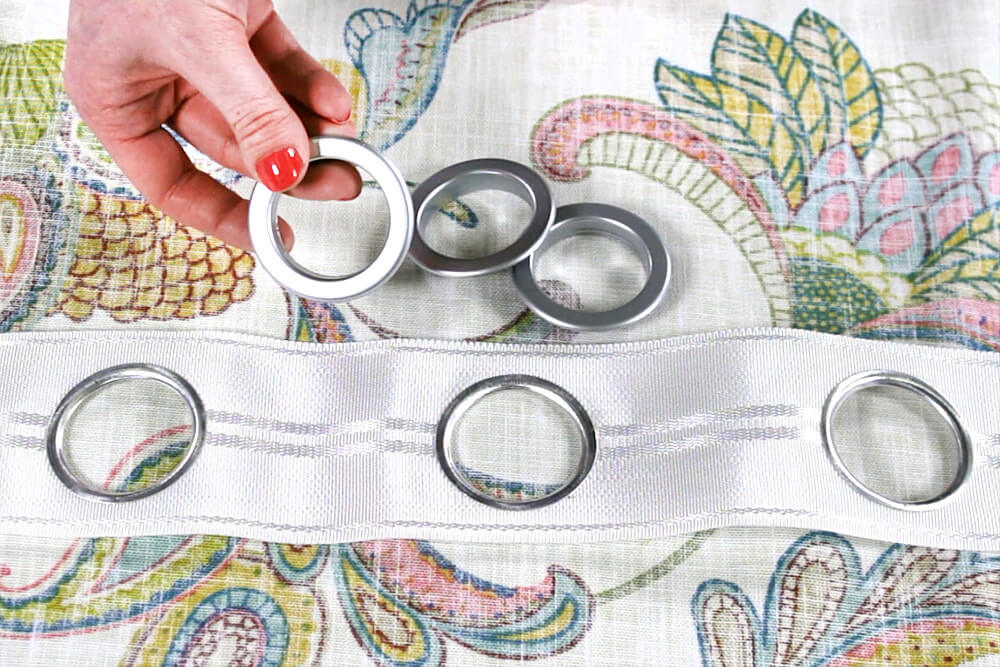
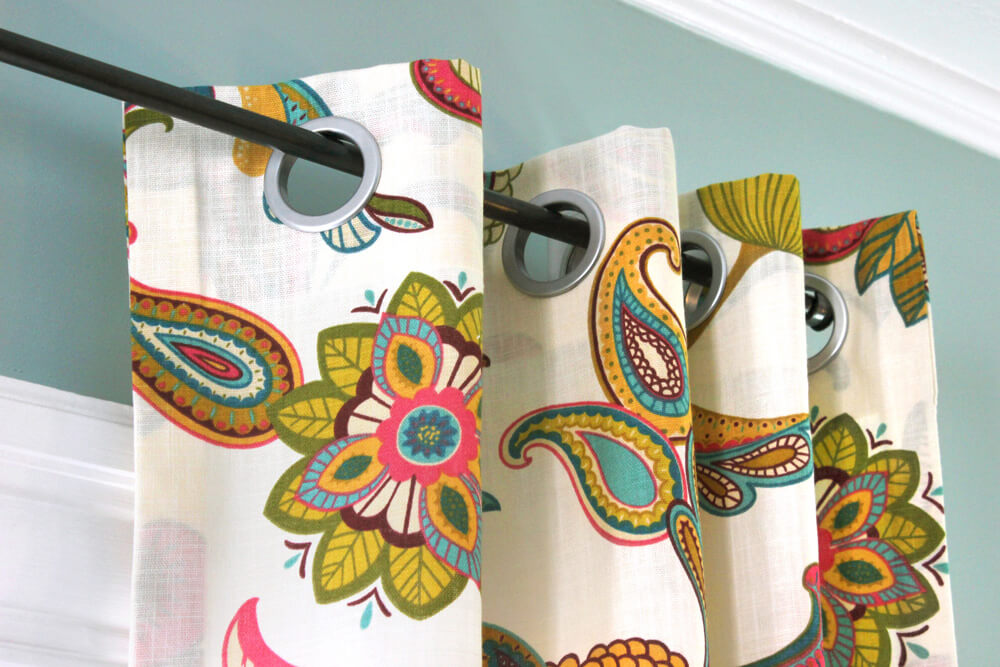
Step 3: Attach the grommets
These particular grommets attach to a grommet tape. This way the spacing between grommets is already taken care of. Also it’s stiff, which will create a crisp look when the curtains are hanging.
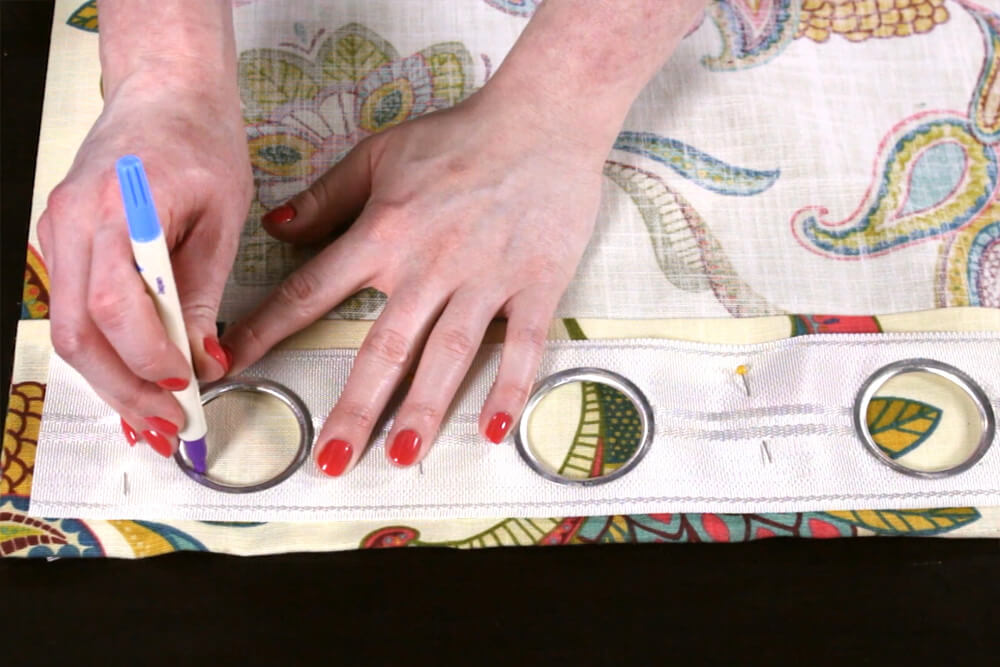
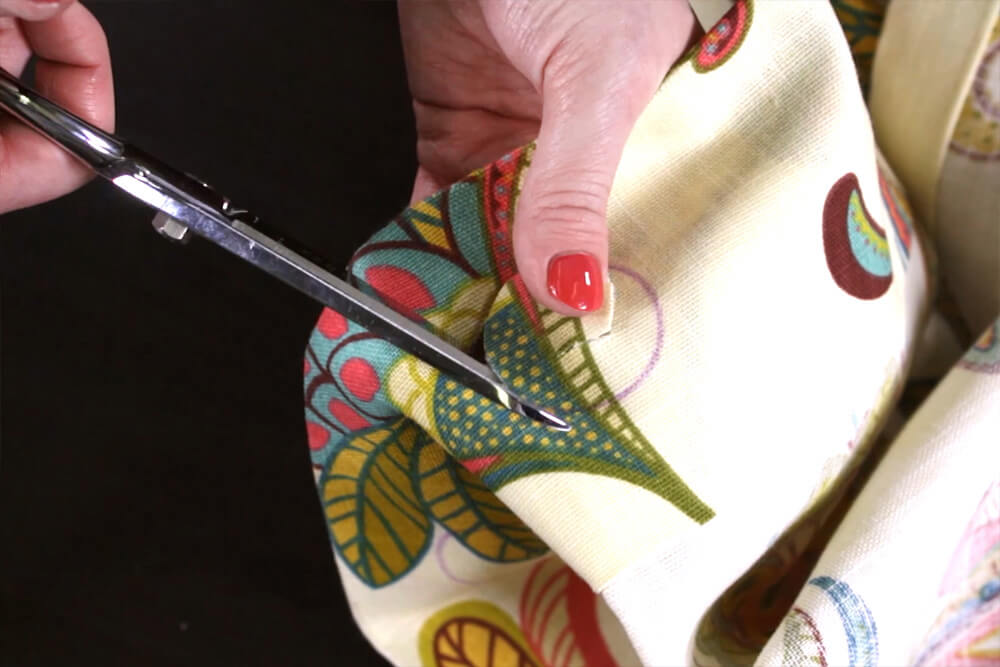
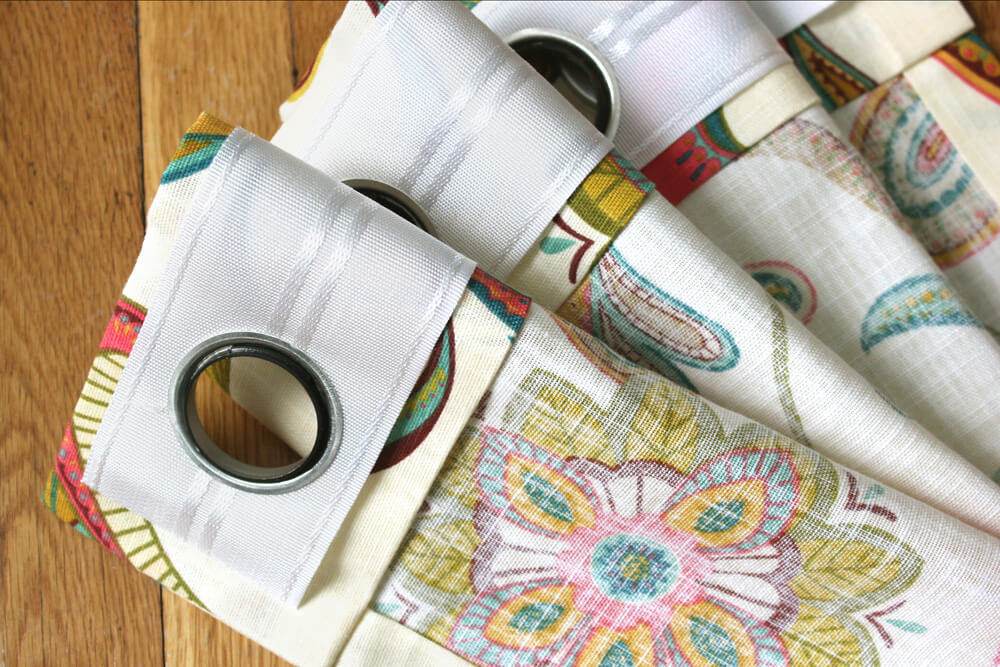
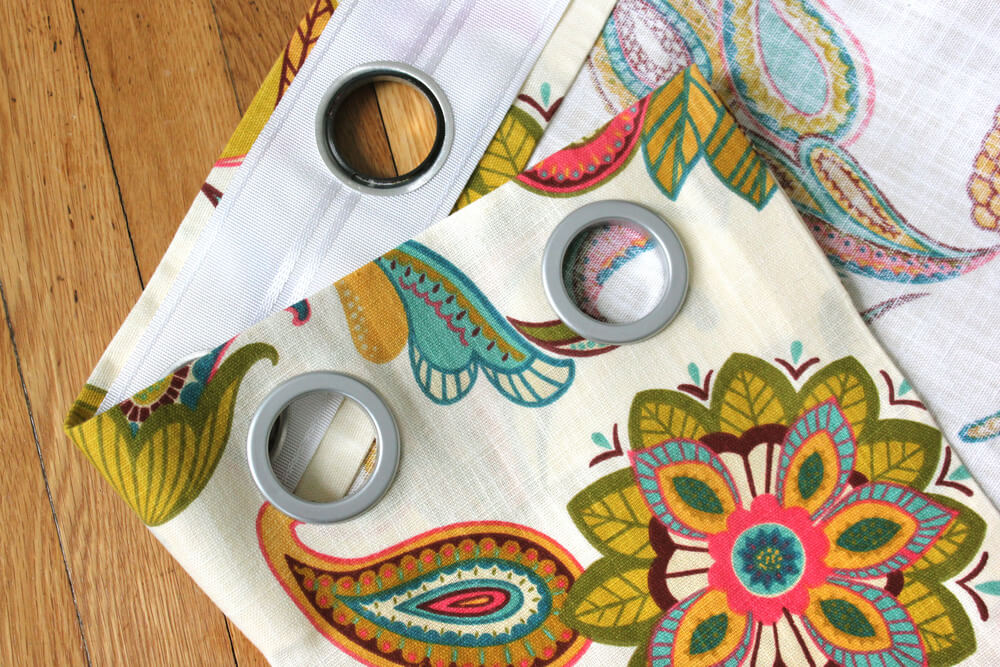
Cut the grommet tape to the width of the panel, making sure the grommets will be centered. Place it on the back side of the top hem and pin it.
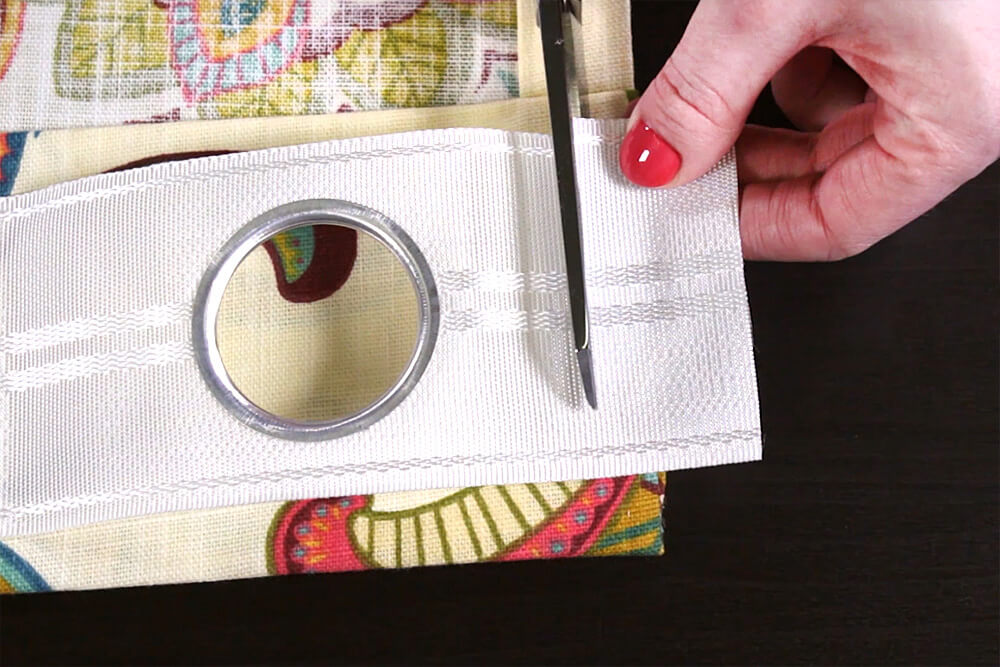
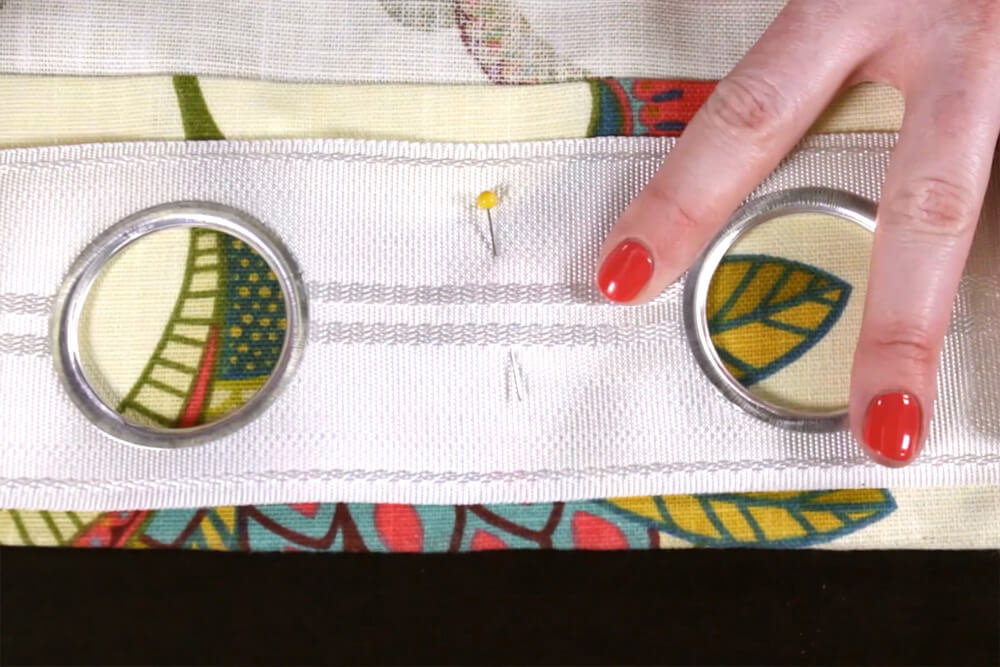
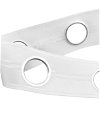
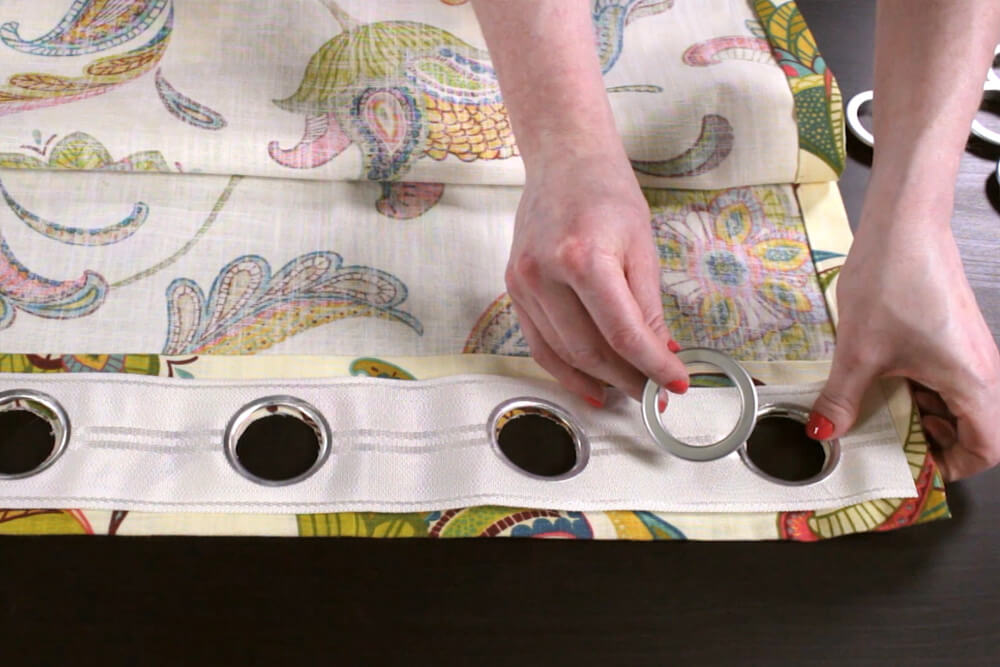
Trace around the insides of all the circles. Take the grommet tape off and cut out the circles.
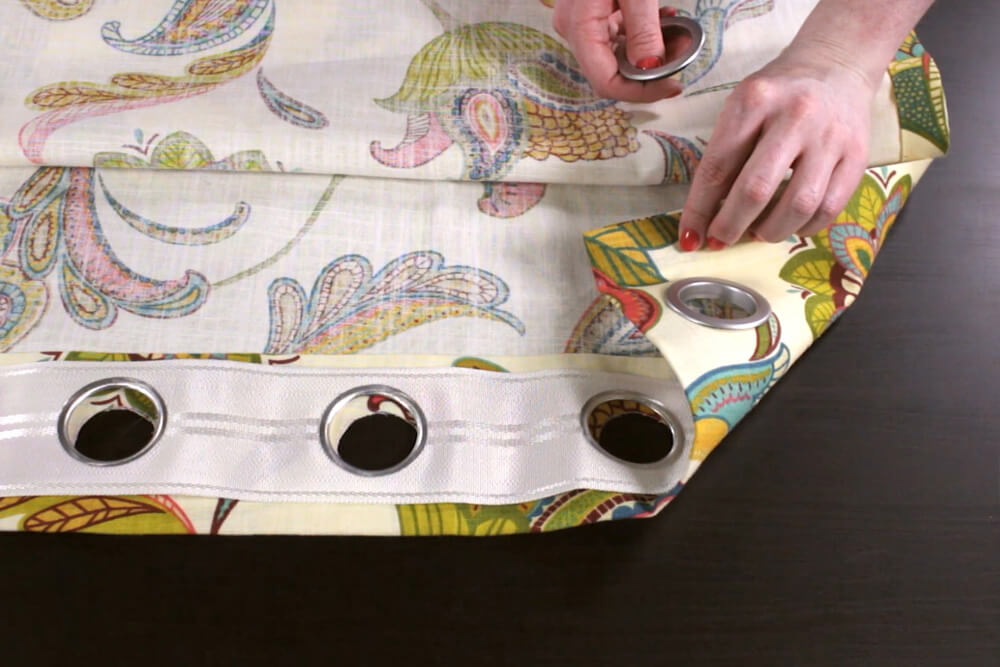
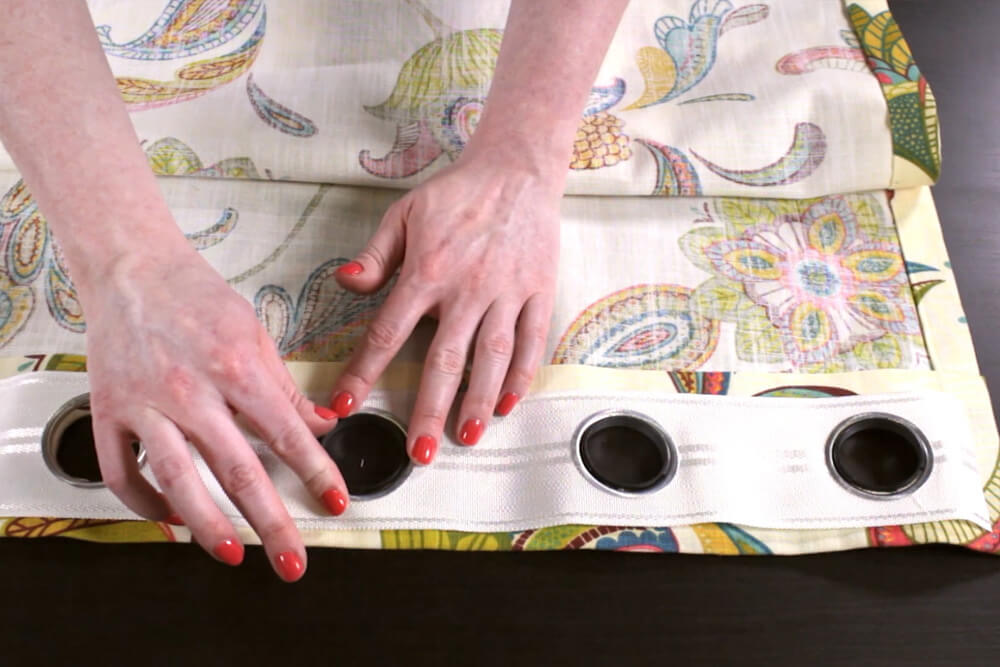
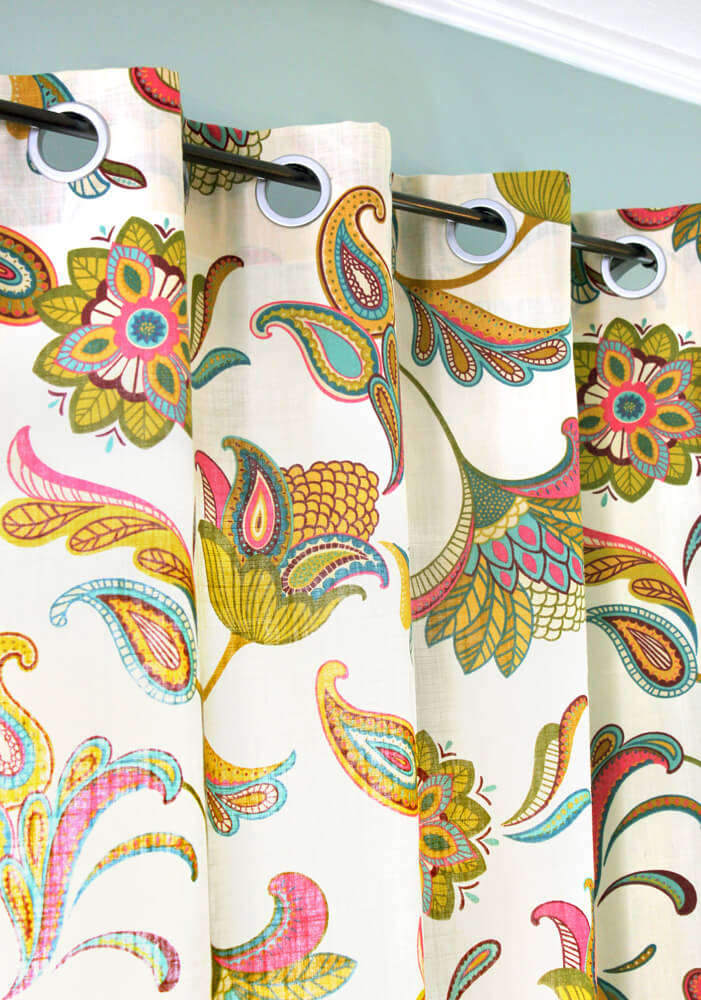
Line up the tape with the holes. Finally, attach the grommets to the front of the panel and the grommet curtain panel is done!

It’s not entirely necessary to attach the grommet tape to the header since the grommets hold it in place, but you could sew the tape to the header or use fabric glue if you want to keep it a no sew project. (The tape will melt if ironed, which is why we didn’t use the Stitch Witchery here!)
The grommet tape is dry clean only, so if you want to be able to wash your curtains, don’t attach the grommet tape. You can remove the grommets and tape before washing. To prevent the raw edges of the holes from fraying in the wash, make sure to use Dritz Fray Check on the edges before washing.
Looking for more beautiful drapery fabric? Check out our selection here!