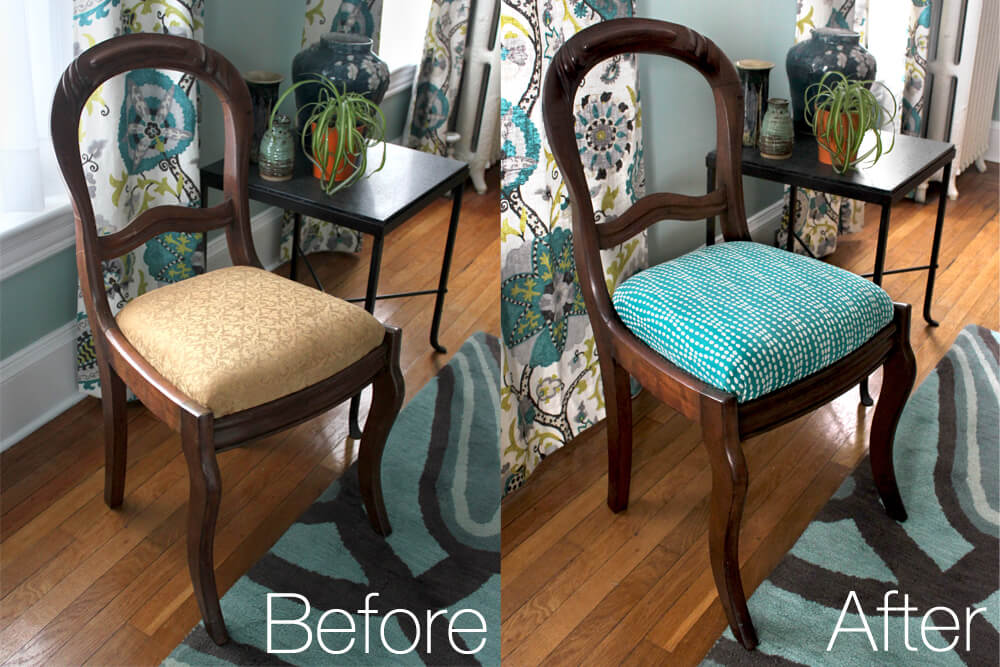
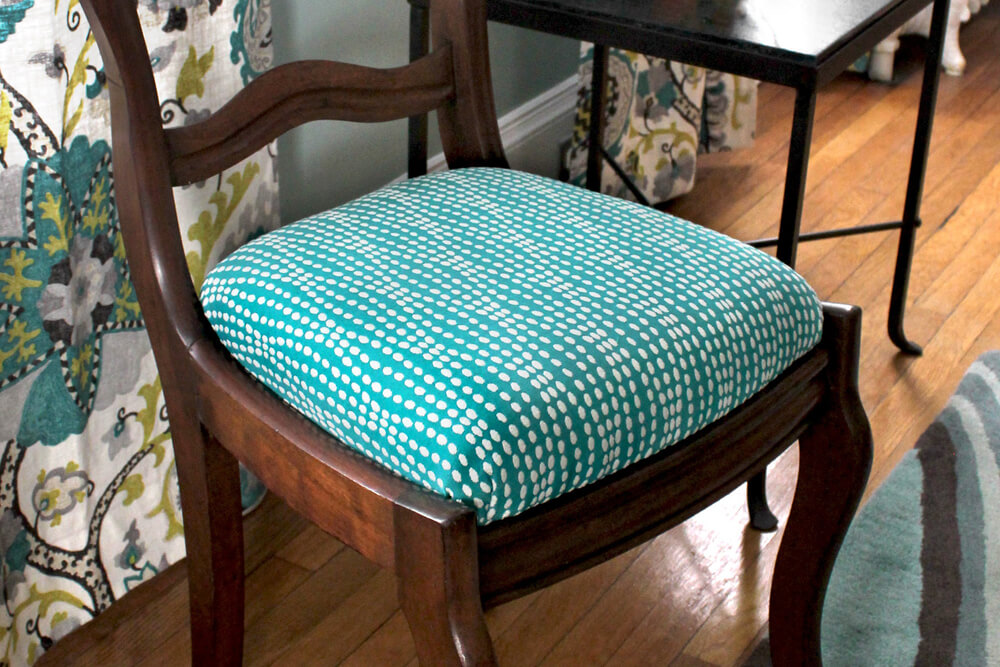
How to Reupholster Dining Chairs
- By Clara
- Beginner
- 1 hour 30 minutes
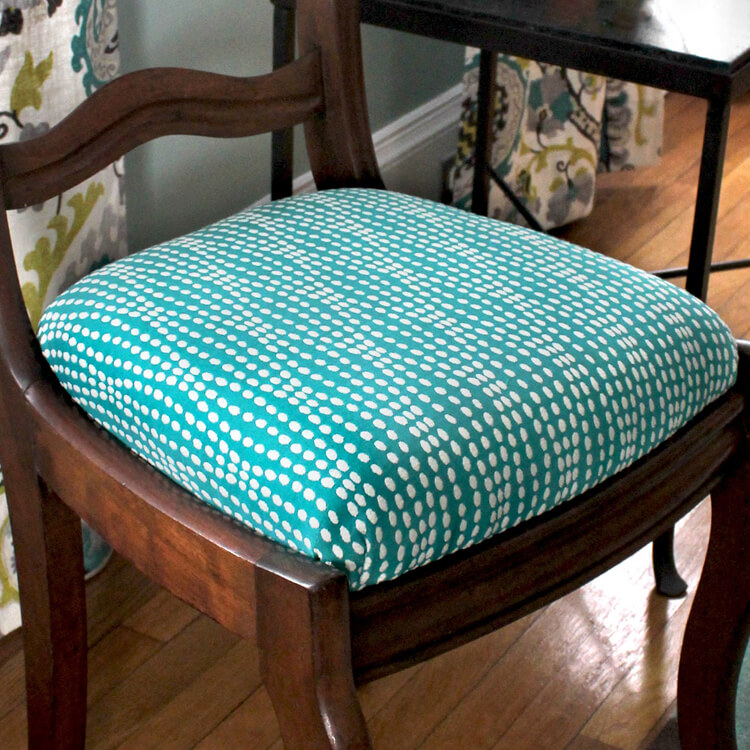
I’m going to show you how to give your dining chairs a fresh look by reupholstering the seat cushion. Many dining chairs have a cushion that can be easily detached, which makes reupholstering a simple project. When choosing a fabric for you chair, keep in mind that it doesn’t necessarily have to be a heavy upholstery fabric like this. You can also use a medium weight drapery fabric, especially if the chair isn’t going to be heavily used. And you can always reupholster it any time you want.
Want to get the printable PDF instructions?
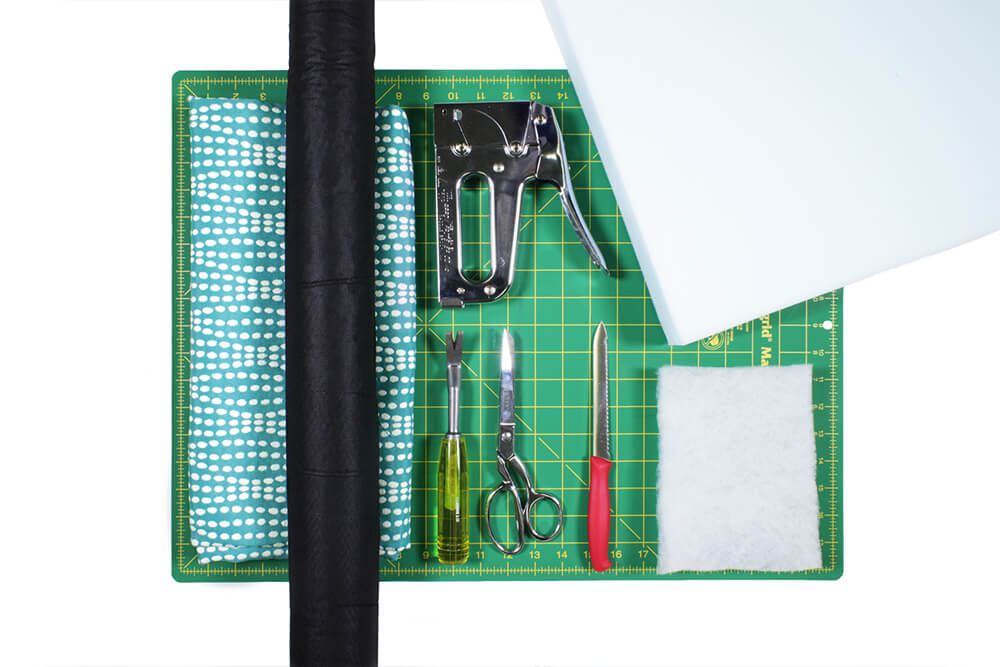
Materials
- Upholstery fabric
- Cambric dust cover fabric (optional)
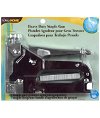
- Staples & staple gun
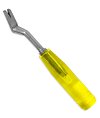
- Combination tool
- Scissors
- Serrated or electric knife
- Batting
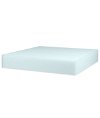
- Upholstery foam
Related Products


Video
Instructions
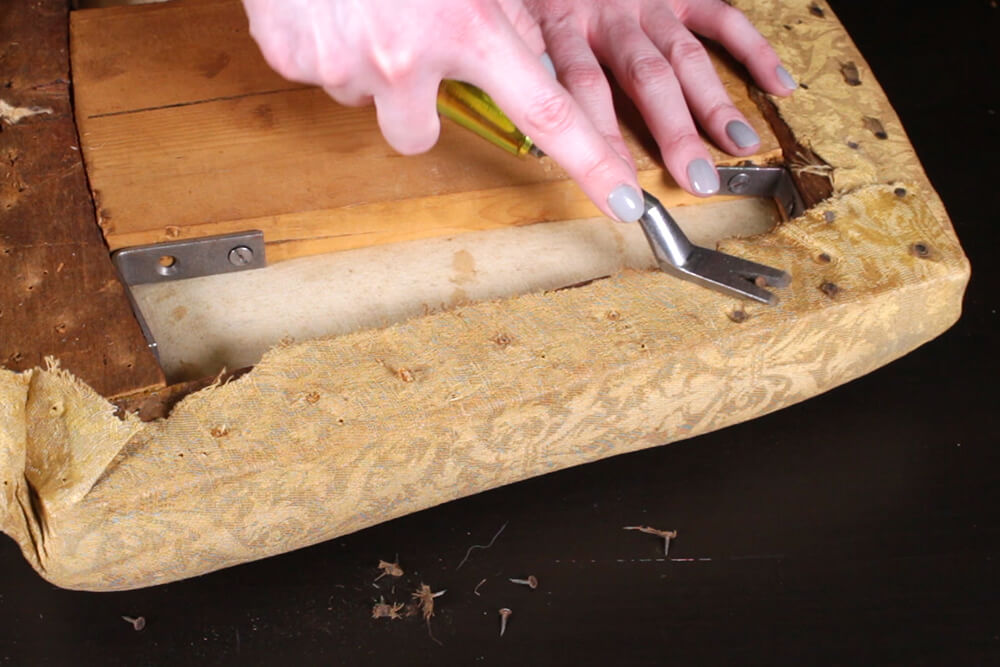
Step 1: Remove the old fabric
First take off the cushion. It may be screwed in to the bottom.
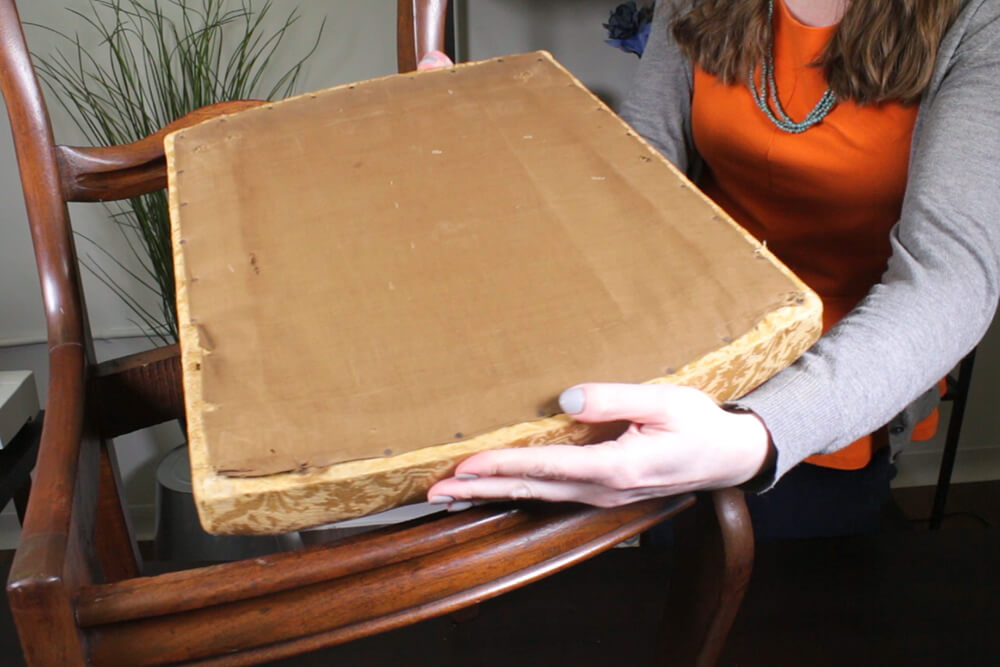
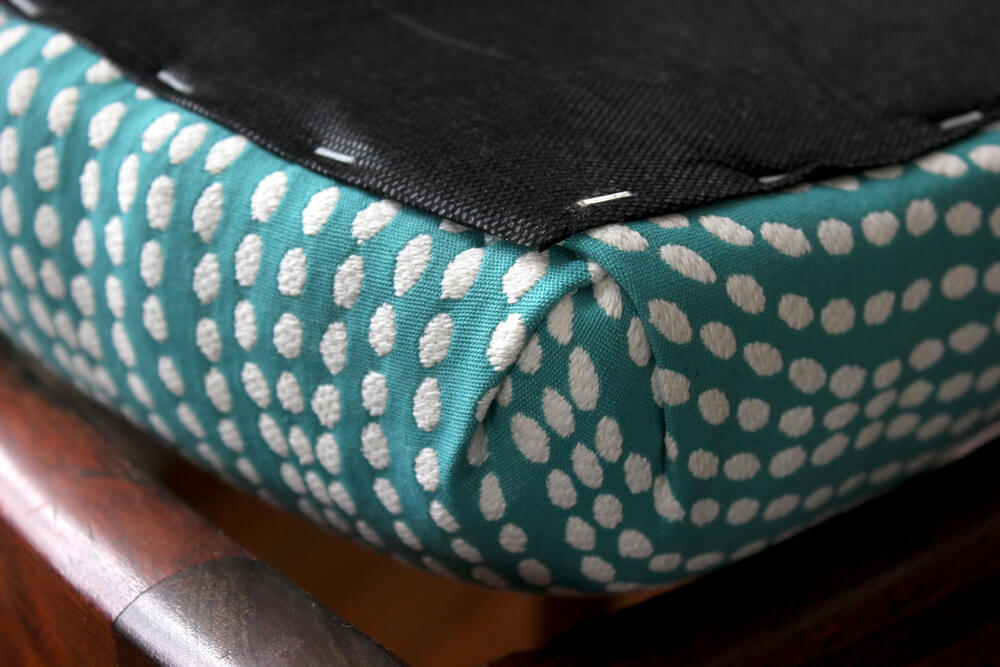
Take note of the way the corners are folded so you can recreate these pleats later.
Turn the cushion over and detach the dust cover. Remove all the staples or tacks that are attaching the dust cover and upholstery fabric, I’m using a C.S. Osborne Combination Tool to do this.
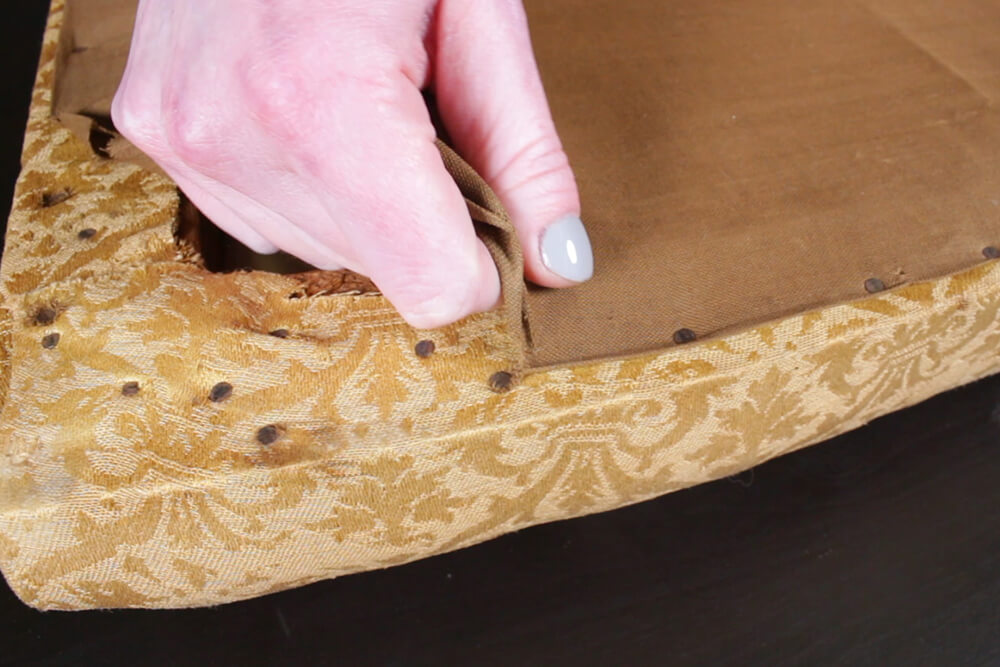
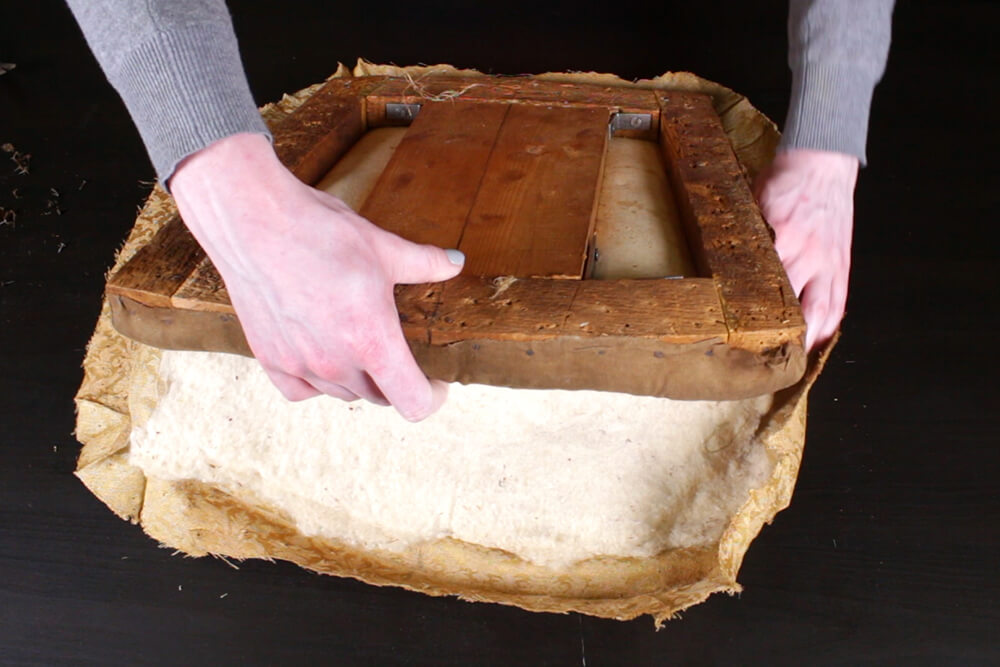
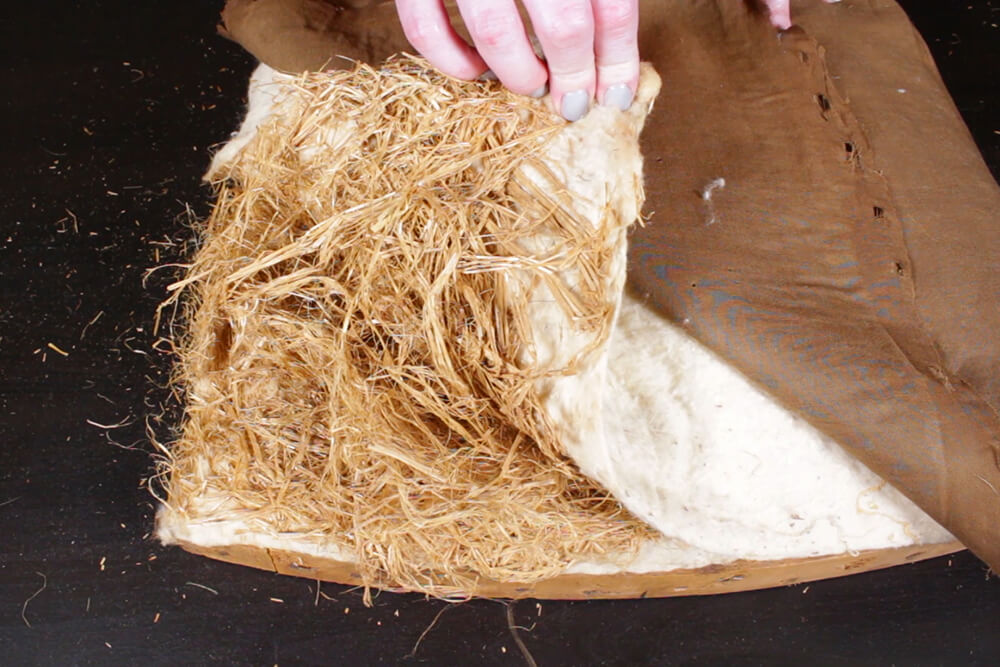
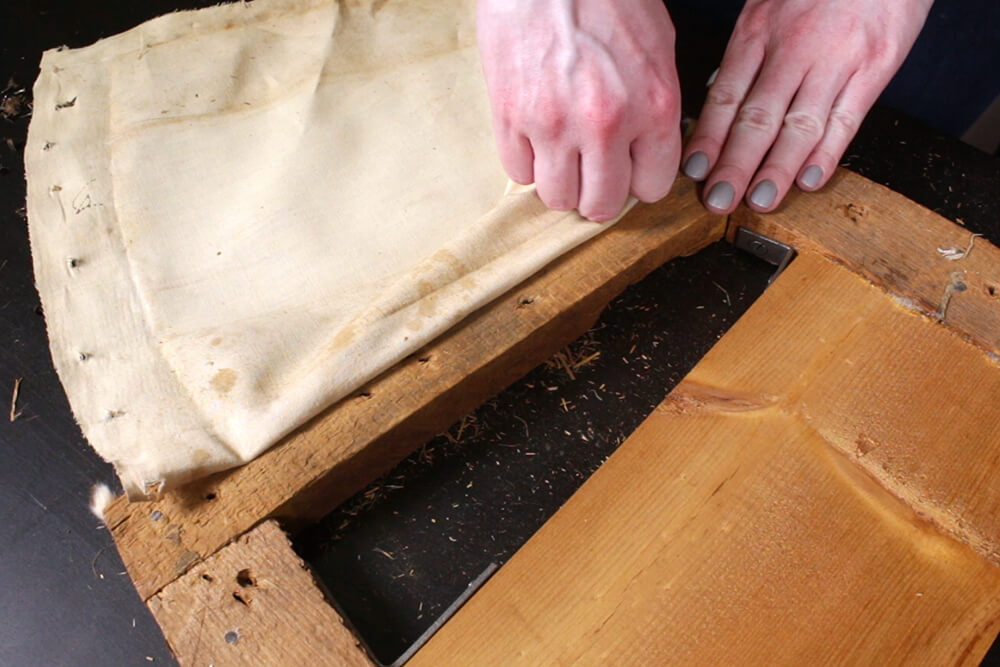
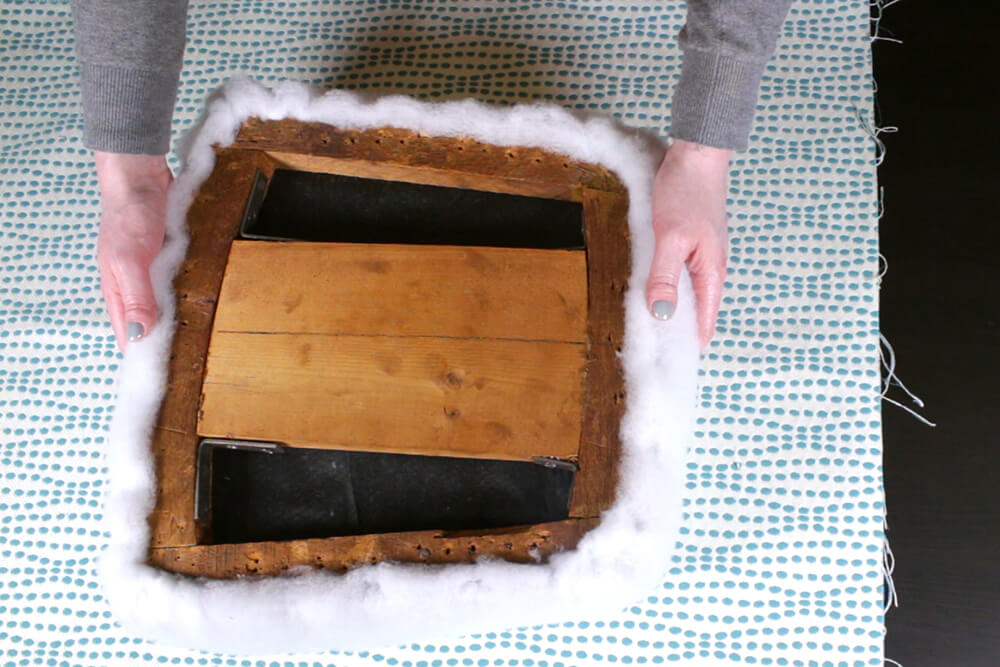
Continue to take off any other layers of fabric and remove all the tacks or staples. If your chair is newer, you may not have to replace the cushion, but this turn of the century chair has a cushion made up of straw and batting, so I’m going to replace it with foam. Strip the seat down to the wooden frame if you’re adding new foam. Your chair may have webbing instead, or a solid plywood base.
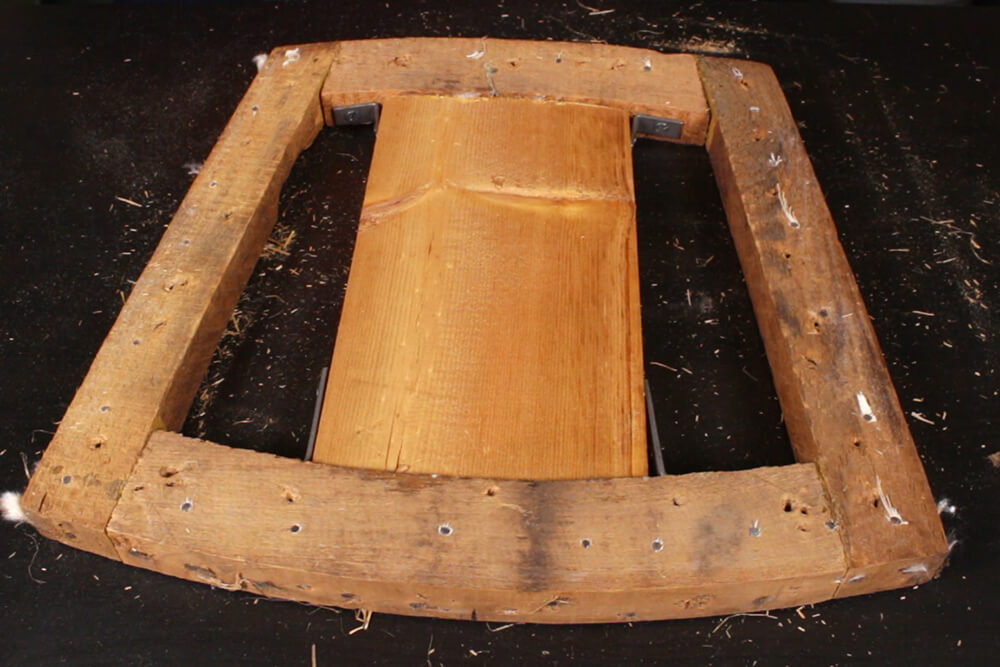
For this chair, I’m attaching a piece of the cambric below the foam so it doesn’t sag.
Step 2: Add foam and padding
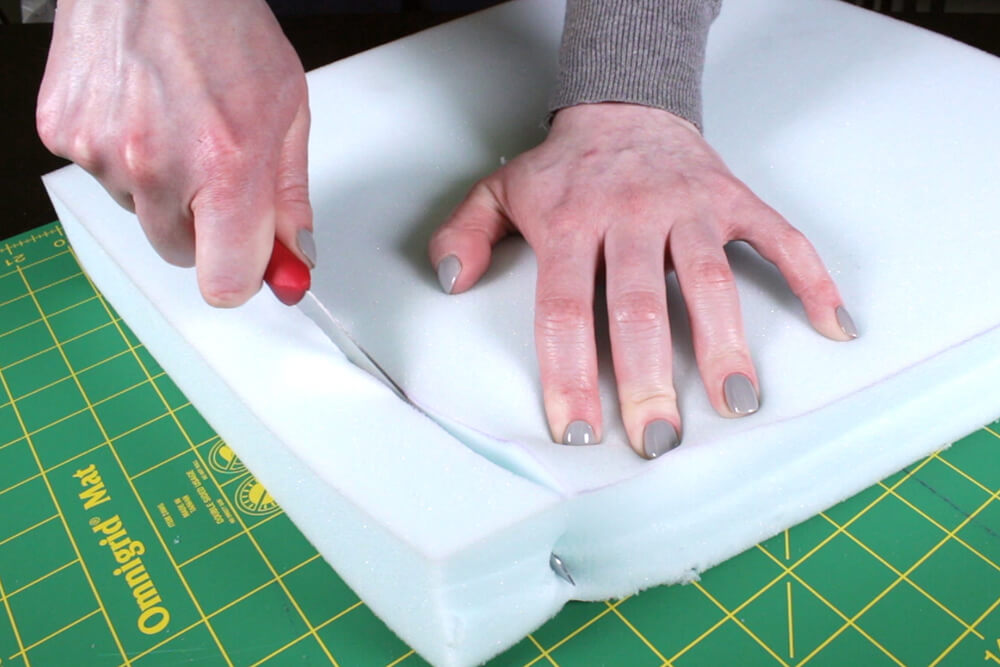
You can cut off the top edges of the foam to round the sides a little.
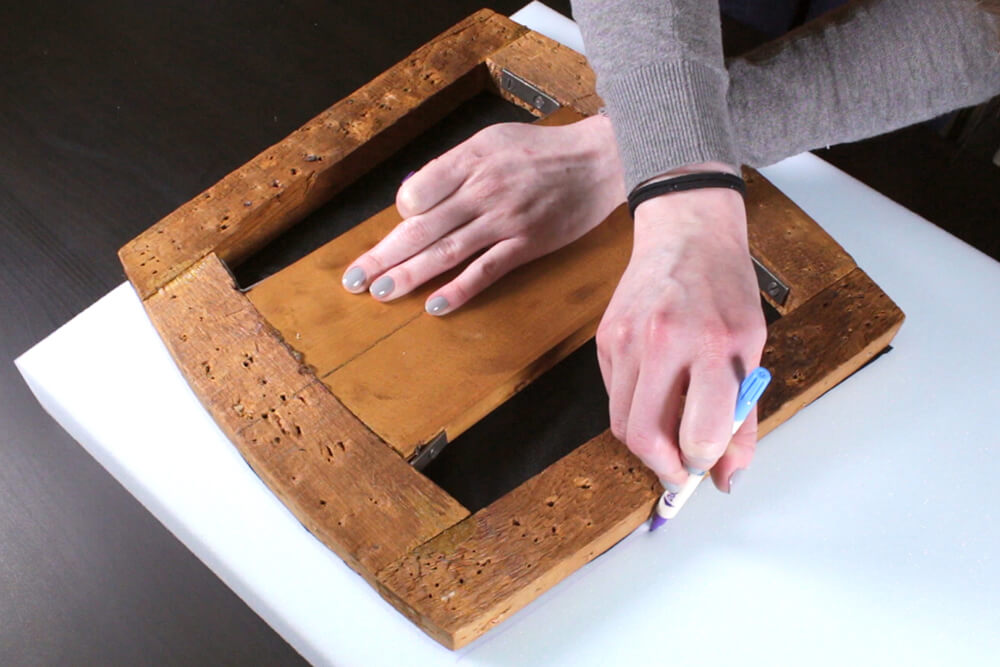
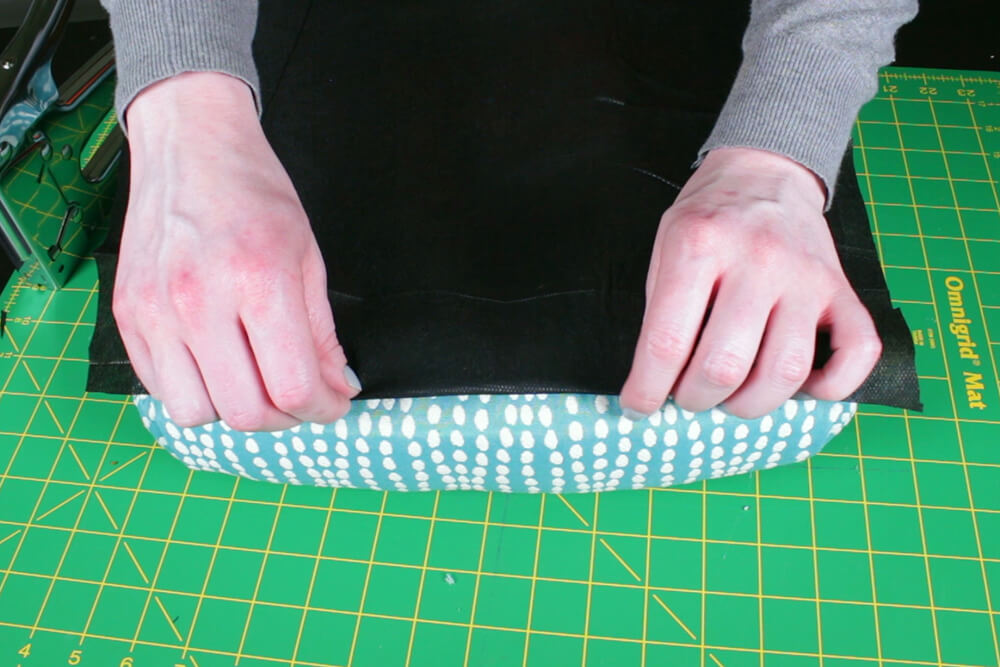
Place the frame on the foam and trace around it. Cut the foam out with an electric or serrated knife.
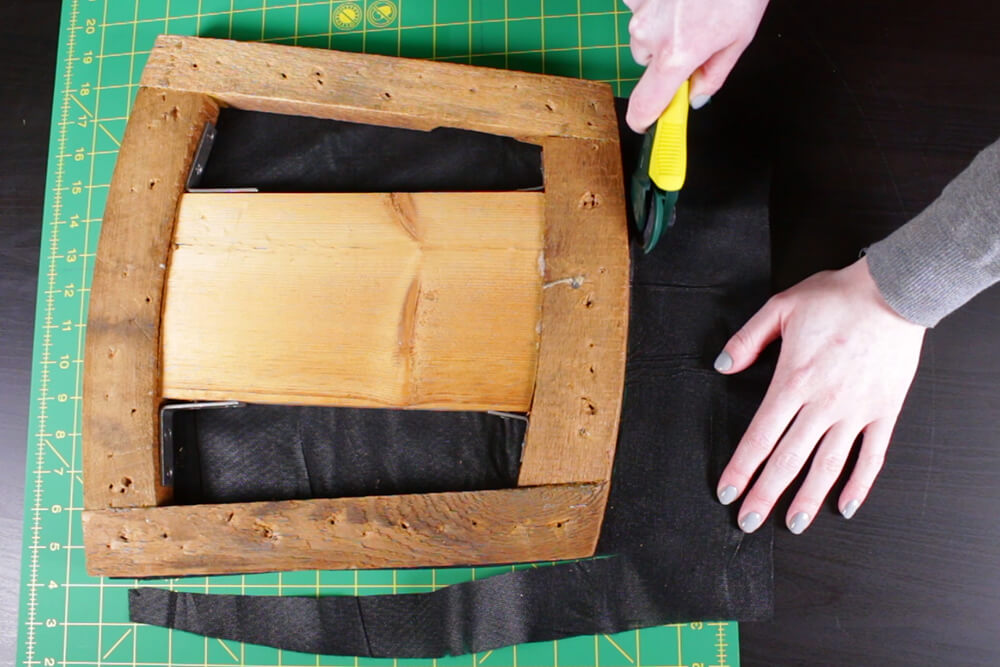
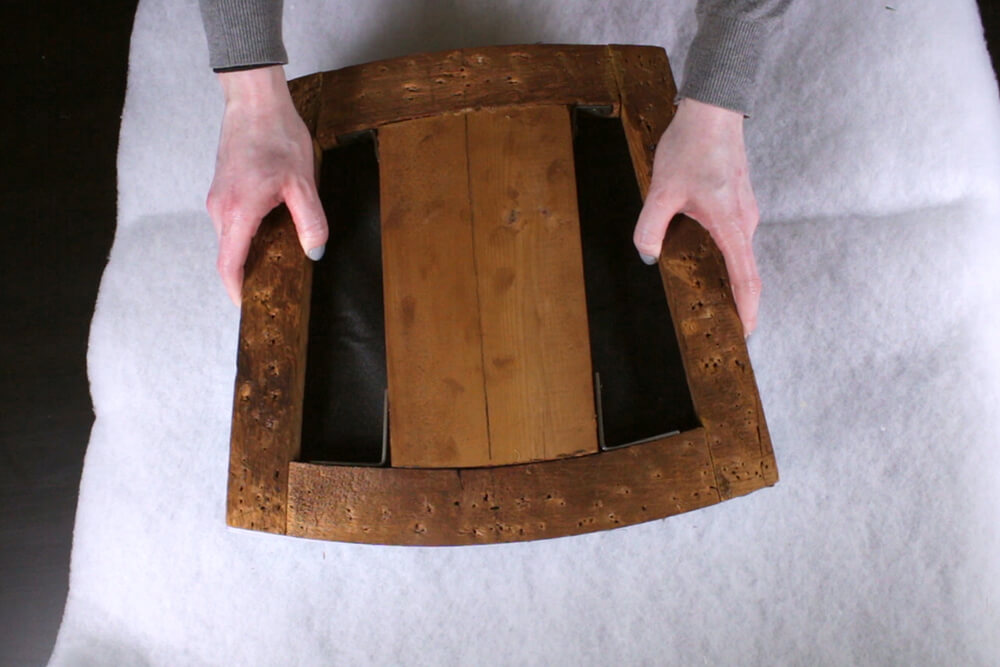
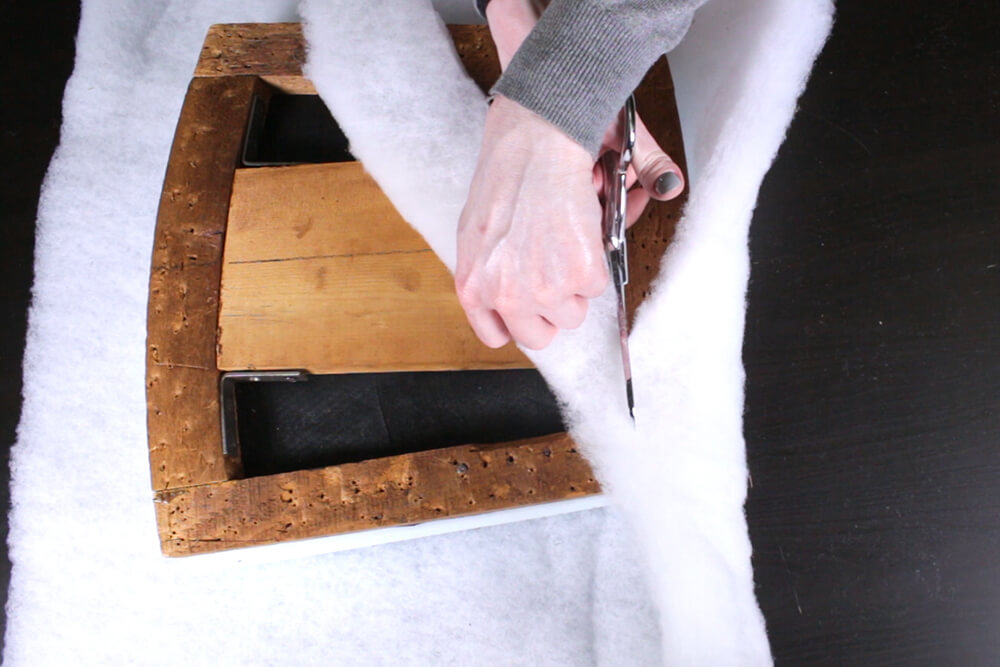
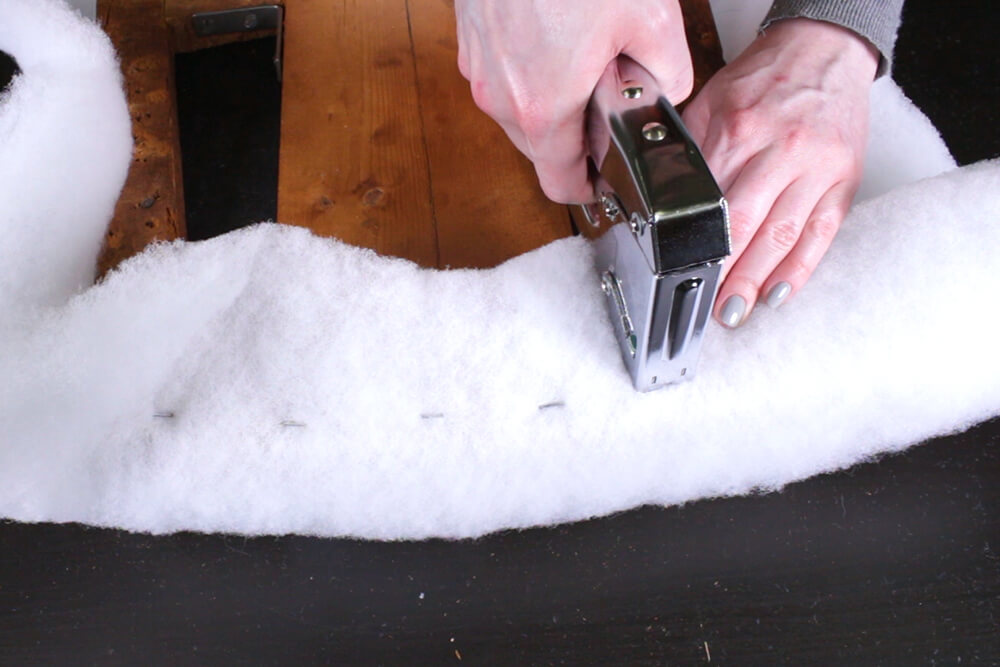
Place the foam and frame face down on the batting. Cut the batting so it wraps onto the bottom about 2” all around.
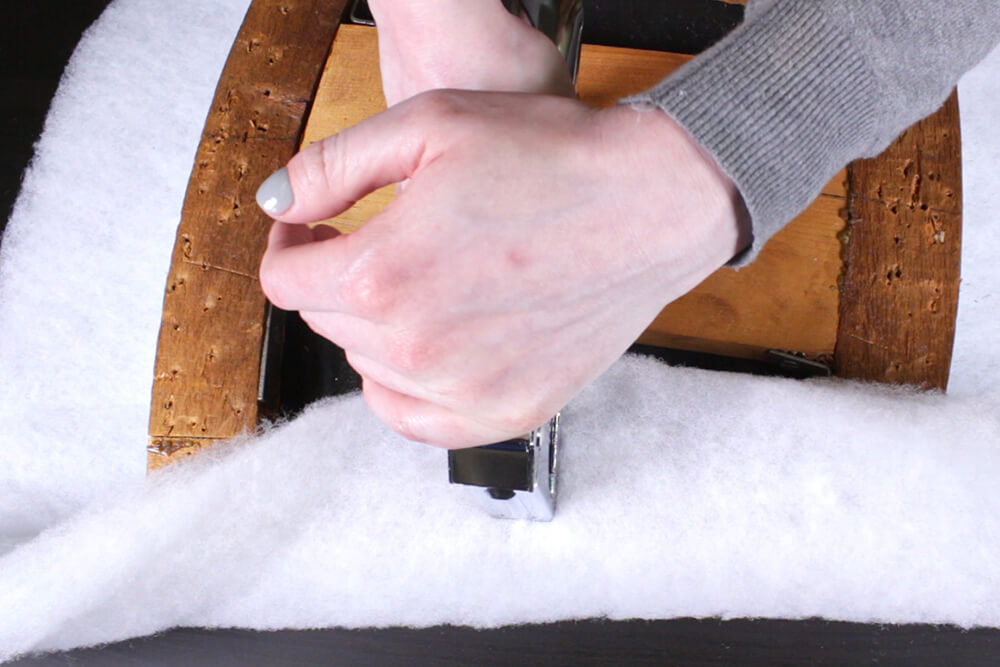
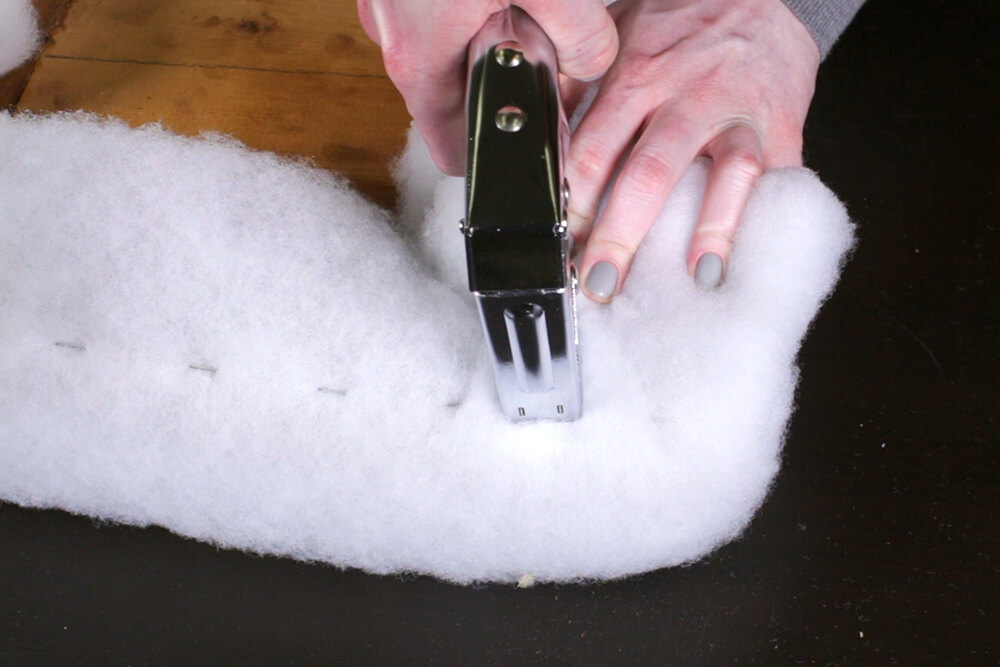
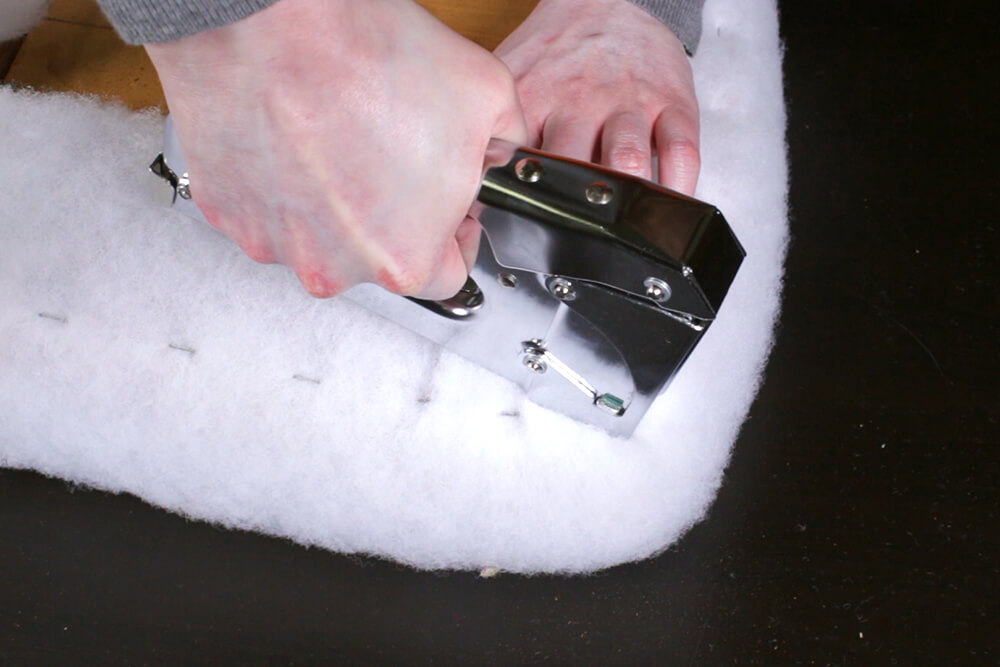
With the staple gun, staple the padding in the middle of all four sides to hold it in place. Work your way out from the center staple leaving a little space at the corners. Then repeat on the other sides, pulling the padding taut as you go.
You’ll be using this corner technique for the upholstery fabric as well.
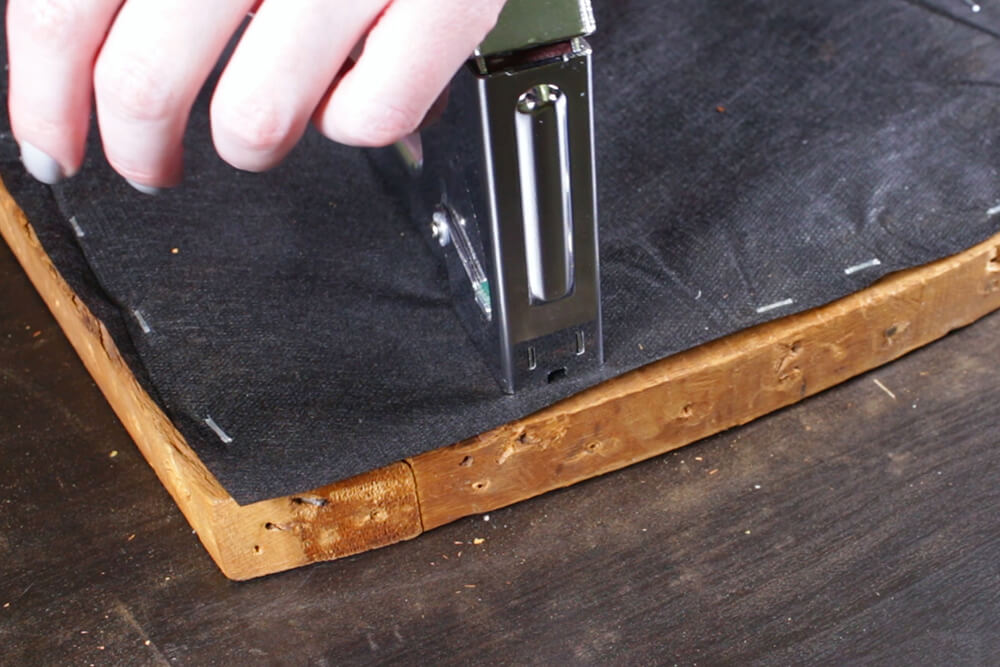
For the corners, pull the padding towards the center of the frame and staple. Then staple down the loose padding on either side of the corner. Repeat for the rest of the corners.


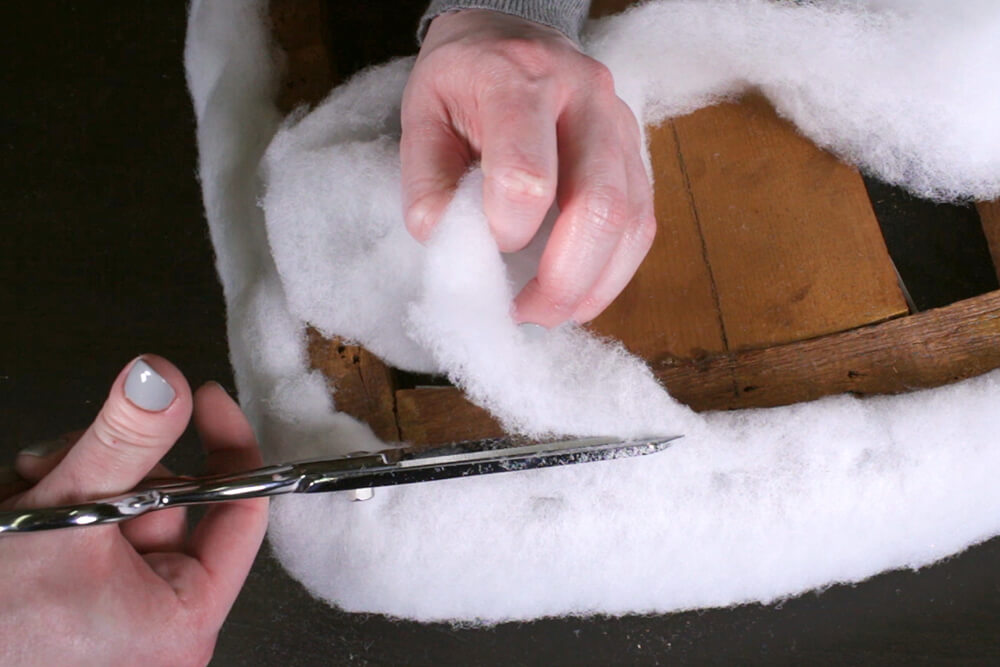
Trim off all the excess padding.
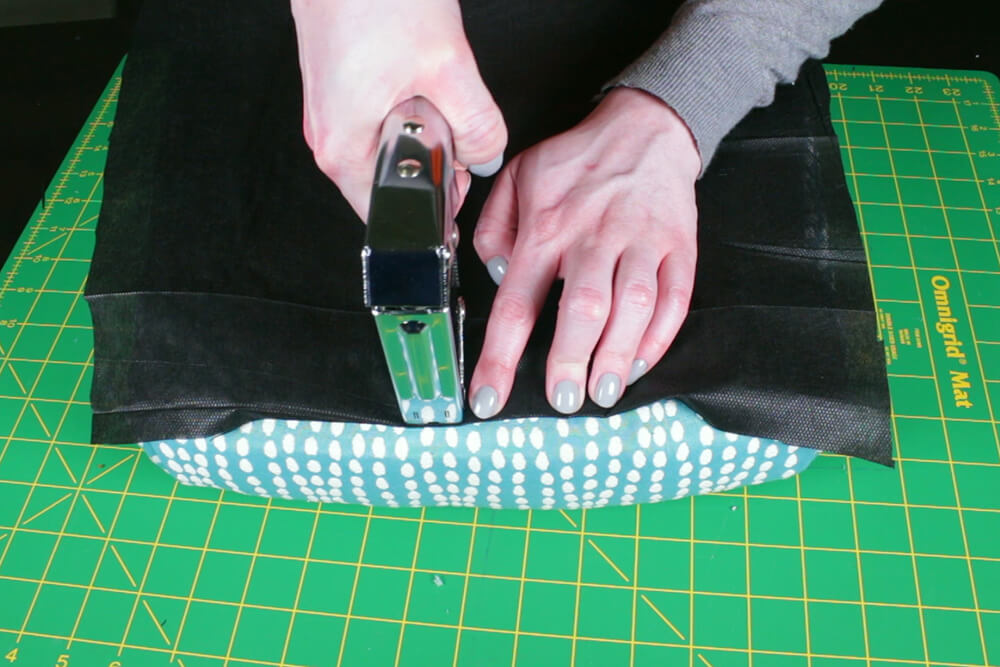
Step 3: Attach the upholstery fabric
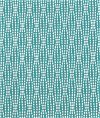
Lay the fabric out face down. This upholstery fabric is woven, so you’ll see a pattern on both sides, but this predominately teal side is meant to be the front.
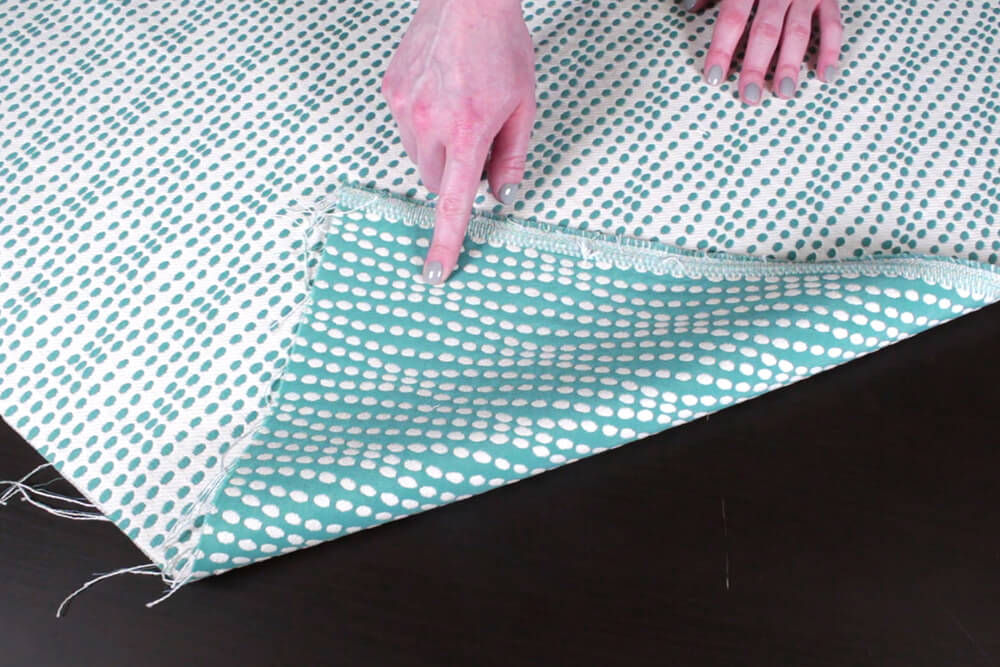
Place the cushion face down on top of it. Cut the fabric so there’s an extra 3 or 4 inches to wrap around the back, make sure the pattern is running straight.
If your initial center staple is too loose, just remove it and staple again.
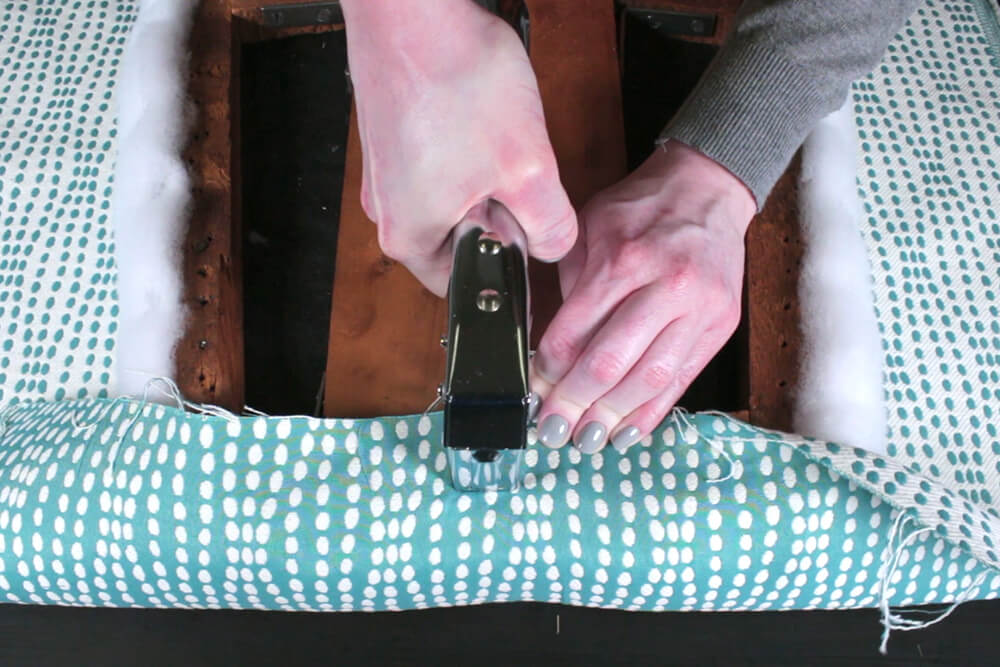
Place a staple in the middle of all 4 sides. On each side, work your way out from the center towards the corners. Leave a few inches at the corners. Run your hand over the front as you go to tighten the fabric.
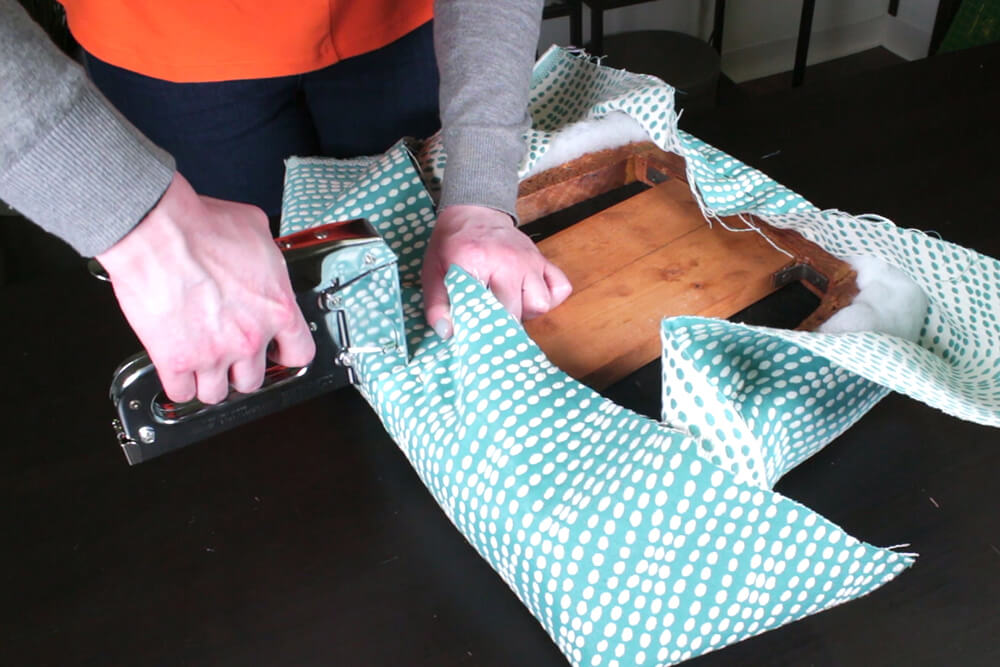
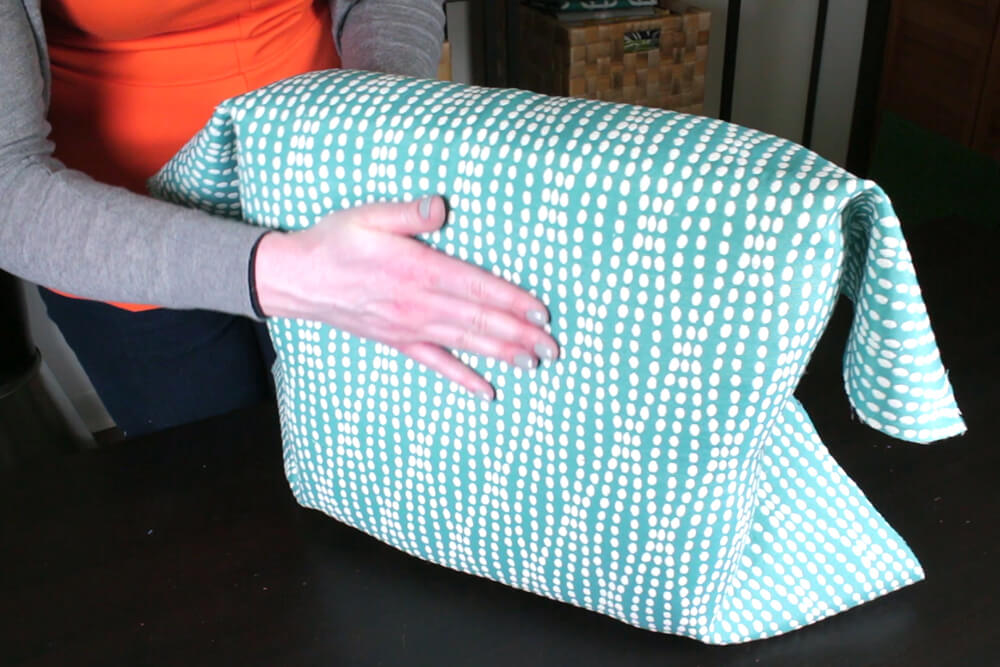
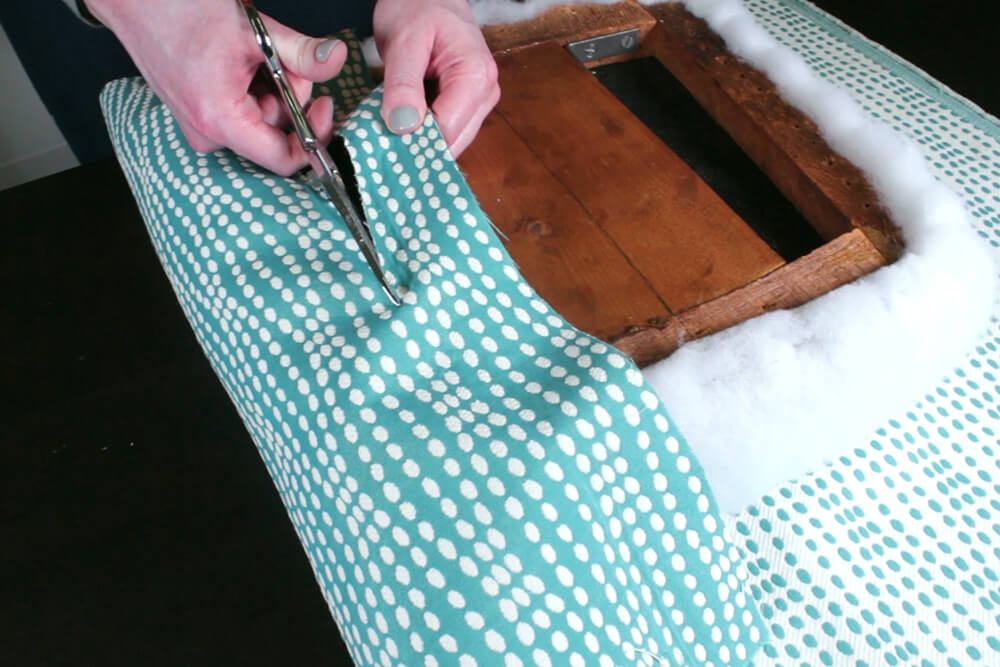
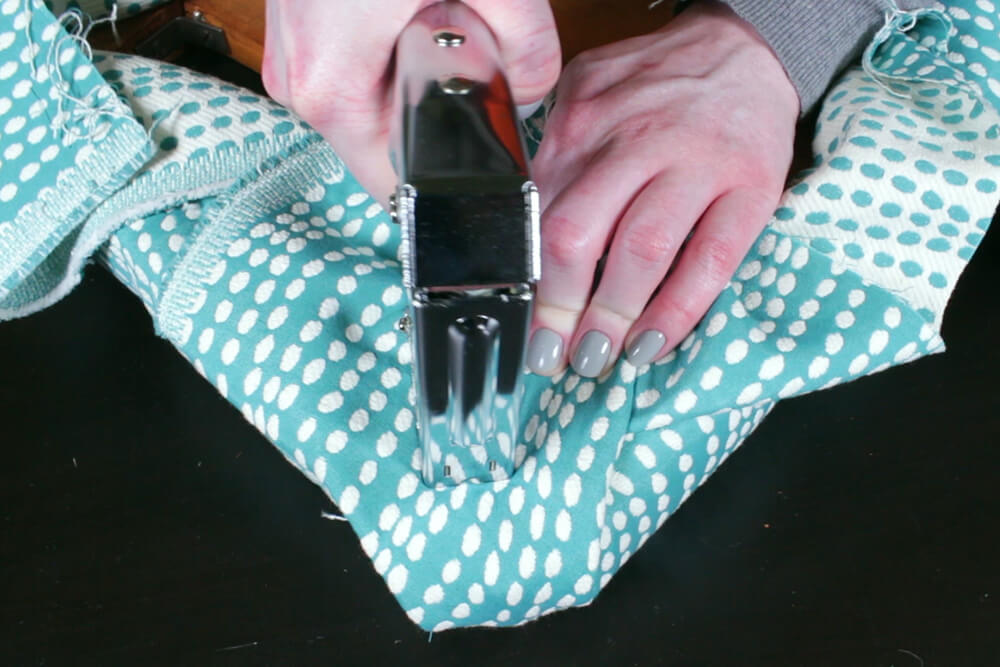
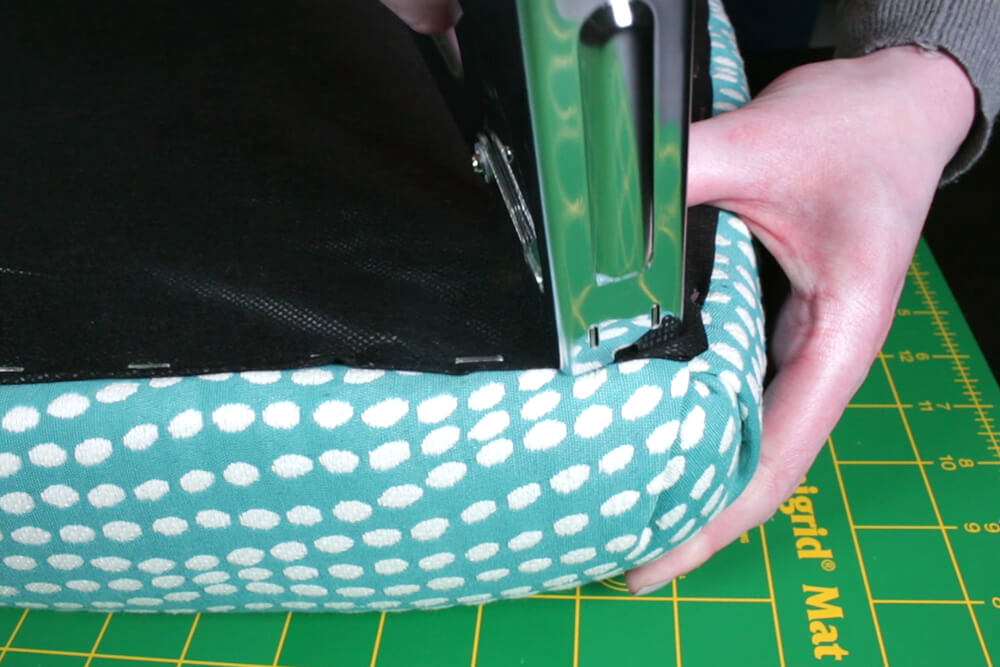
For the corners, pull the center of the corner towards the middle and staple. Fold over one edge and staple to form a pleat. Then fold over the other side to form a second pleat. Repeat for all the corners.
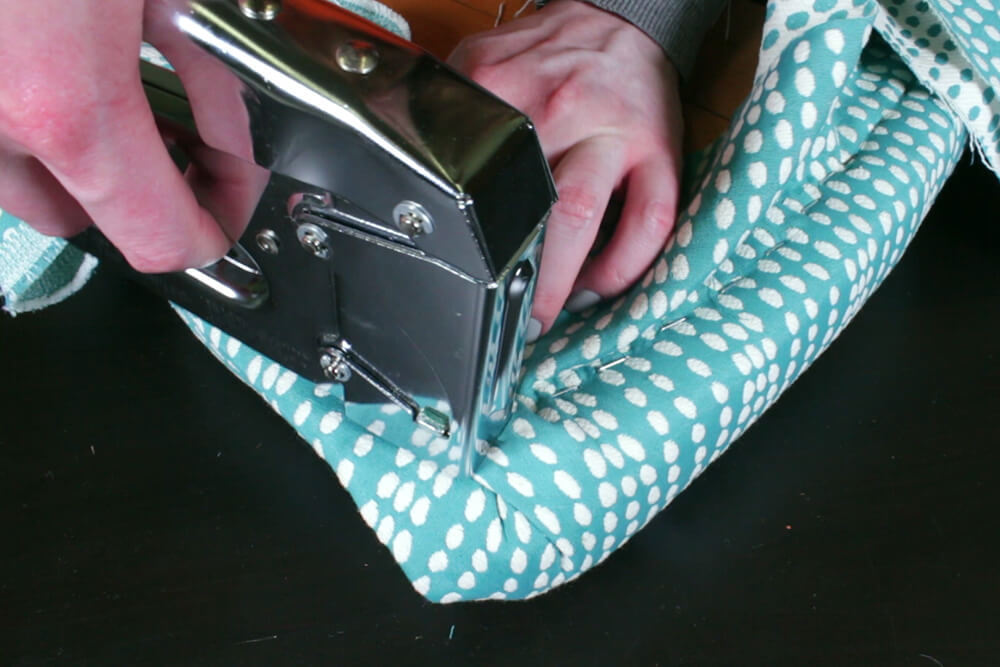
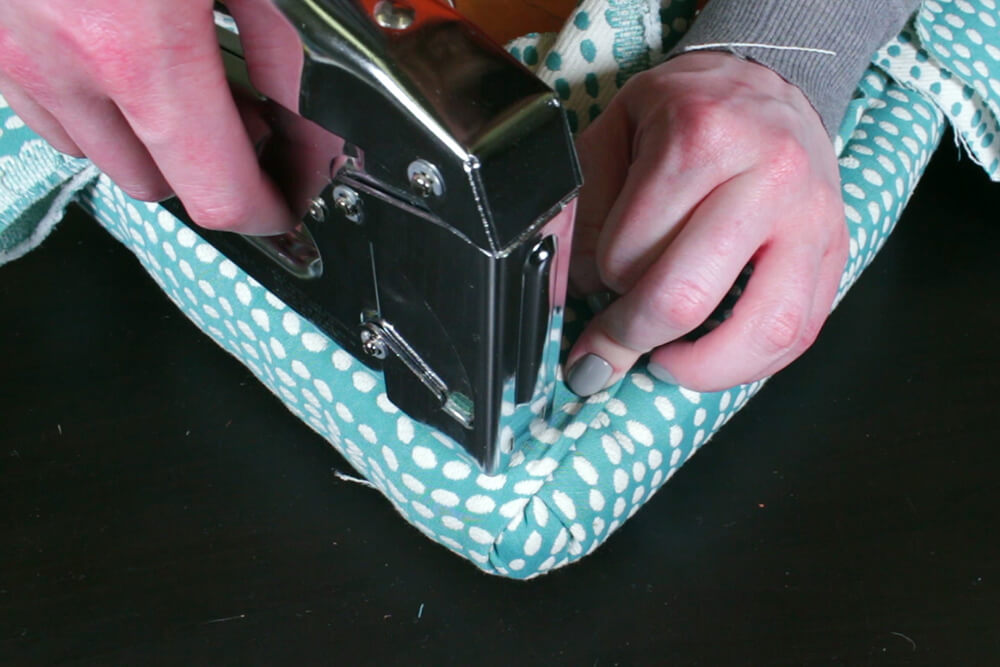
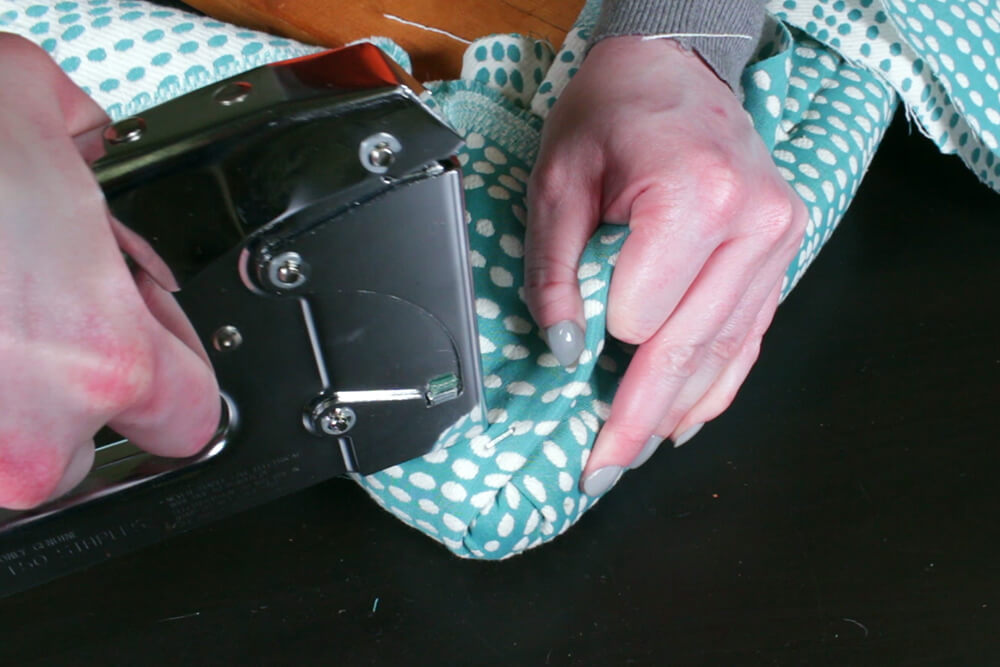
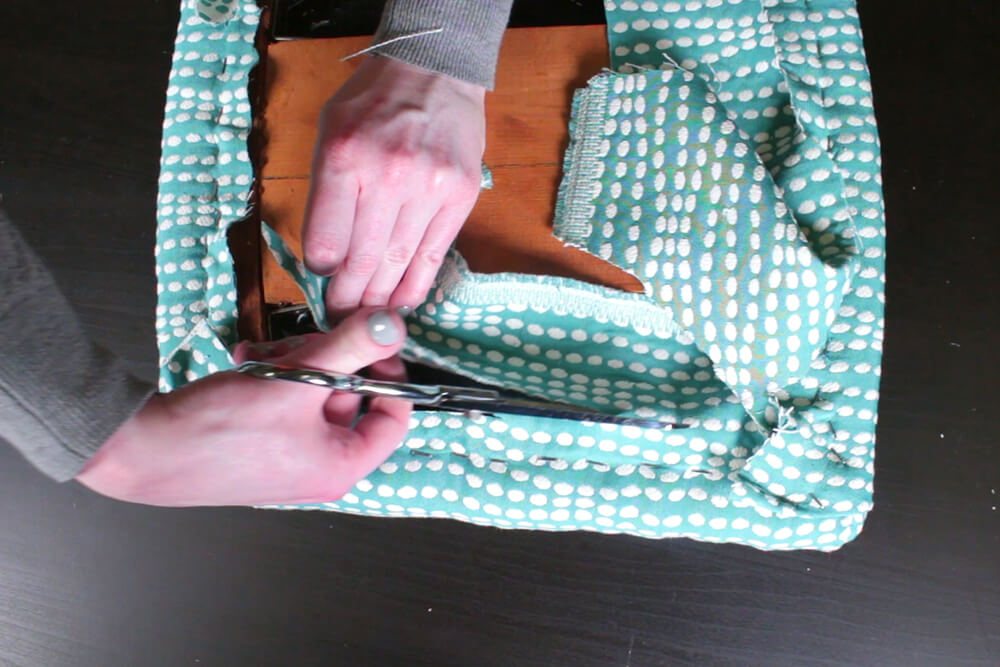
Trim off all the excess fabric.
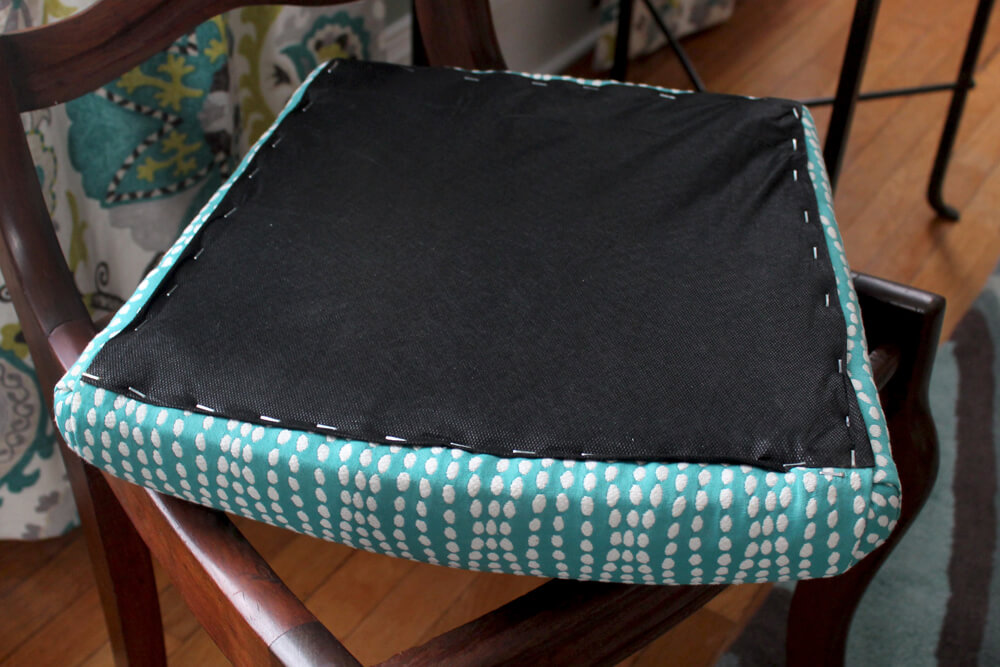
Step 4: Attach the dust cover
Finally, I’m going to attach the cambric dust cover. This isn’t a necessary step, but it finishes off the bottom nicely. Cut the cambric to the same size as the frame. Fold under the edges and staple.

Looking for more beautiful upholstery fabrics? Click this link to view our wide selection!