How to Sew a Straight Stitch
- By Clara
- Beginner
The straight stitch is the go-to stitch when sewing. It’s great for sewing a wide variety of fabrics and is very versatile.
Specific instructions will vary be sewing machine, but the results look the same!
Materials
- Fabric
- Thread
- Sewing machine needle
- Sewing machine
Related Products
Video
Instructions
Step 1: Select stitch
See Sewing Machine Basics for more information on getting started.
The straight stitch is often used to create a seam when sewing two pieces of fabric together.
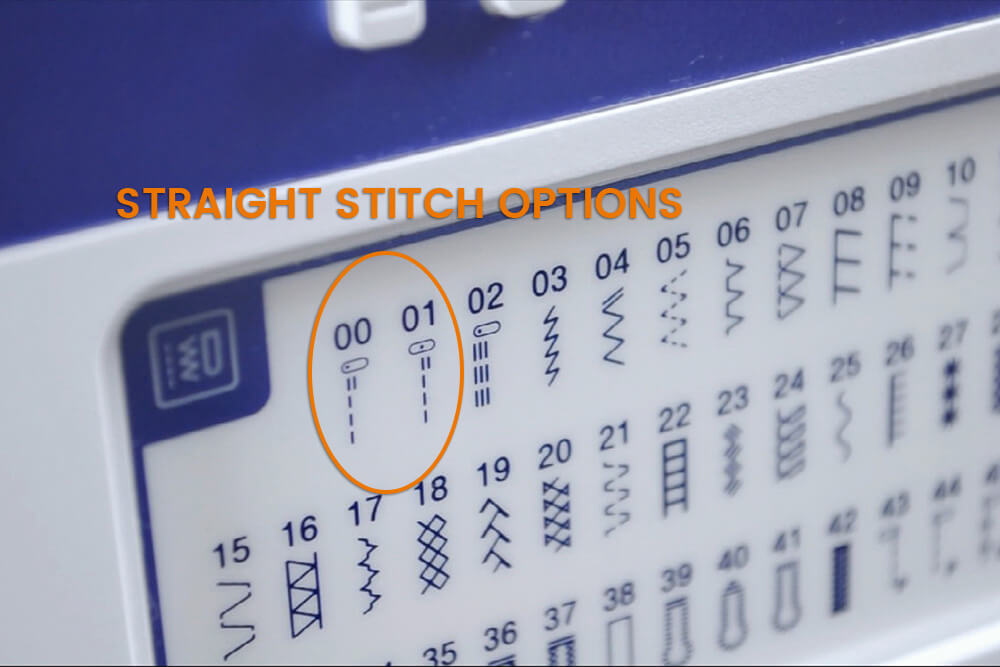
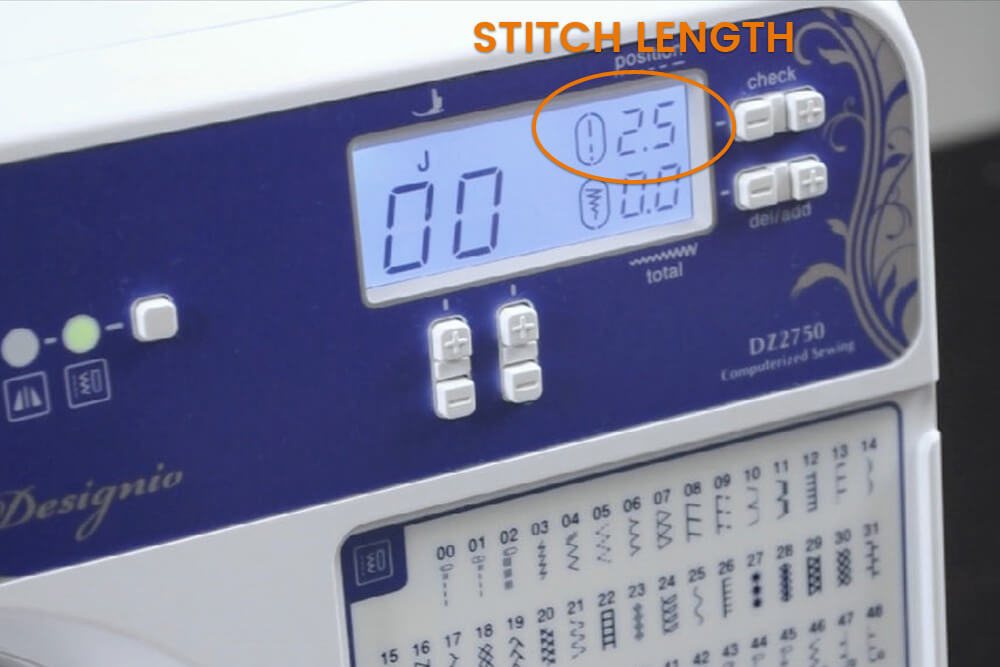
First, select the straight stitch, which is usually done by turning a dial or selecting a number, depending on your machine.
This machine has two basic straight stitches—one with the needle to the left and one with the needle in the center, which is the one that I’m going to use. Having the ability to choose the position of the needle is handy for different seam allowances.
A medium stitch length of about 2.5 mm can be used most of the time, but there may be situations where you may want it longer or shorter.
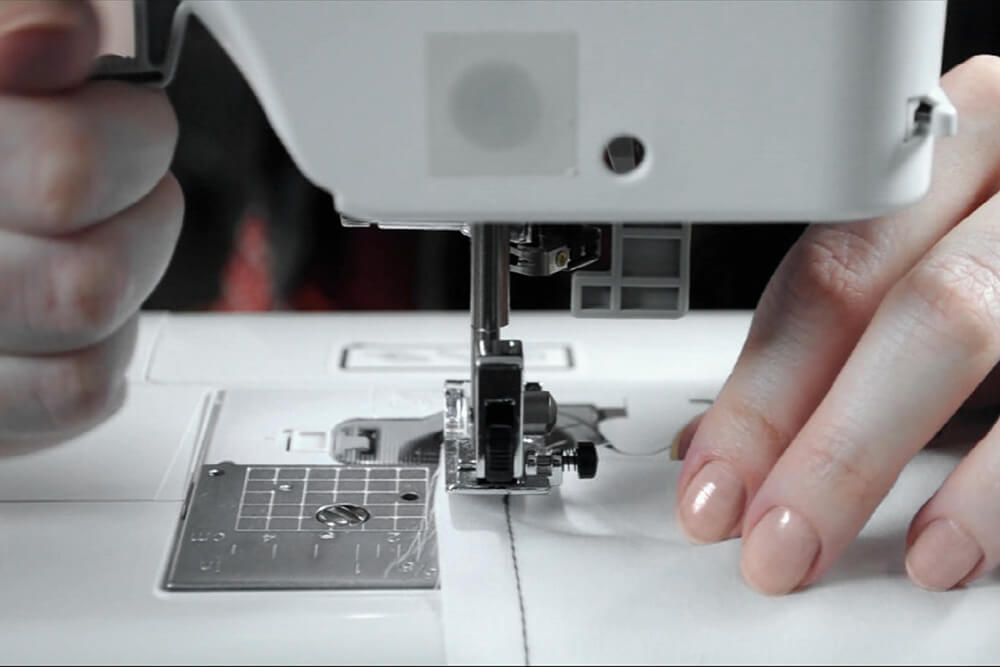
Step 2: Line up fabric
The distance from the needle to the edge of the fabric is the seam allowance. This will differ based on what you’re sewing or the pattern you’re using, but ½” and ¼” are common seam allowances.
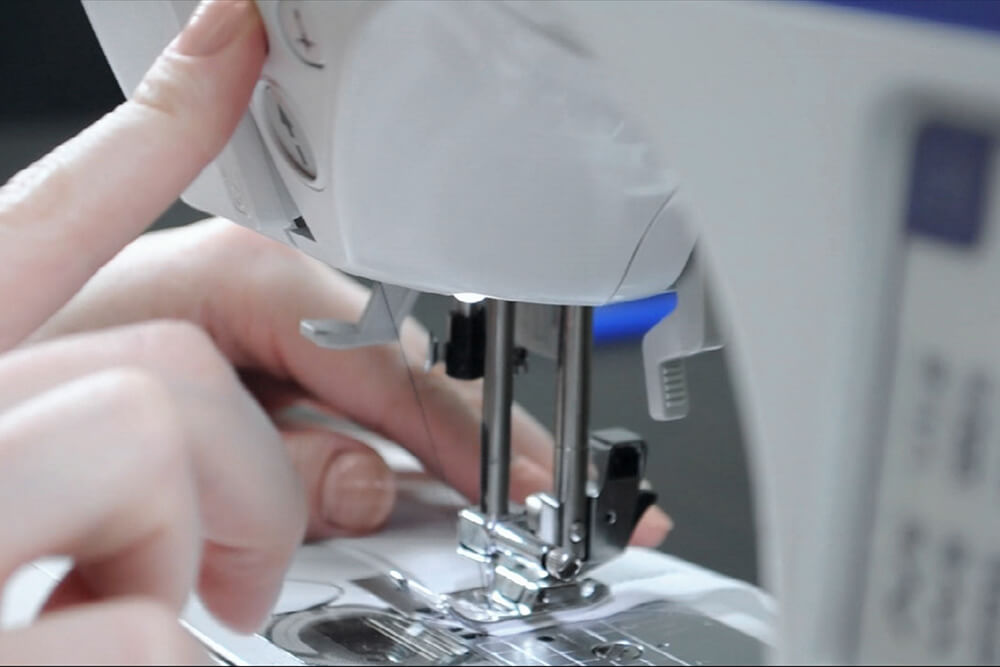
If your fabric has a front and a back, put the right sides (the front sides) together so that they’re facing each other.
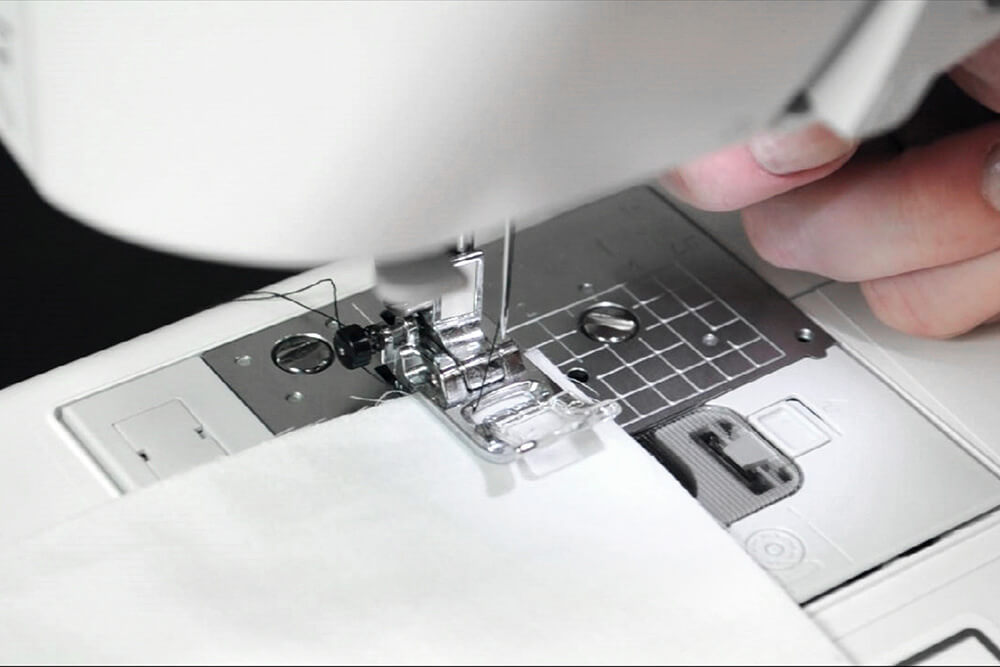
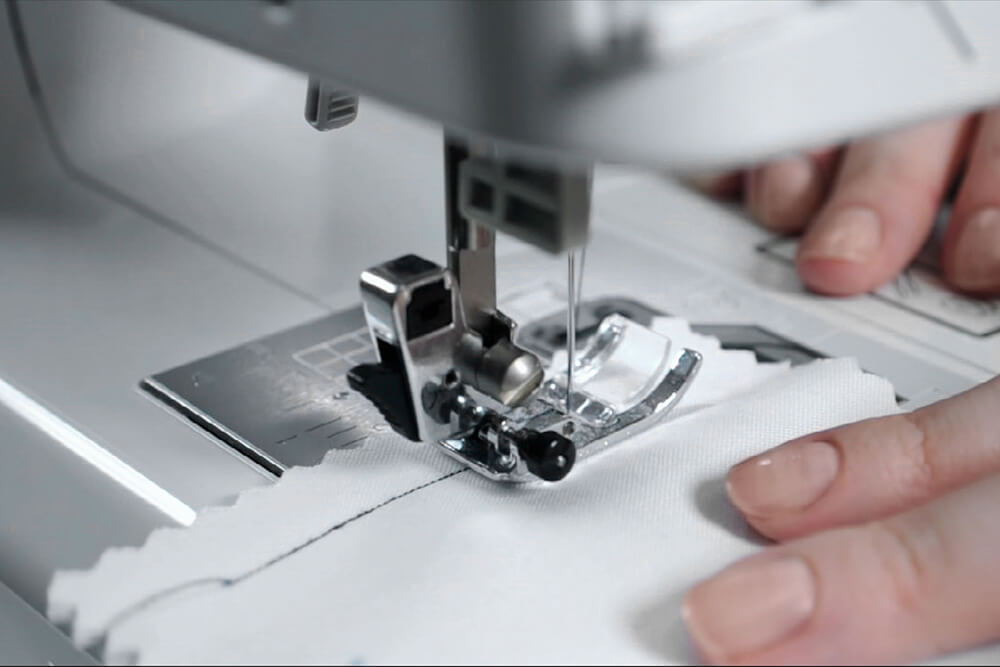
Slide in your fabric and line the edges up with one of the guide lines on the needle plate.
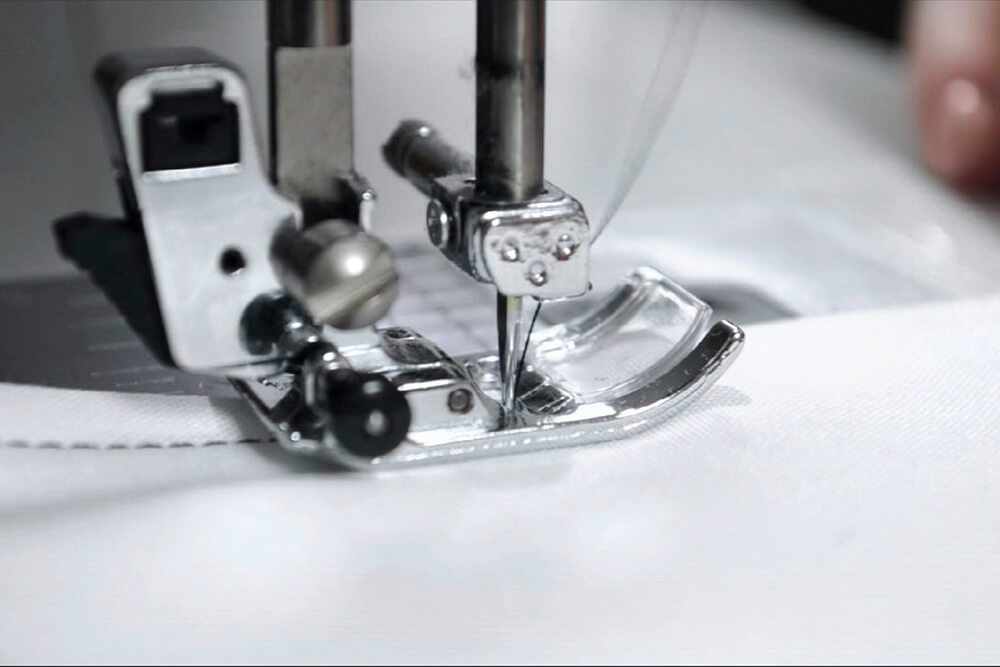
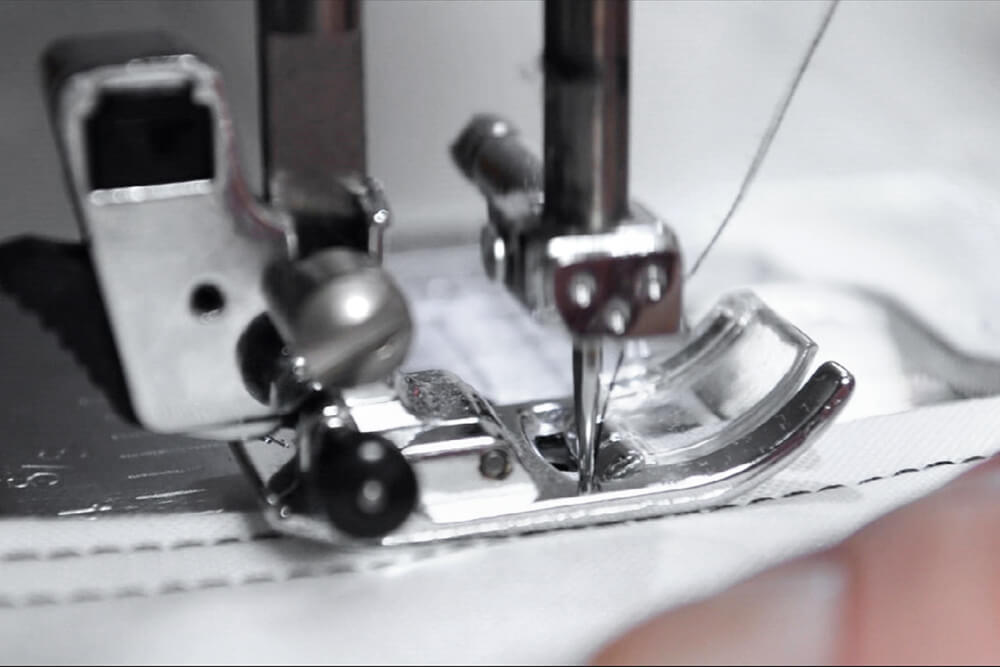
Lower the presser foot. Use a foot made specifically for straight stitches or a multi-purpose one like this.
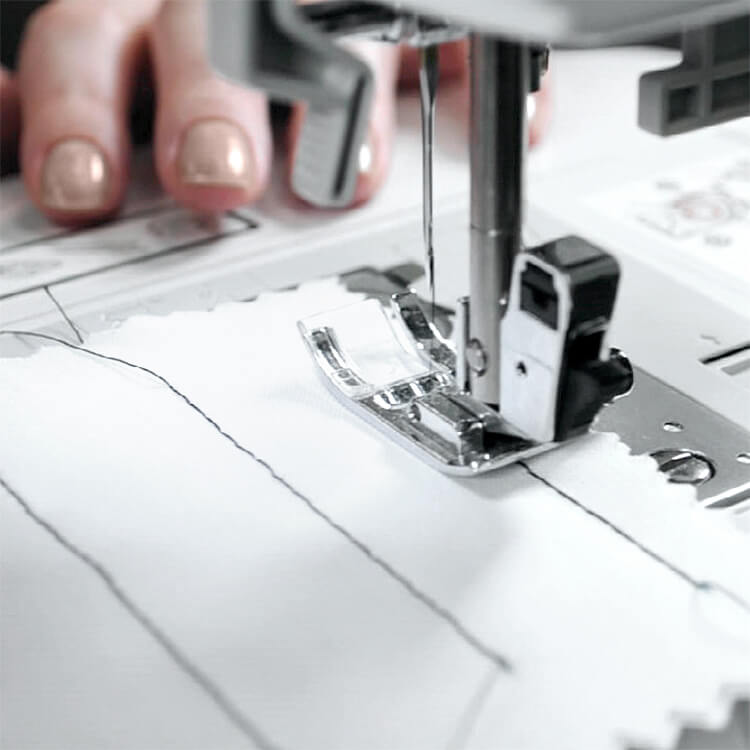
Step 3: Start sewing
Make sure both threads are under the foot and pulled to the back before sewing. Some machines will suck in the bobbin thread when you start to sew, so just hold the thread for the first couple of stitches to prevent this.
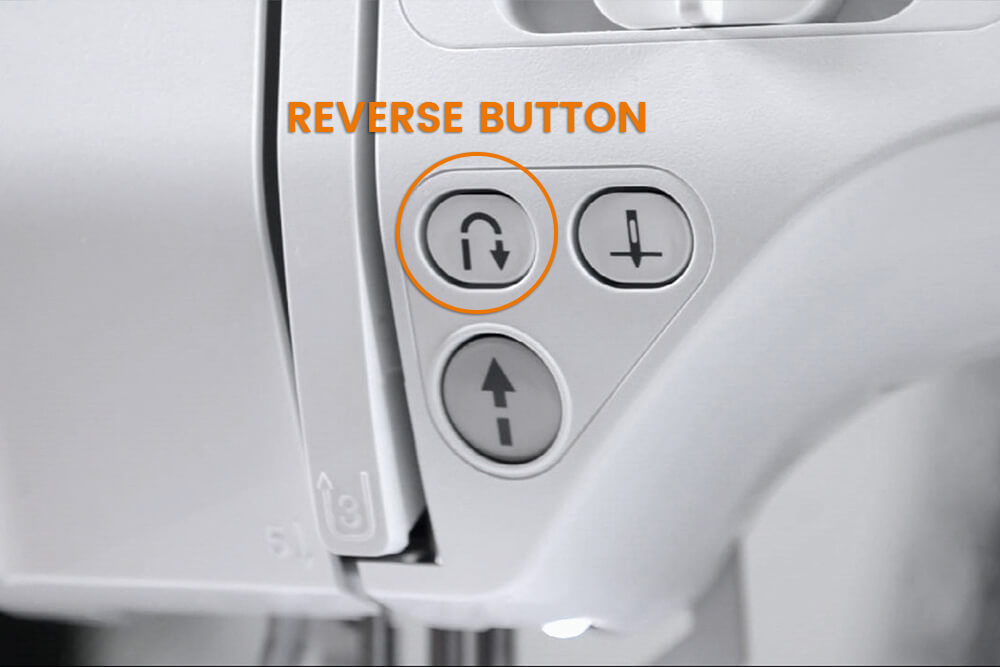
You’ll often want to backstitch at the beginning and end of the seam to lock the stitches in place. Sew for a short distance and then hold down the reverse button, and sew back on top of the stitches, and then release the button to go forward again. This prevents your stitches from unraveling.
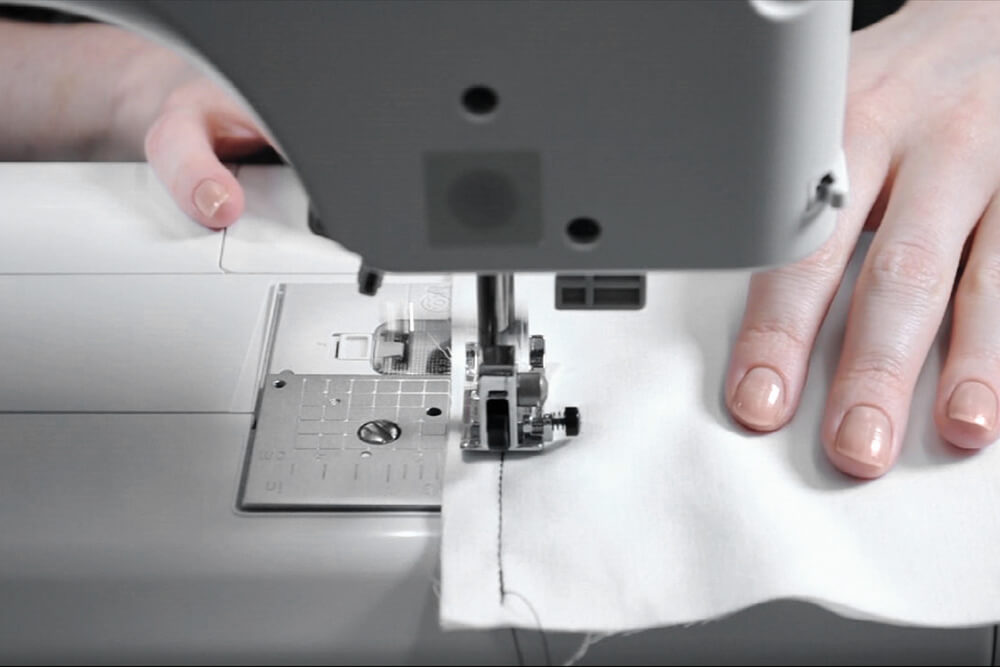
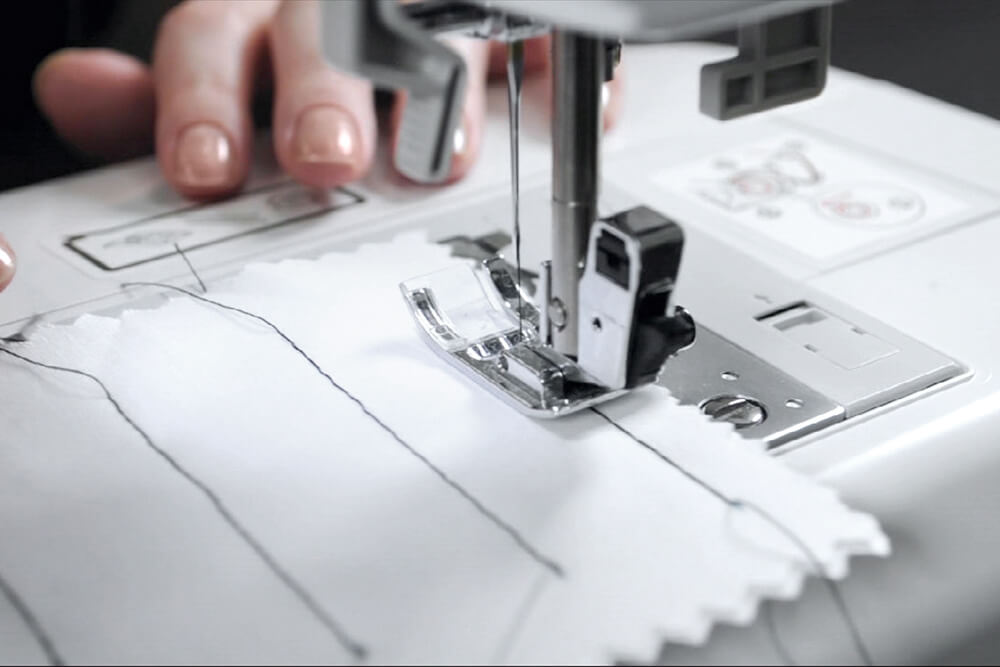
A tip for sewing a straight line is instead of watching the needle, watch the edge of the fabric and the mark that you’re using on the needle plate. Focus on keeping them lined up.
The machine will pull the fabric through on its own, so just guide the fabric with your hands and don’t pull.
When you get to the end, backstitch again. Raise the needle by turning the hand wheel on the back of the machine, or you may have a button that raises and lowers the needle.
Raise the presser foot and cut the threads.
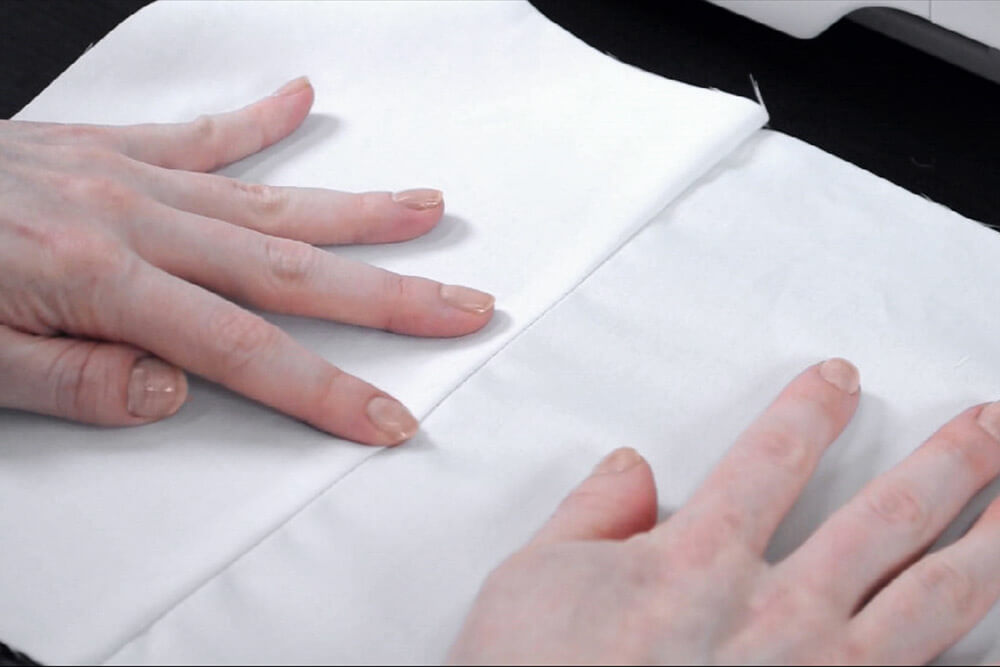
When you open the fabric, you’ll have a seam like this. (You would normally use a matching thread color so you couldn’t see the stitches at all.)
Tips
The straight stitch is also commonly used for topstitching. This is either a decorative or functional stitch that is sewn on the right side of the fabric where it is visible.
A short stitch length is good to use when you’re sewing around a curve. It’s also used on very lightweight fabrics to prevent puckering.
A slightly longer stitch is often used for topstitching and when sewing vinyl and leather.
A long length is used for basting, which is an easy-to-remove stitch to temporarily hold the fabric together. It’s also used for gathering, like when creating ruffles.
Now that you know the basics, get inspired by our how to projects.