How to Make a Fabric Storage Bin
- By Clara
- Beginner
- 2 hours
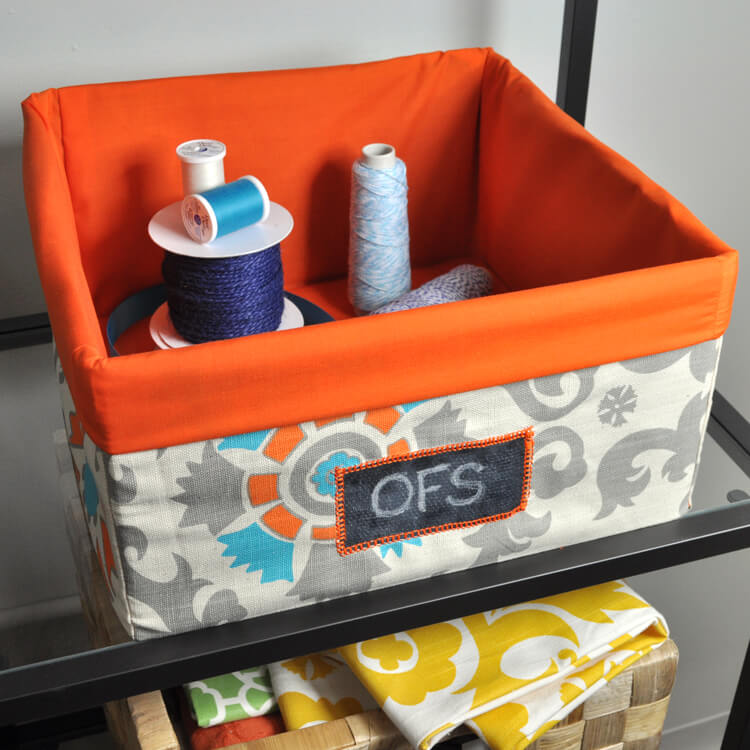
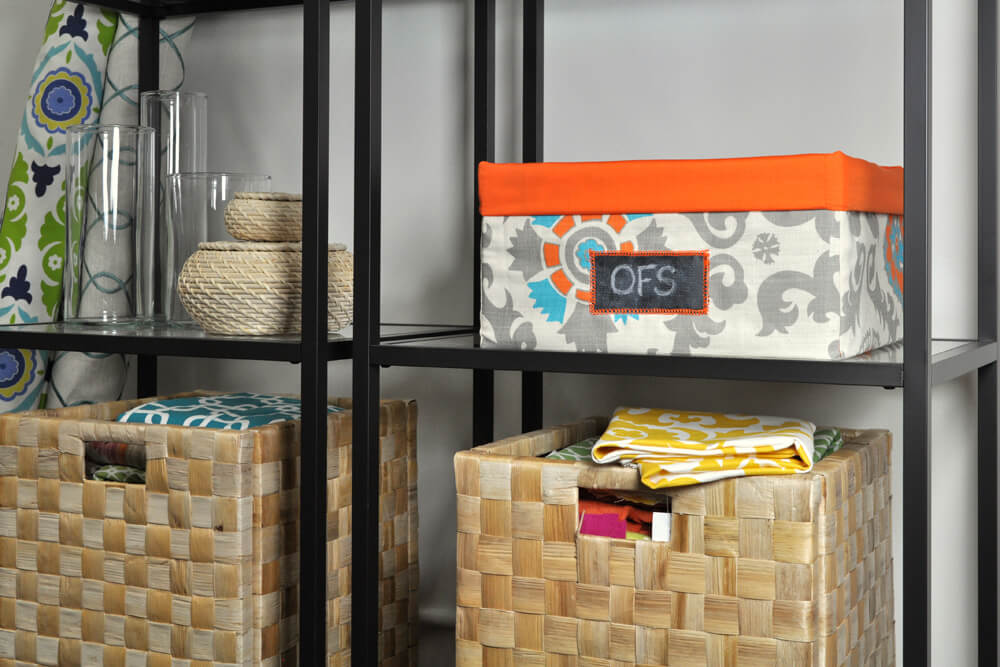
In this tutorial, I’m making a storage bin made out of fabric and cardboard, with an optional chalkcloth label. I’m using a Premier Prints décor fabric for the outside and broadcloth as the lining. This bin is perfect for storing all sorts of stuff, like toys or sewing supplies. You can make these storage bins in a wide range of sizes to suit your needs. Using your bin on open shelving adds both storage and style to your space.
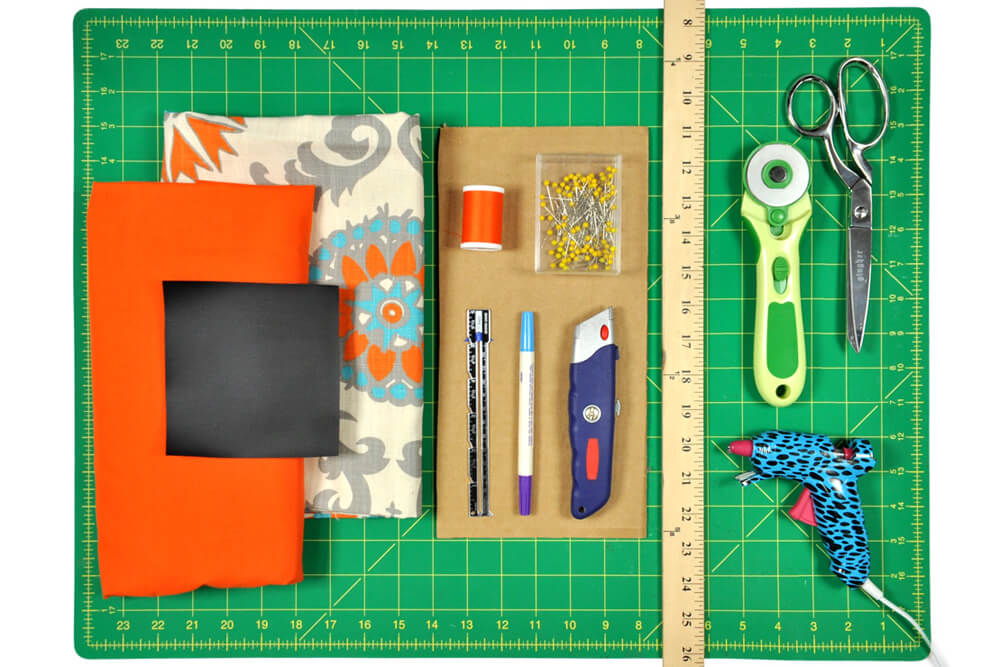
Materials
- Decor fabric
- Coordinating lining fabric
- Chalkcloth (optional)
- Cardboard
- Thread
- Pins
- Sewing gauge (optional)
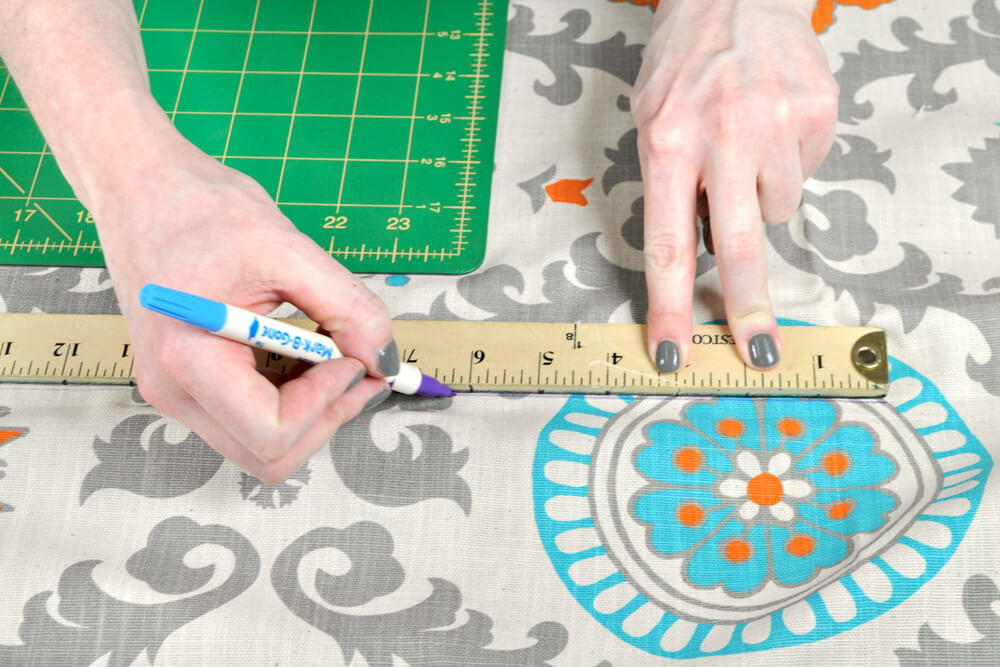
- Fabric marker
- Box cutter
- Yard stick
- Rotary cutter
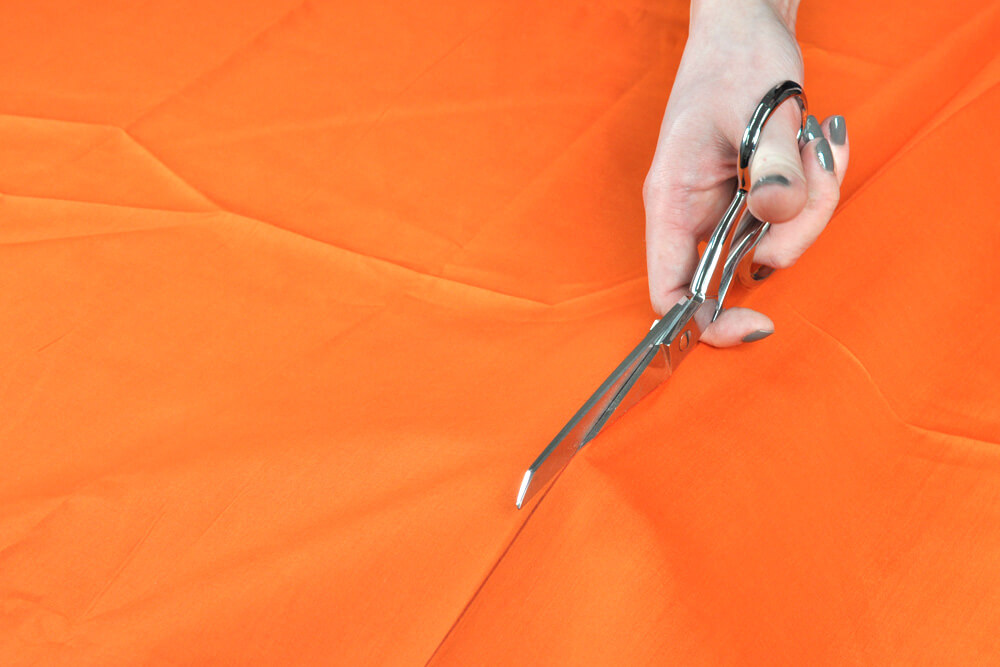
- Scissors
- Cutting mat
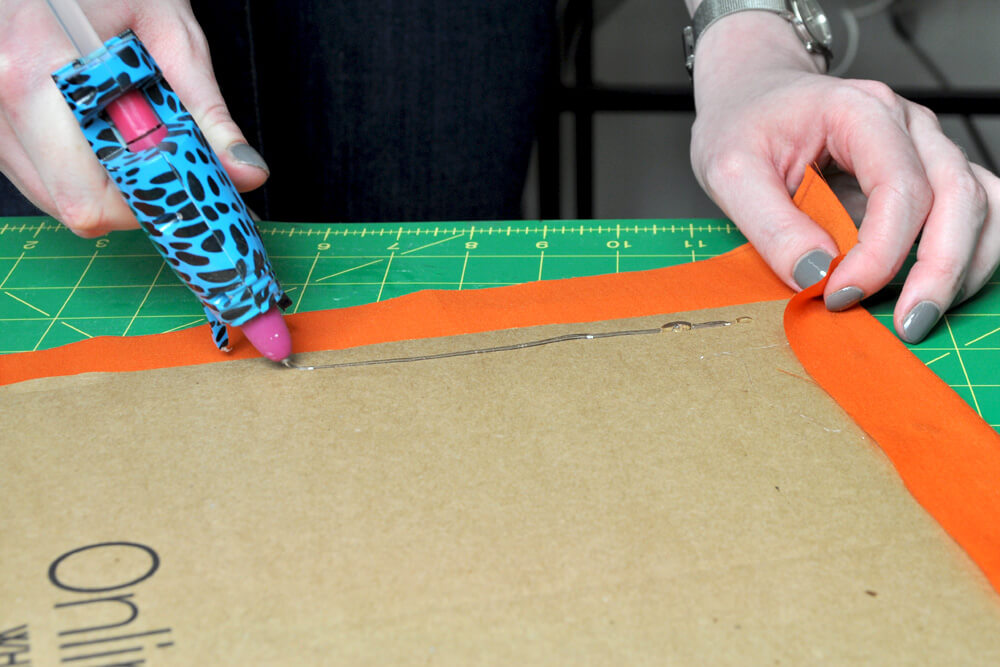
- Hot glue gun
- Iron and ironing board
Related Products


Video
Instructions
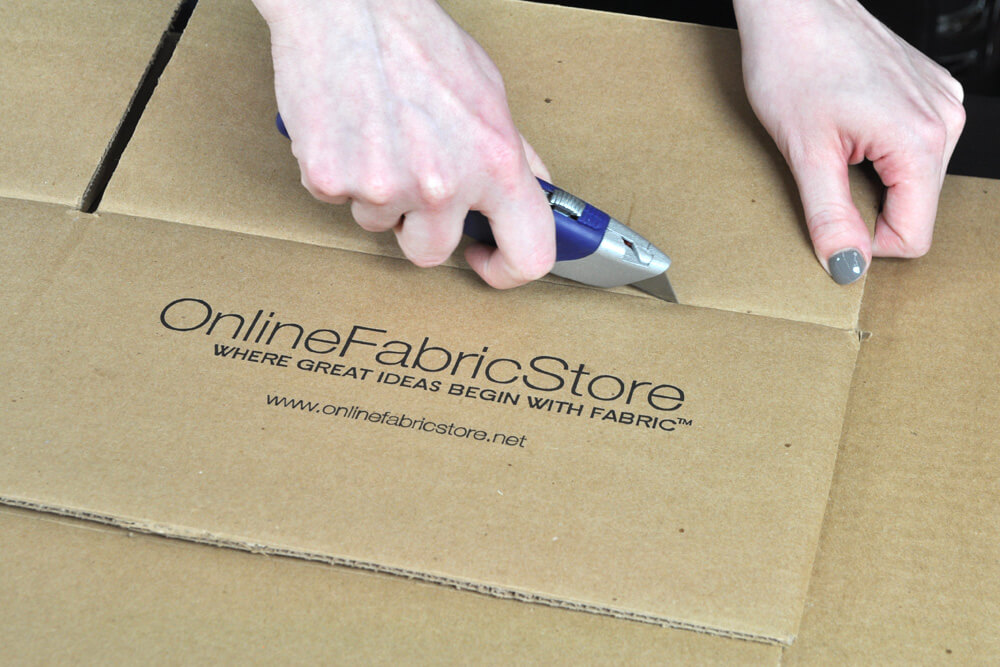
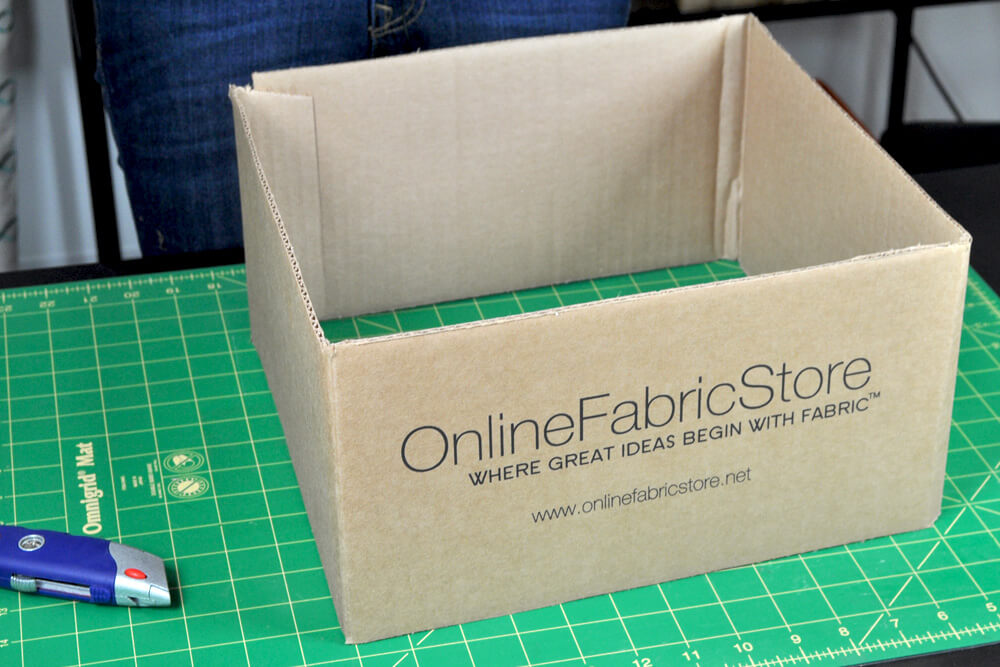
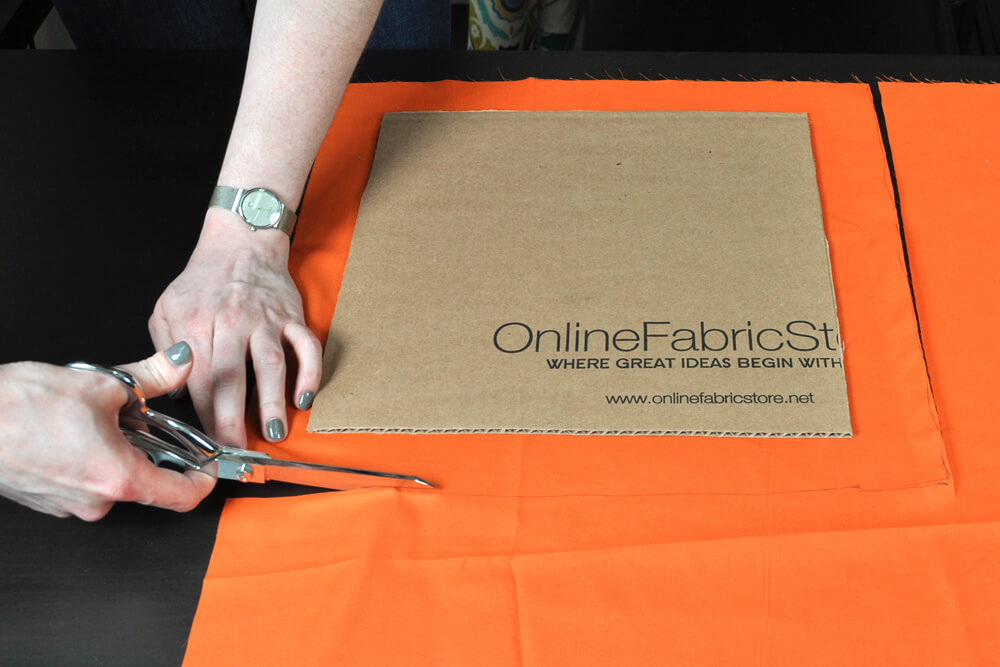
Step 1: Cut the cardboard
I’m using cardboard to form the sides and bottom of the box. You can modify an existing box, like I’m doing, or cut pieces to the size you want. I’m cutting off the flaps off this 12″ x 12″ x 6″ box. Also cut a piece of cardboard for the bottom of the box, which is 12″ x 12″ here.
Step 2: Measure & cut the fabric
Measure and cut two pieces of fabric that will form the sides and bottom of the box. One for the outside and one for the lining.
To determine the measurements, add the box width and the height of the two sides, then (if your box is a rectangle) measure the length plus the height of two sides. Add 10” to both of these measurements (so there’s enough fabric to fold over the top of the box at the end).
Fabric Width: [width of box] + [height of box] + [height of box] + 10”
Fabric Length: [length of box] + [height of box] + [height of box] + 10”
For this box, the width and length are the same, so I’m cutting the fabric to 34″ x 34″. (6 + 6 + 12 + 10 = 34)
Cut both the outside and lining fabrics to this size. Also cut another piece of the lining fabric, which will cover the bottom cardboard insert. Trace around the cardboard about 1 ½” out from the sides and cut the fabric out.
Step 3: Glue fabric to bottom cardboard
Fold the fabric over the cardboard and hot glue it down. Set this aside for now.
Step 4: Iron the outer & inner fabric
Next, iron creases to determine where to sew the seams that will form the corners of the bin. Put together the outer and inner fabric pieces, with wrong sides facing and the outer fabric on the bottom. Pin them to keep the fabric together for now.
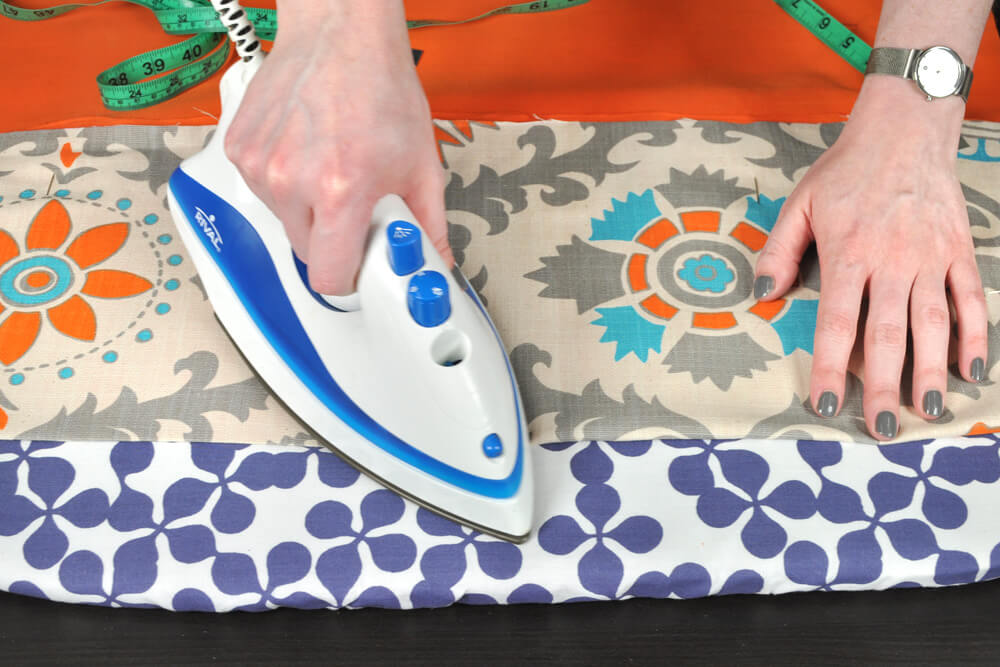
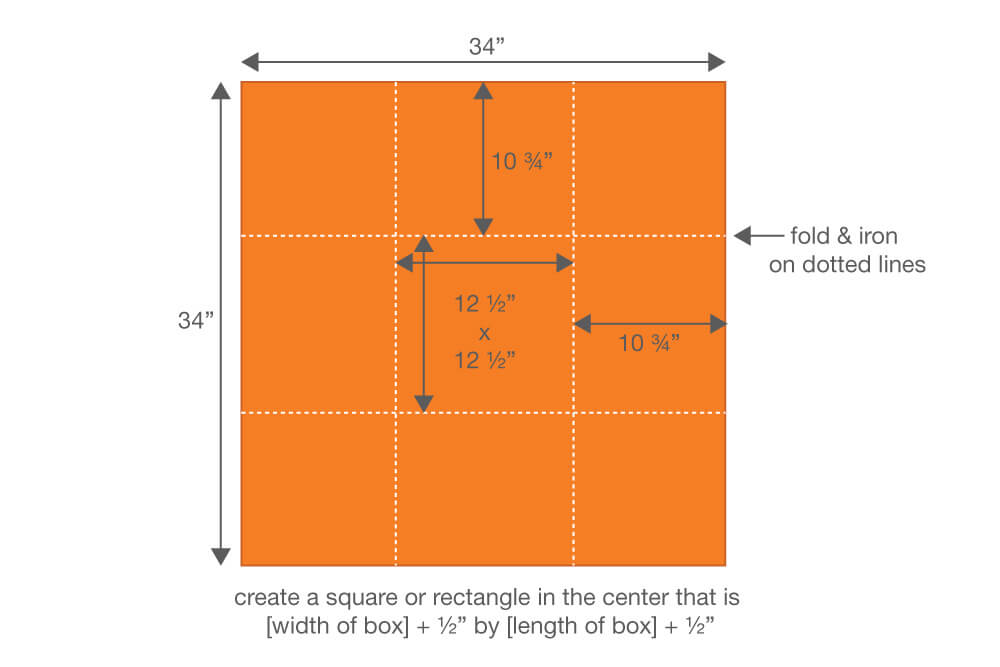
The goal here is to create crease lines like tic-tac-toe that form a square or rectangle in the middle, which is the measurements of the bottom of your box plus ½”. (The extra ½” added to the width and length accounts for the amount of space the cardboard will take up.) Here, I’m folding over the sides 10 ¾” and ironing. See the diagram below.
To figure out how much to fold over for your size box: (width of fabric – width of box) / 2 and (length of fabric – length of box) /2
This example (same width and length): (34″ – 12.5″) / 2 = 10.75″
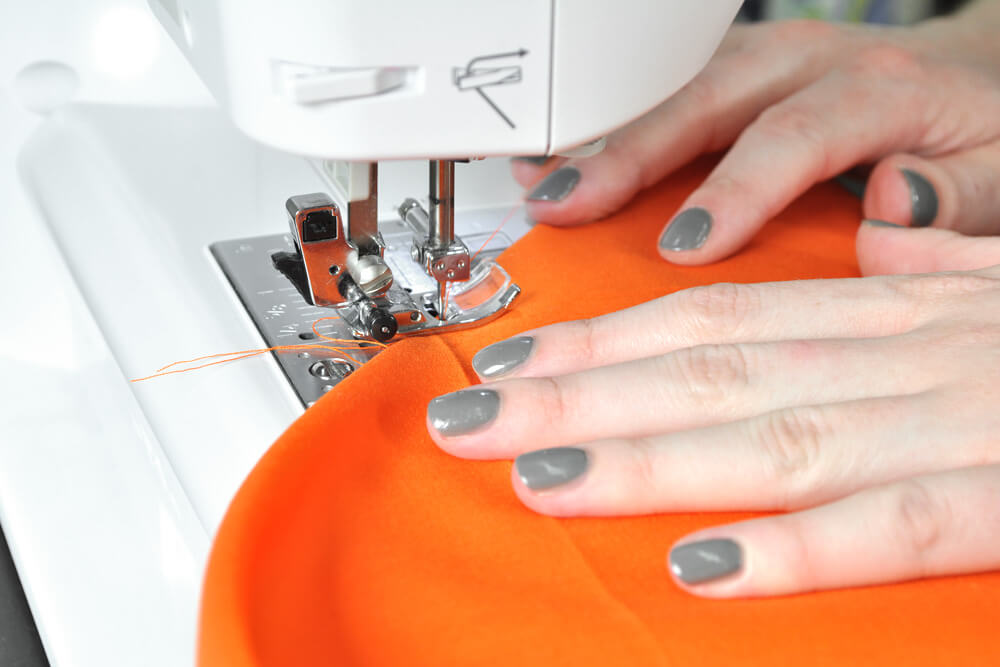
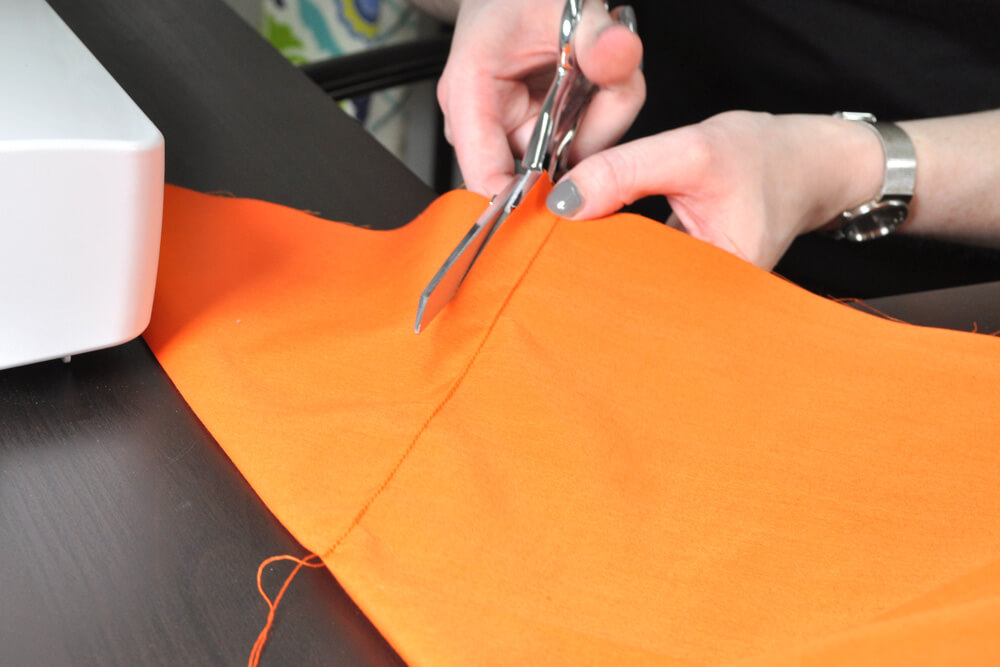
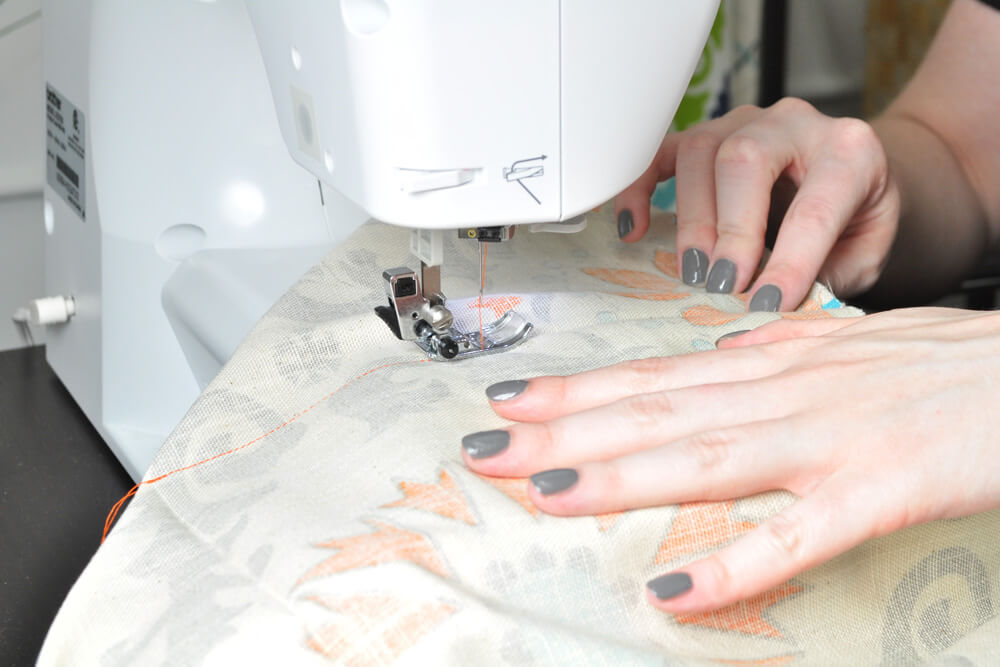
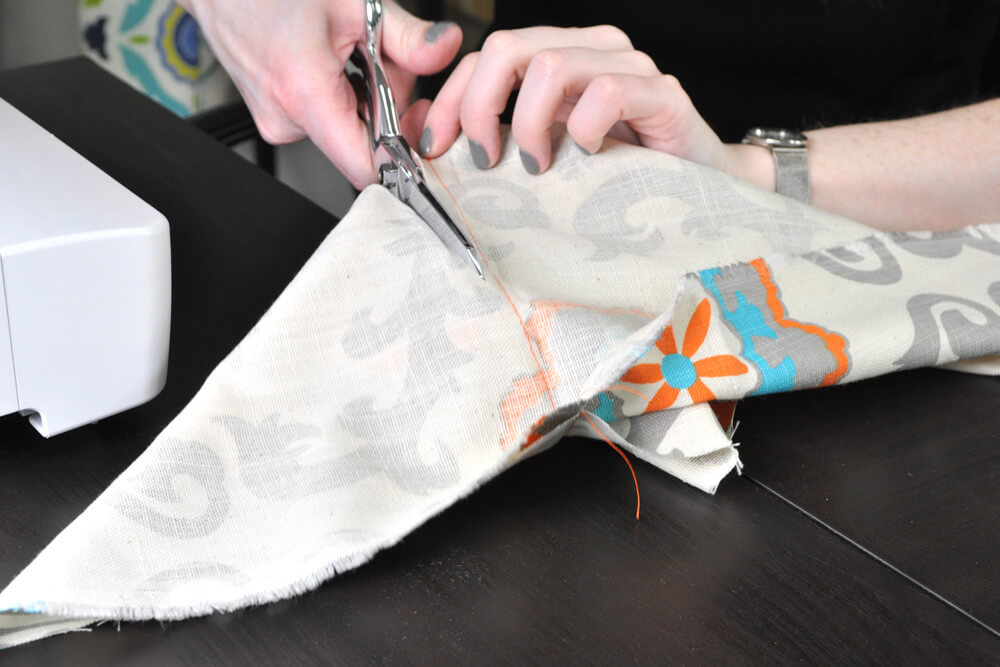
Step 5: Sew the outer & lining fabrics
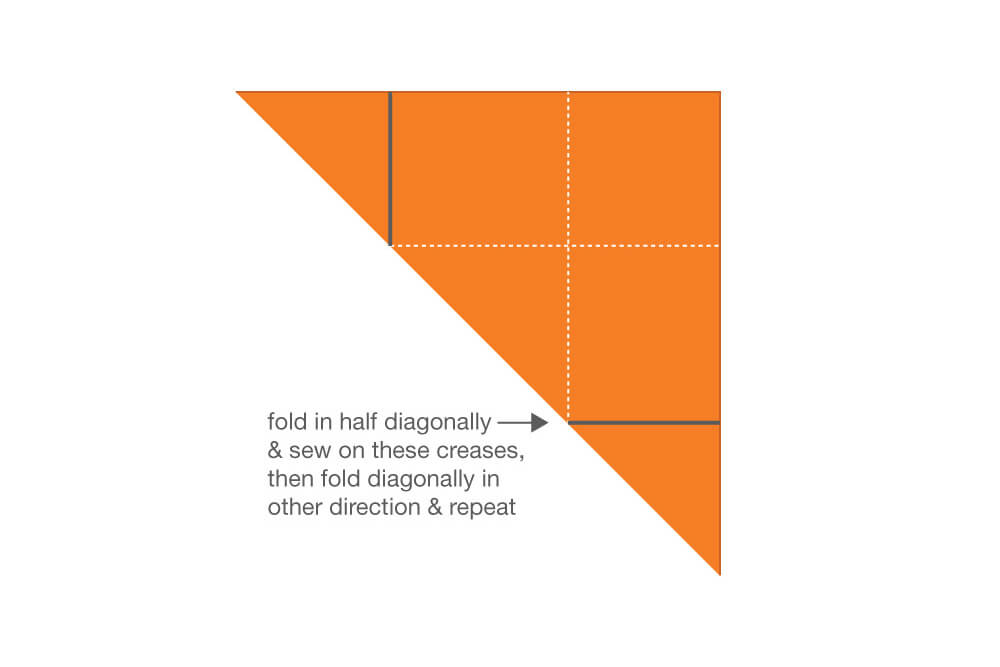
Take the two pieces of fabric apart. Fold one piece of fabric diagonally and match up the creases at one of the corners. Sew along the creased line from the corner of the inner square to the raw edge. Repeat on all corners of both the lining and outside fabrics. Trim off the excess fabric.
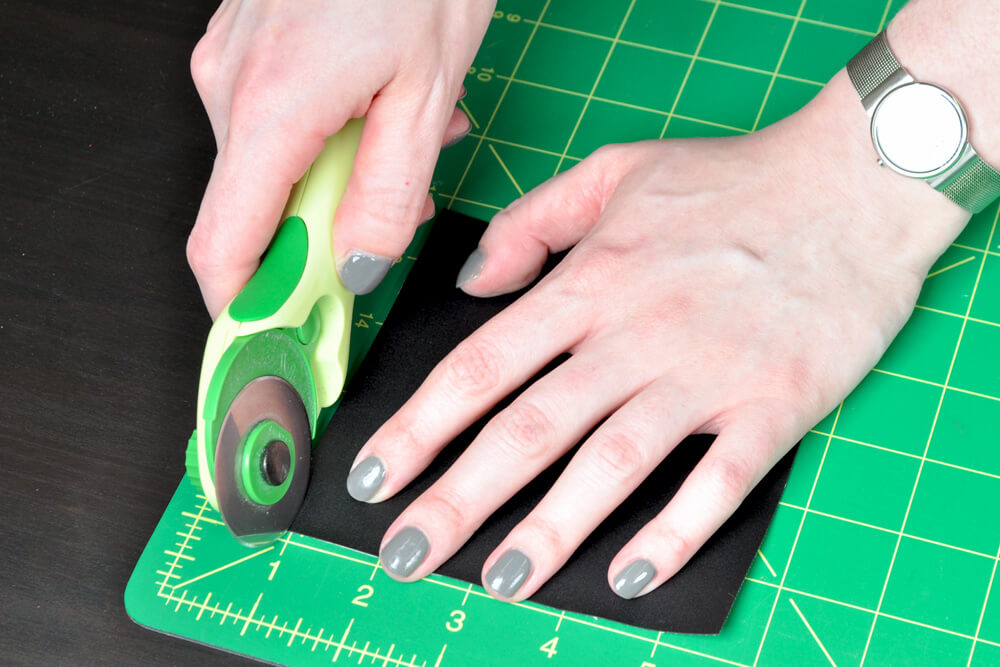
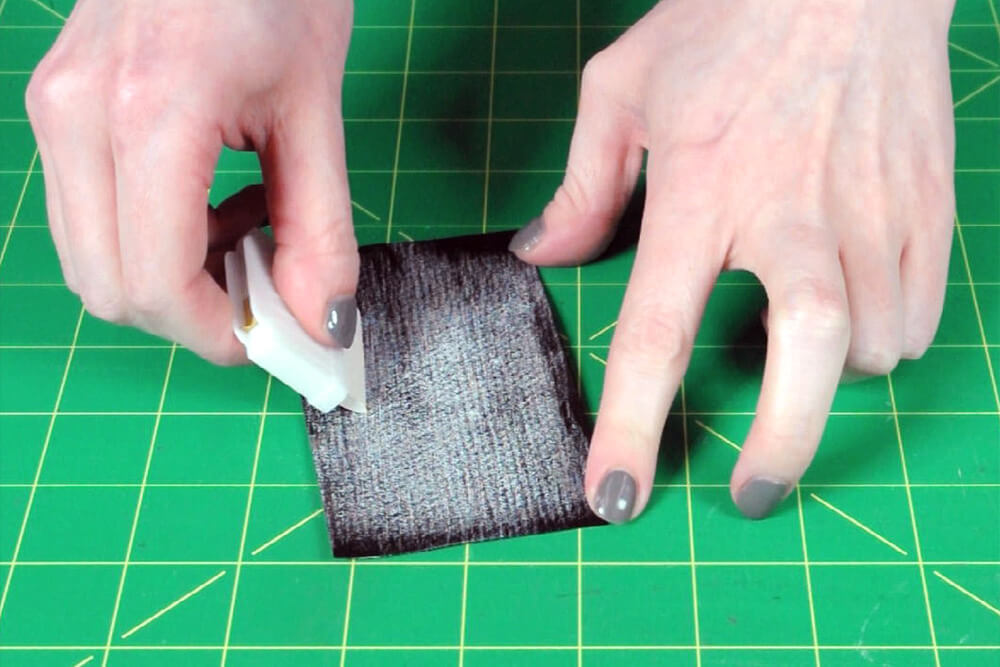
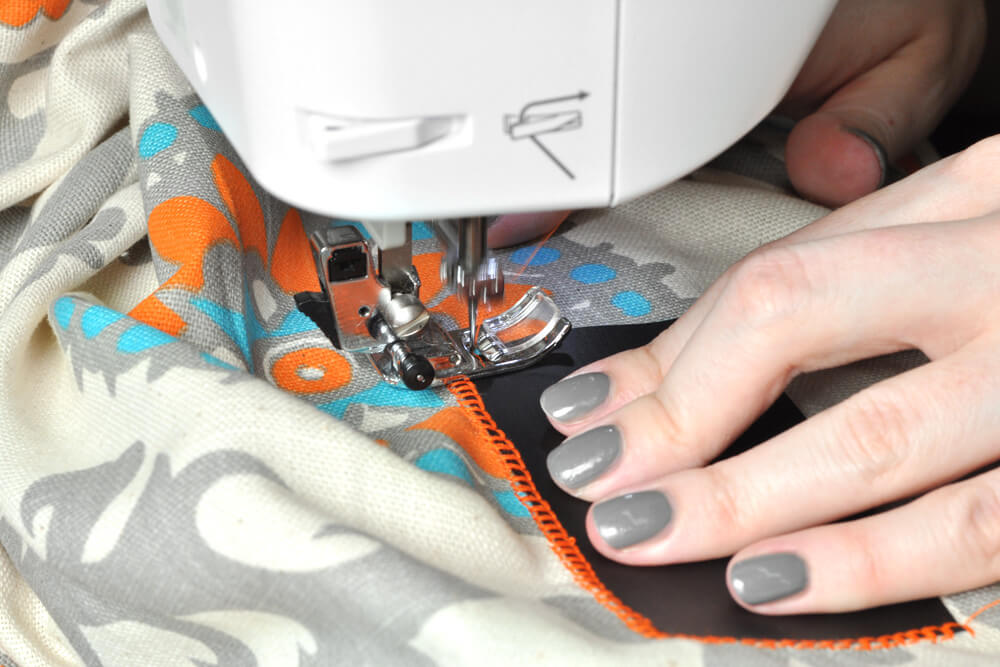
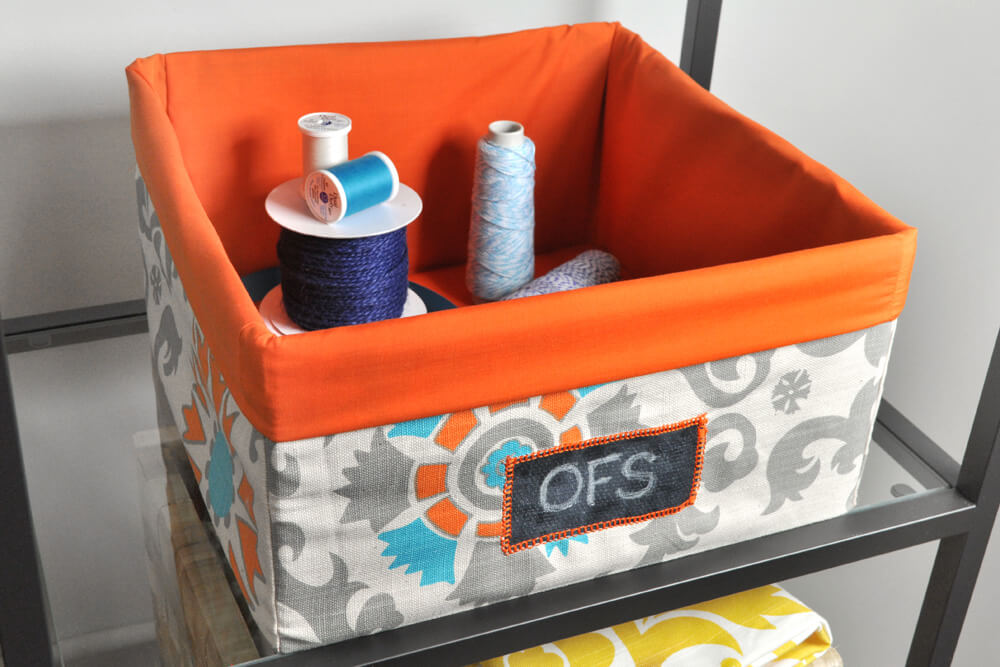
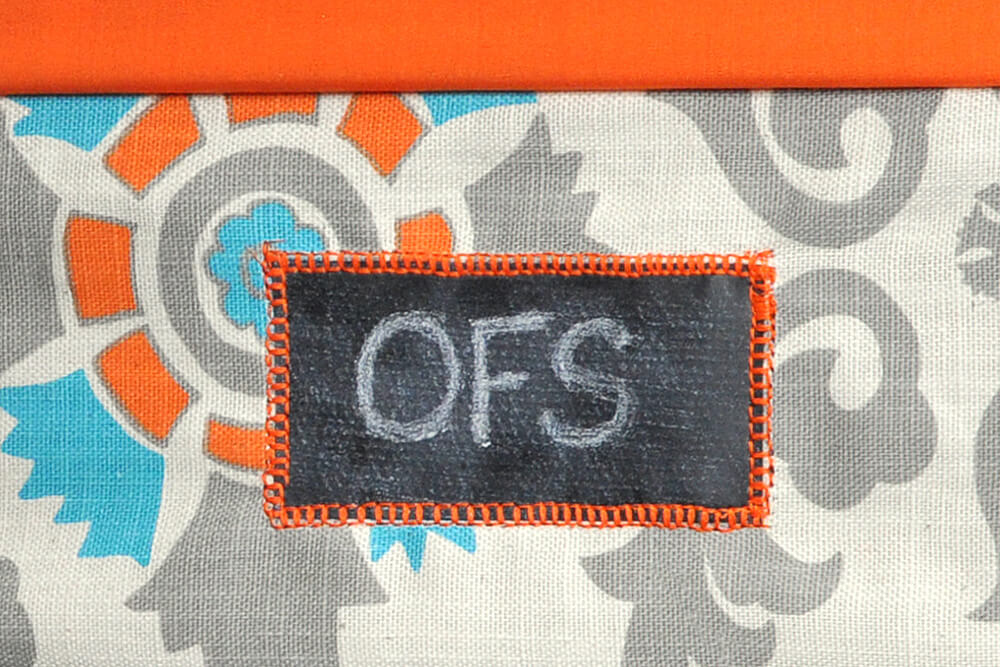
Step 6: Make chalk cloth label (optional)
Next I’m adding a label to the box. Cut the chalkcloth to the size you want. This one is 2″ x 4″. The chalkcloth needs to be seasoned before it can be written on. To do this, rub it with chalk, wipe it off, and repeat.
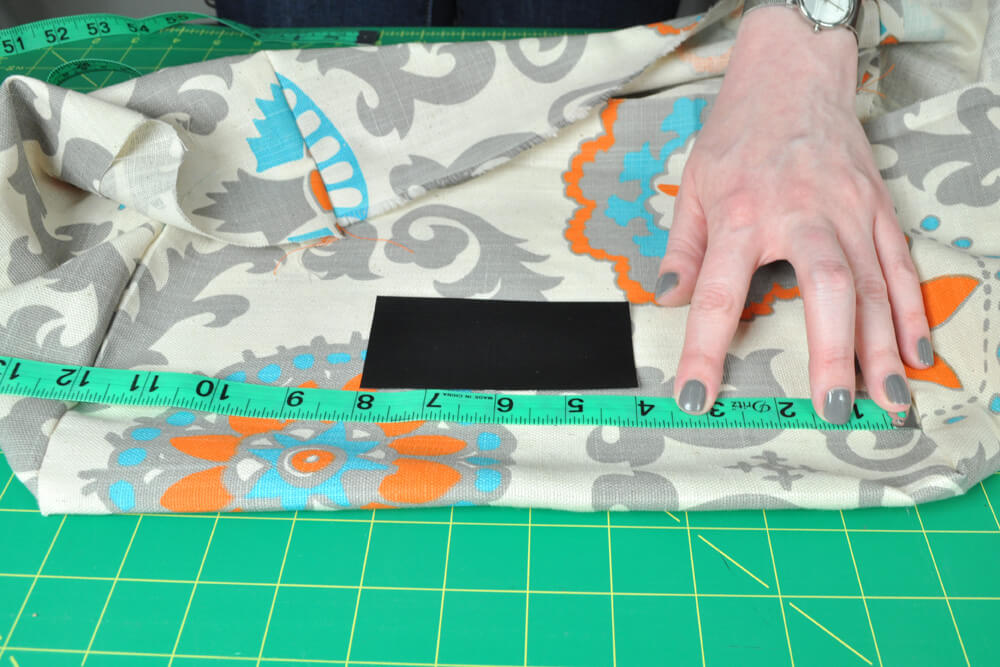
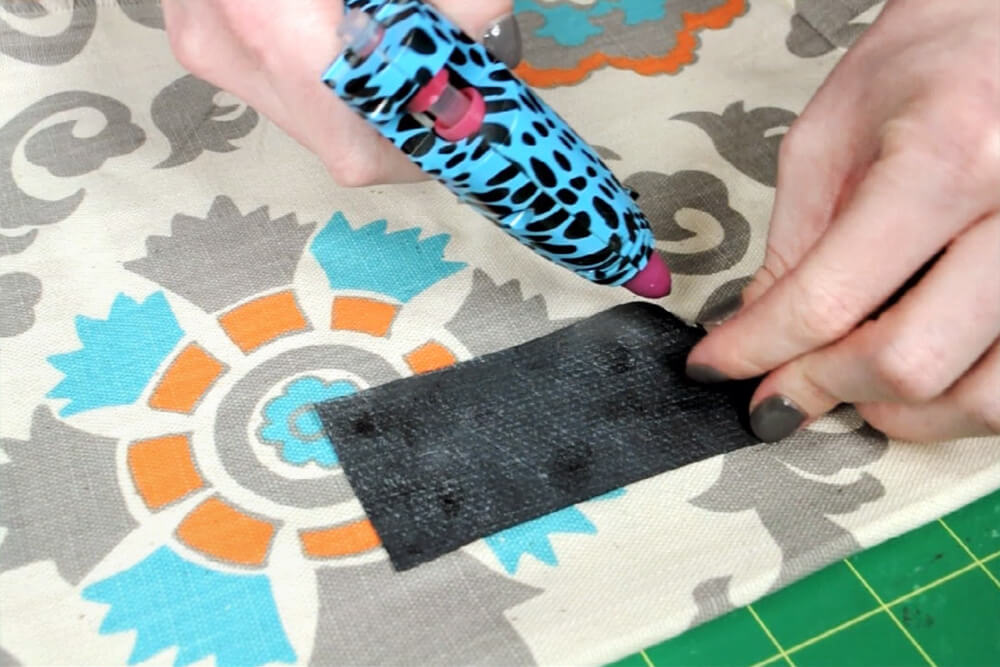
Place the chalkcloth on the front side of the outer fabric, so it’s centered between the seams and about 1.5” from what will be the bottom of the box. Put a couple dabs of hot glue under the corners to hold it in place.
Next, sew around the edges of the label. You can choose a straight stitch and sew just inside the edge of the chalkcloth or use a stitch like a zigzag and sew on either side of the edge. I’m using one that’s a little more decorative.
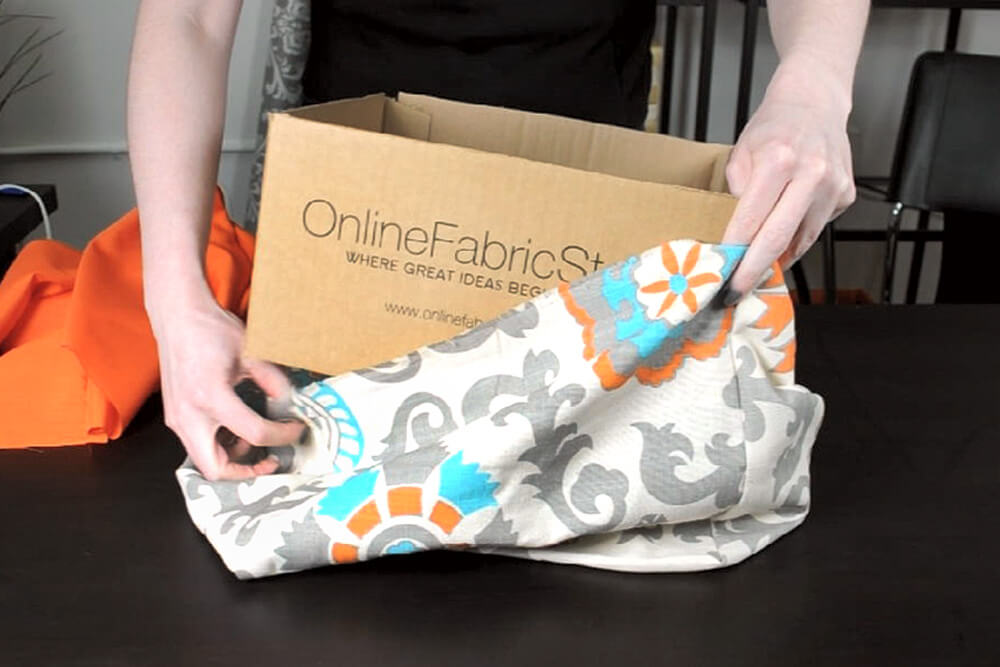
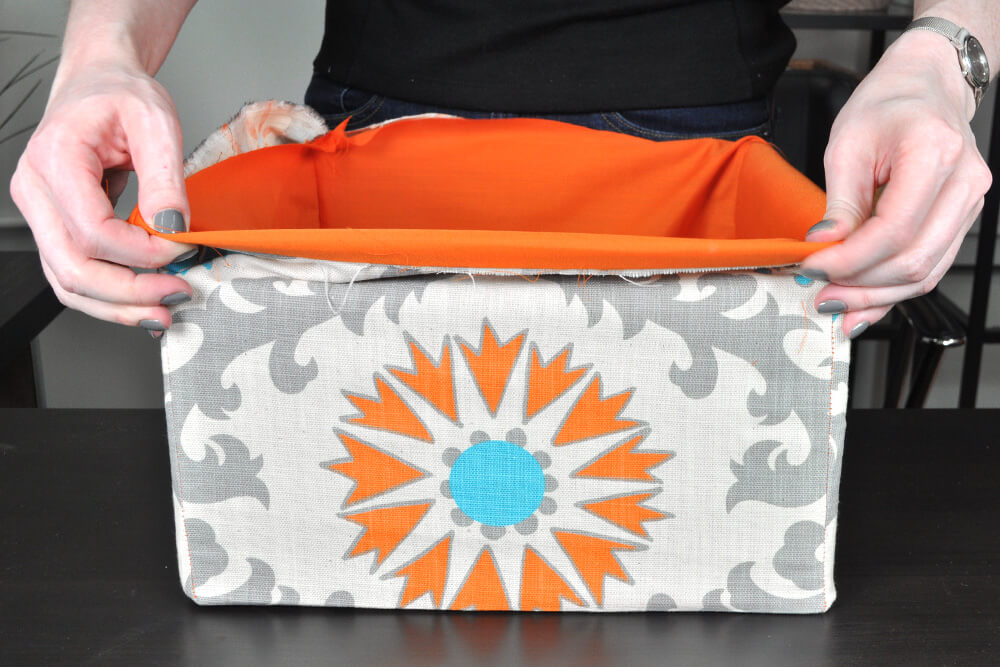
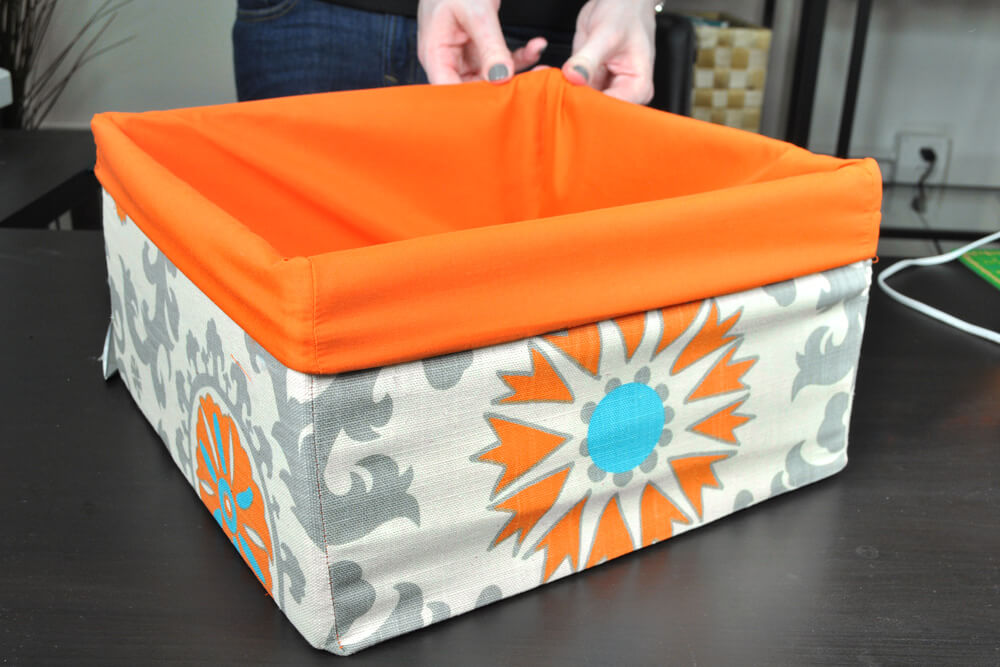
Step 7: Assemble the storage bin
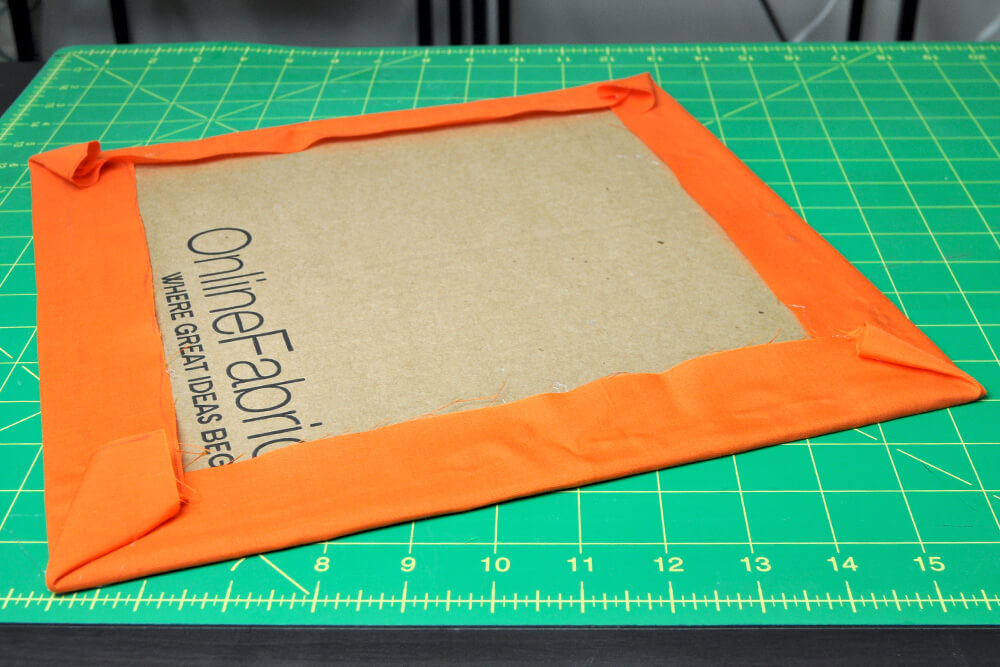
Put the side walls of the cardboard box into the outer fabric. Then nest the lining fabric. Finally put in the cardboard bottom piece.
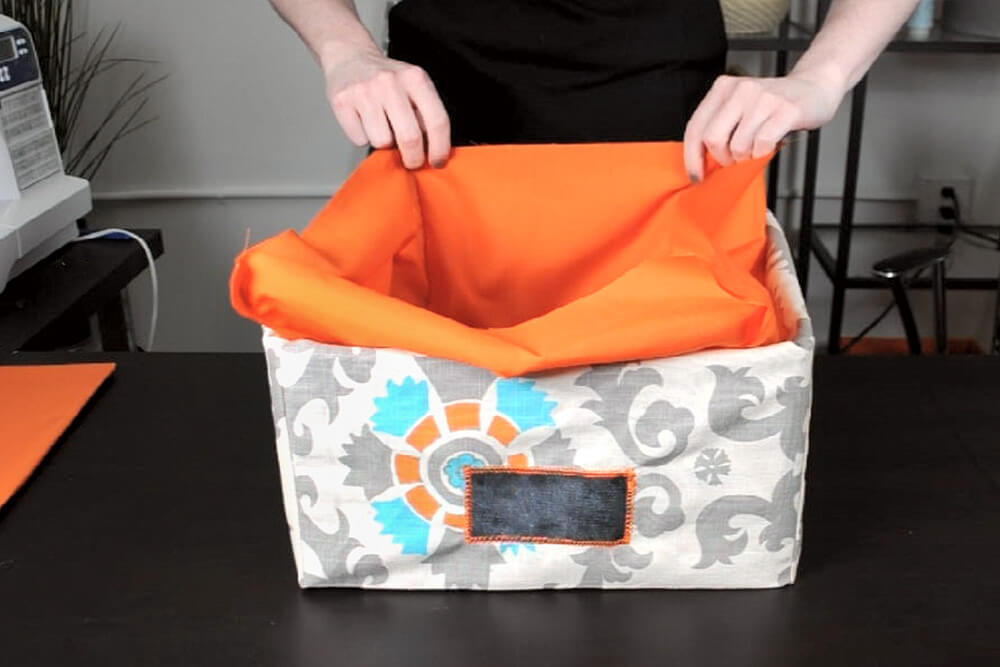
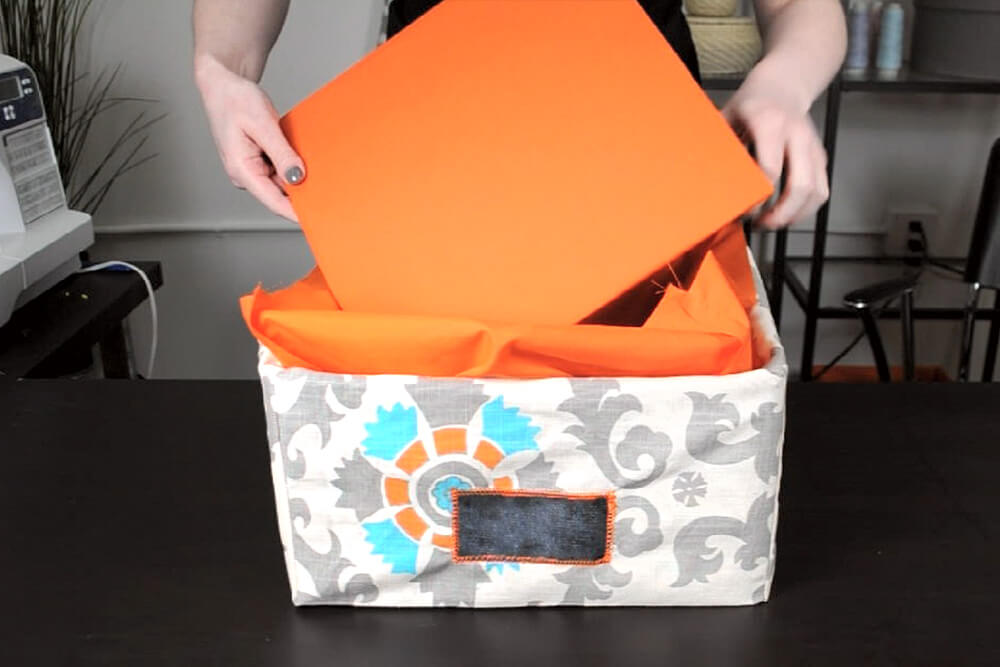
Fold the raw edges of both fabrics under about 1″ and keep on rolling until it’s folded over the edge of the box about 1 ½”. Write a label on the chalkcloth and the fabric storage bin is good to go!
Looking for more beautiful decor fabric? Click this link to see out huge selection!