How to Make a Felt Pencil Holder
- By Clara
- Beginner
- 1 hour 30 minutes
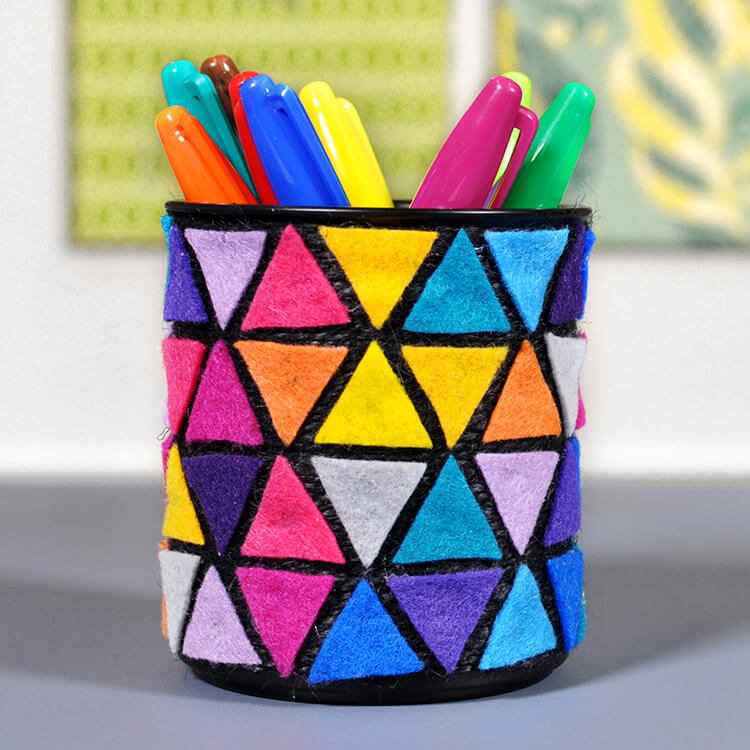
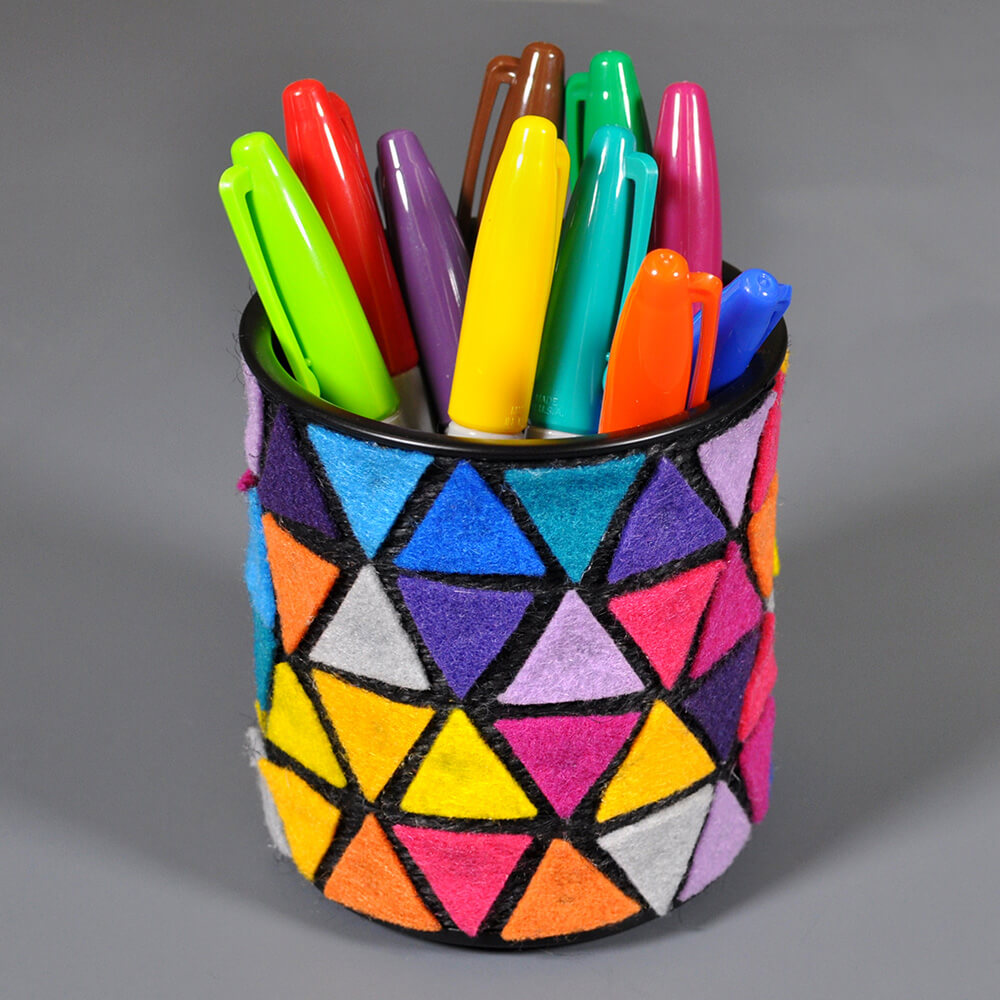
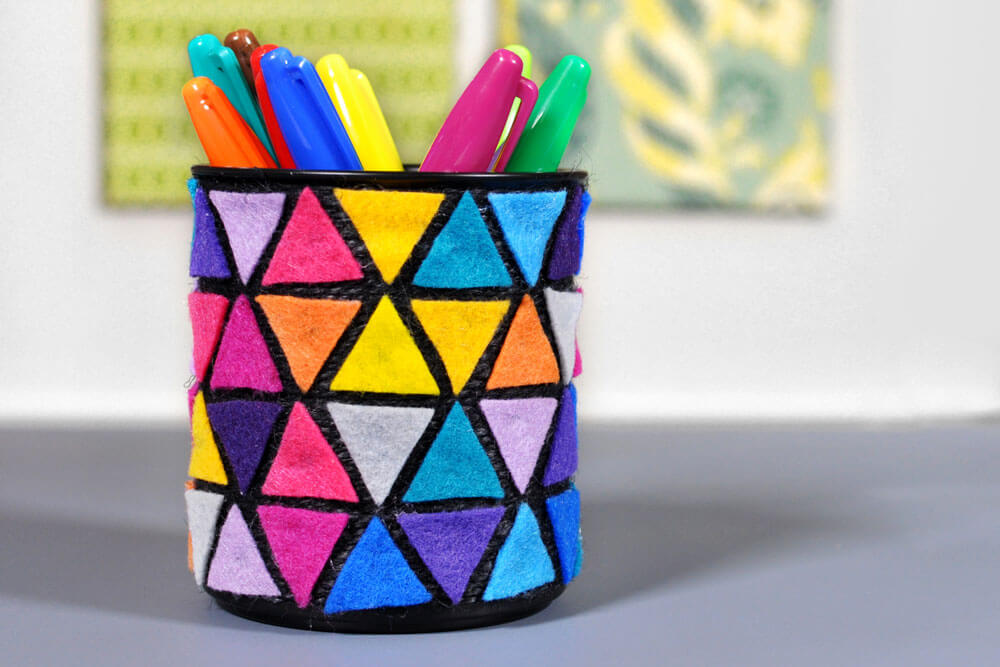
This DIY felt pencil holder brings a pop of color to the desktop and can hold all of your utensils. You can choose any colors and designs you like. Clara decided to go with a colorful geometric design that is cut to fit the pencil holder evenly. Felt works well for anything from complex designs to fun shapes for kids’ crafts.
Materials
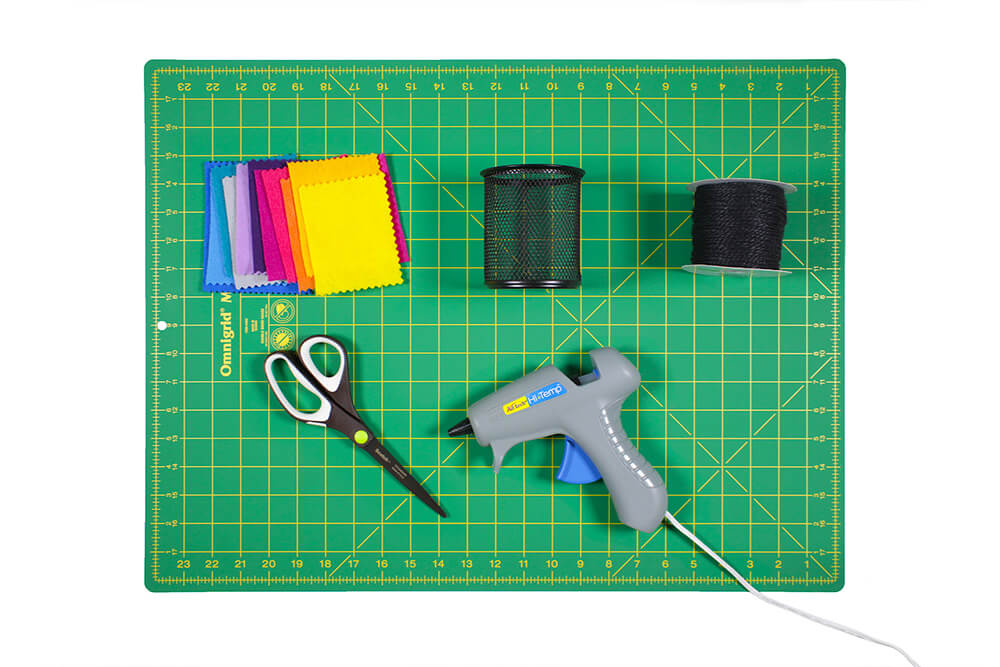
- An aluminum can or existing pencil holder
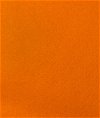
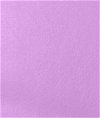
- Felt
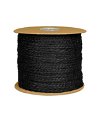
- Jute twine
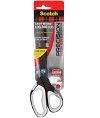
- Scissors
- Hot glue gun
Related Products


Video
Instructions
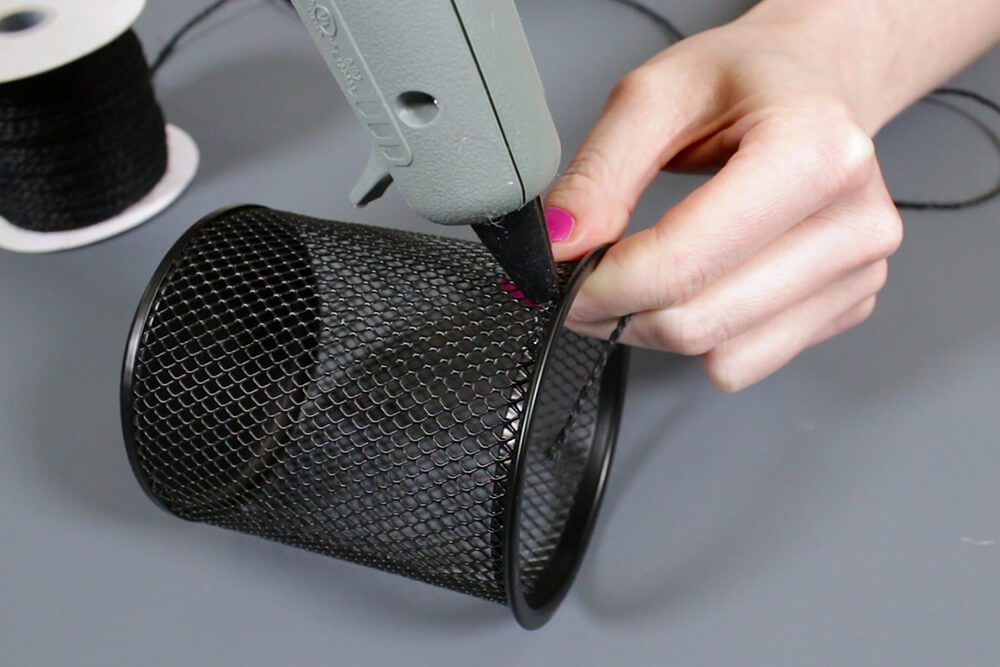
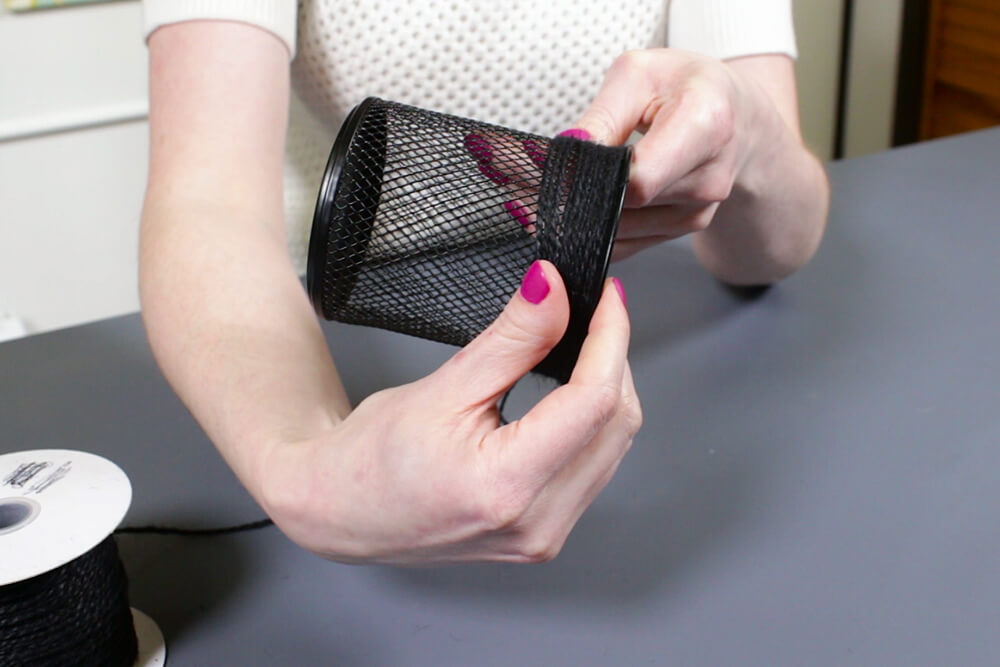
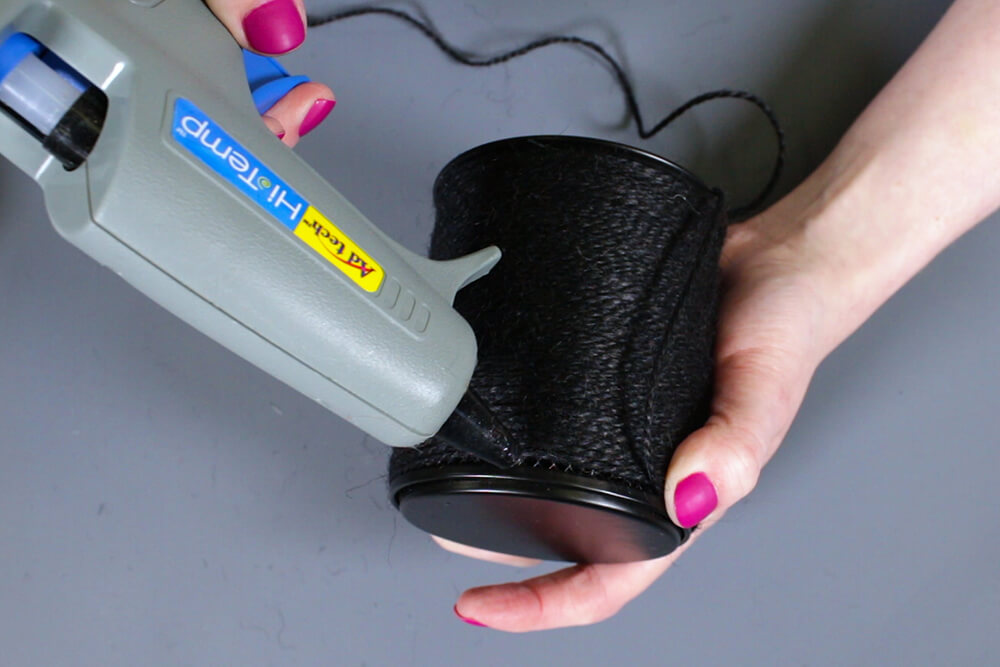
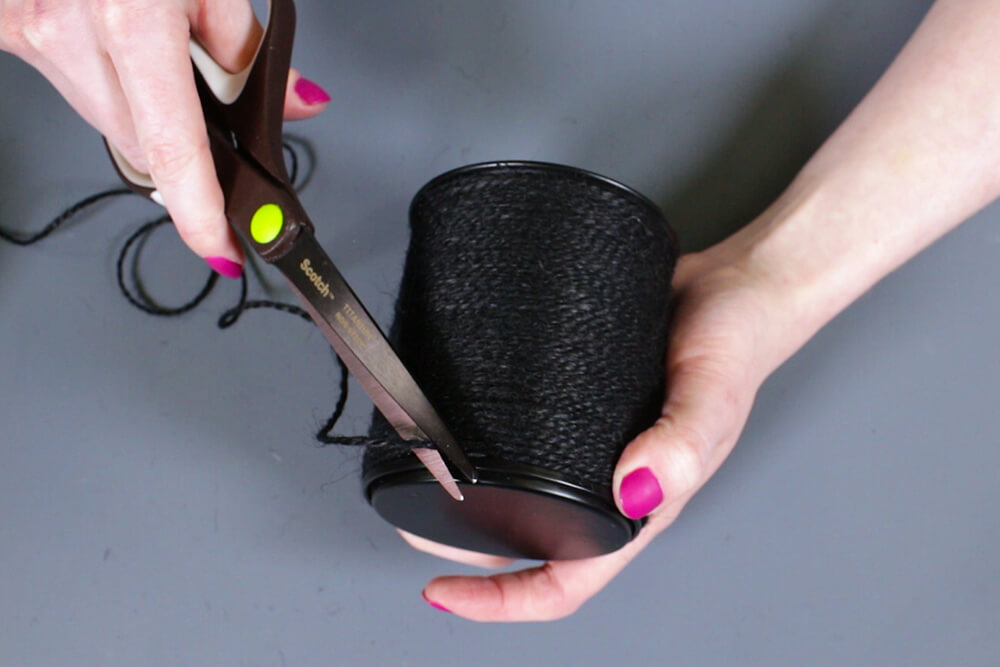
Step 1: Wrap the pencil holder with twine
Take your pencil holder, soup can, or other container and hot glue the end of the twine to the top. Wrap it around and over the end so it’s hidden. Keep on winding the twine until you get to the bottom. It should be tight with no gaps. Then, glue down the end and cut the twine.

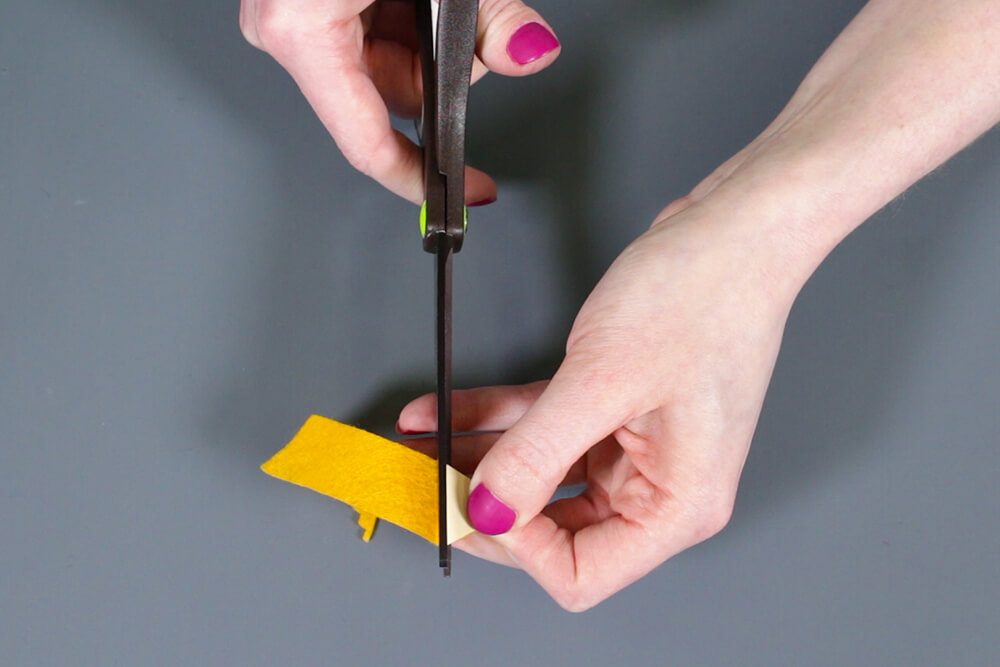
Step 2: Cutting out the pieces of felt
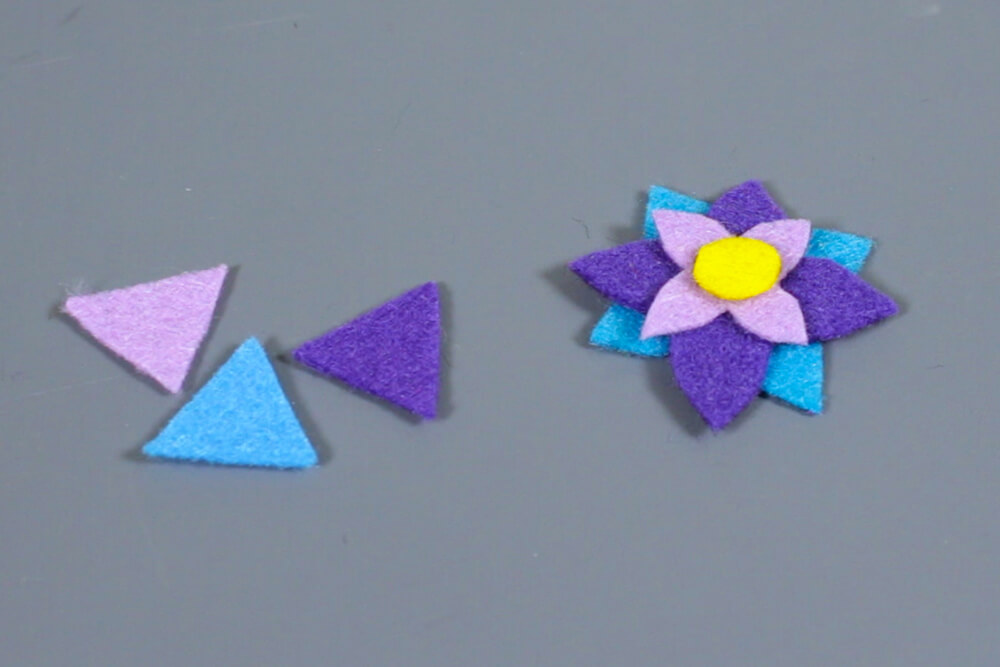
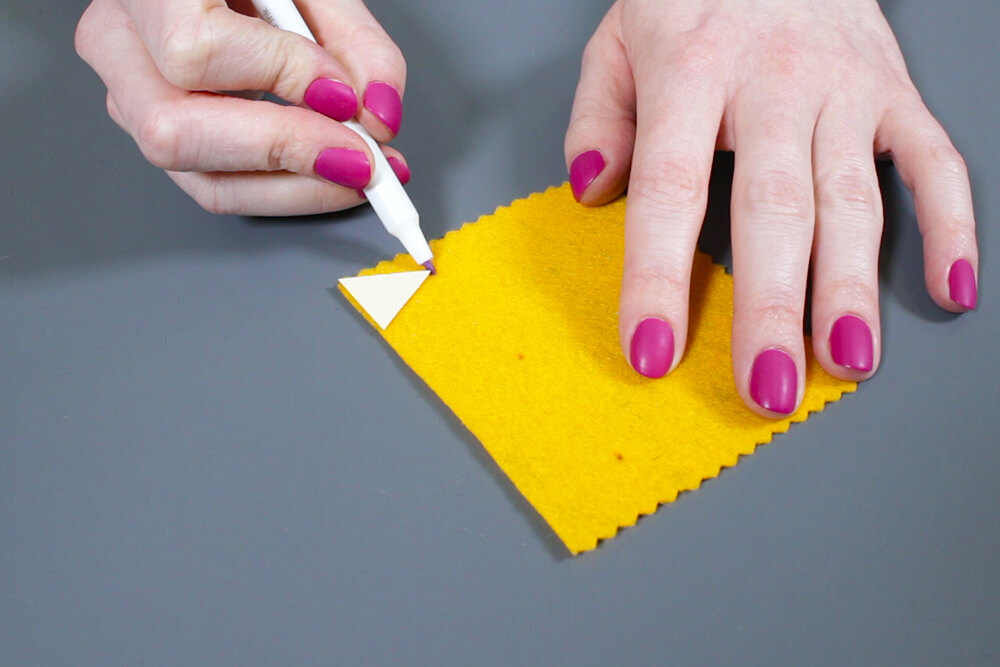
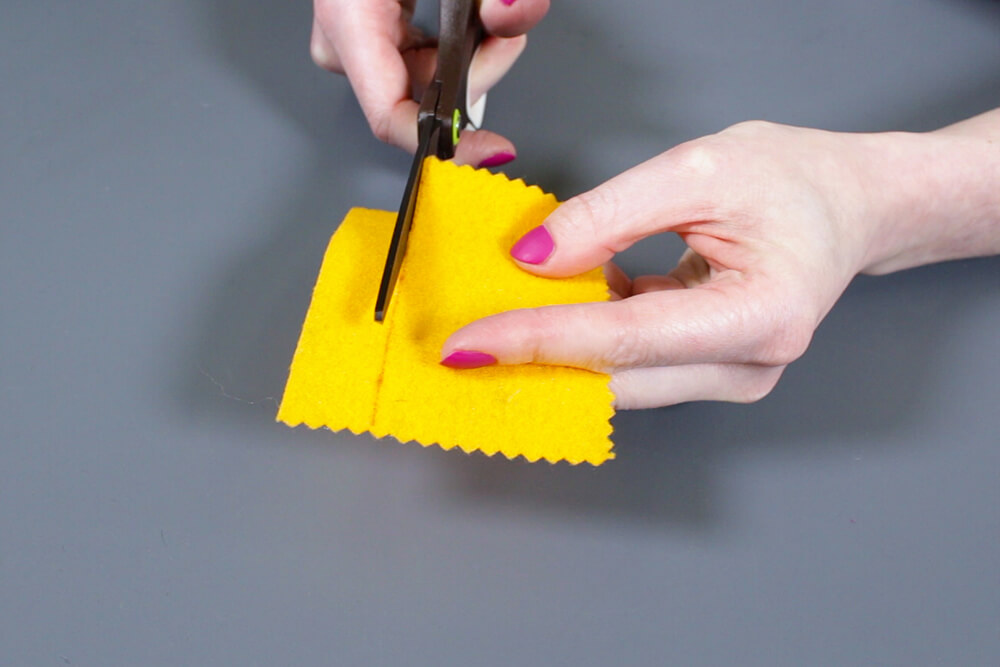
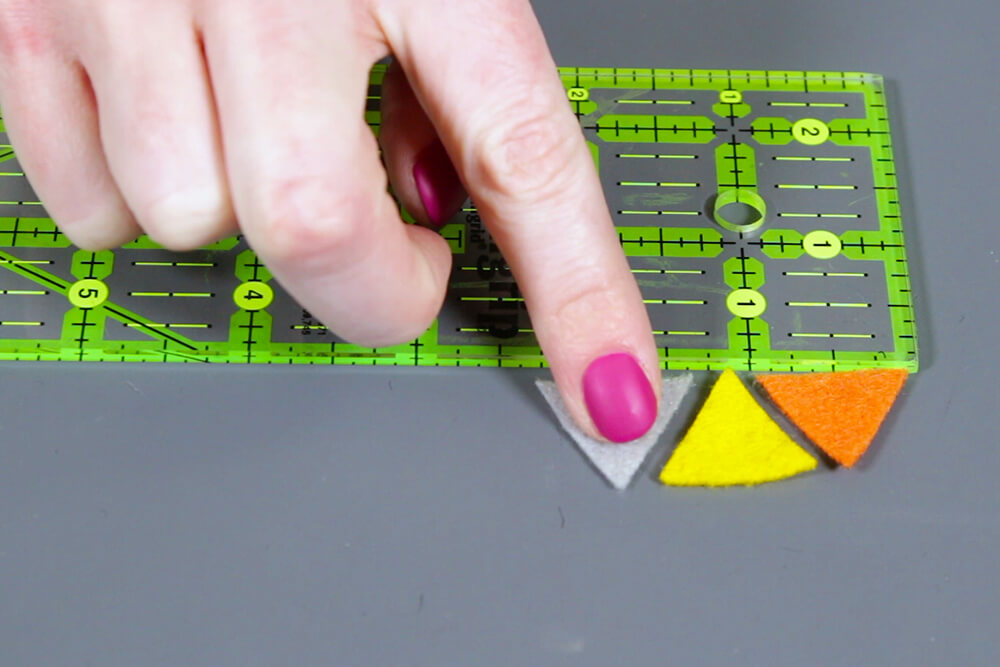
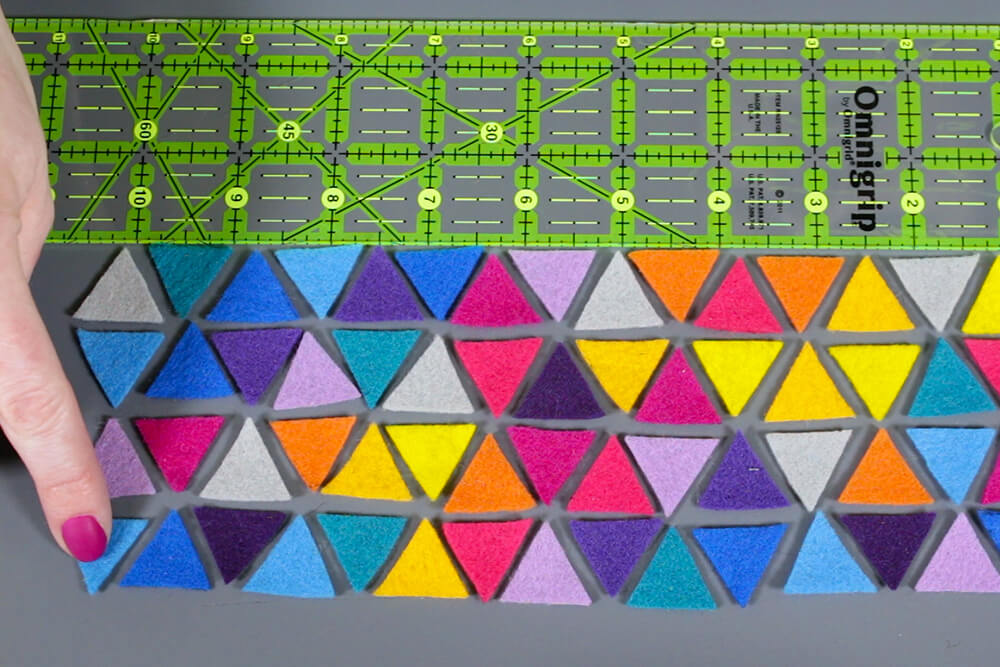
Create any design you want with the felt. You can layer the felt to make things like flowers. For this pencil holder, I’m making a pattern with triangular pieces. For this simple pattern, I cut out a triangle on card stock that’s 7/8 of an inch on all sides. Using this template, mark the height of the triangle to make a line and cut out the strip of felt. Then use the template to cut out the triangles. You can trace around it, or hold it on the felt while cutting.
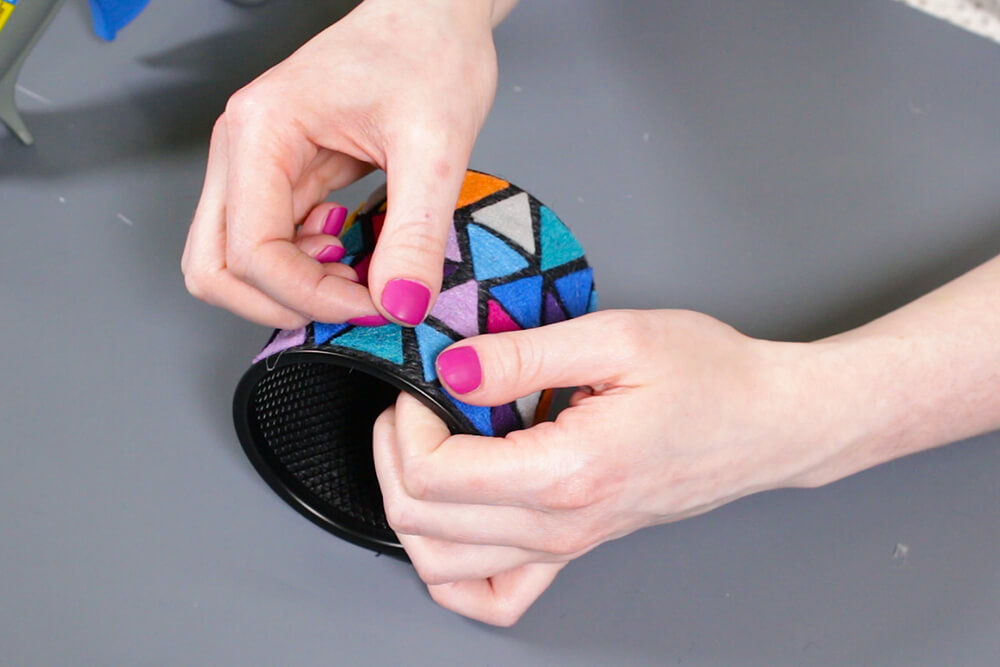
Step 3: Glue the felt to the pencil holder
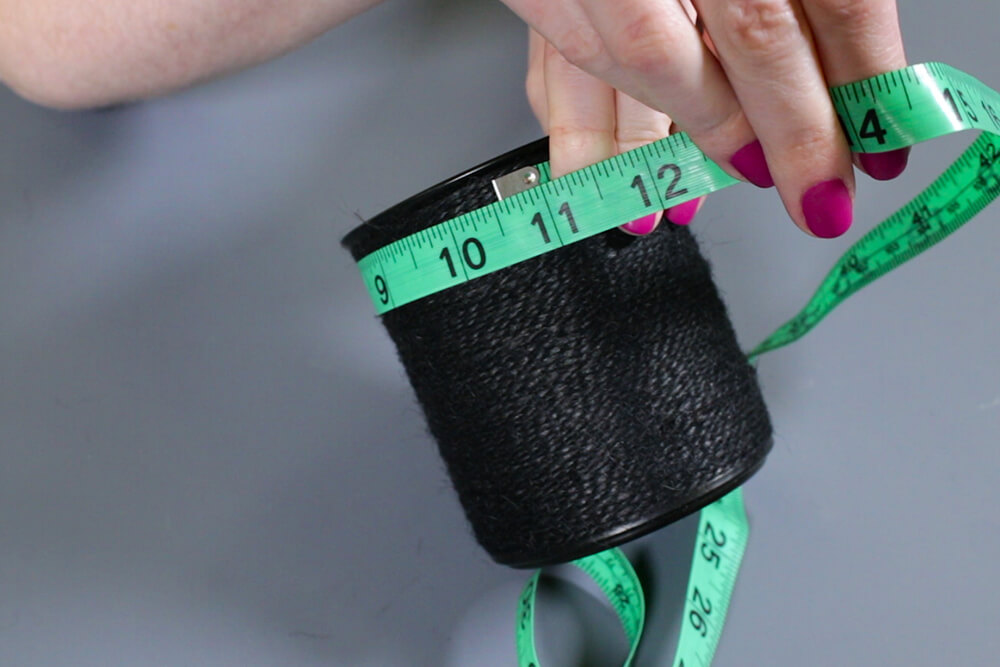
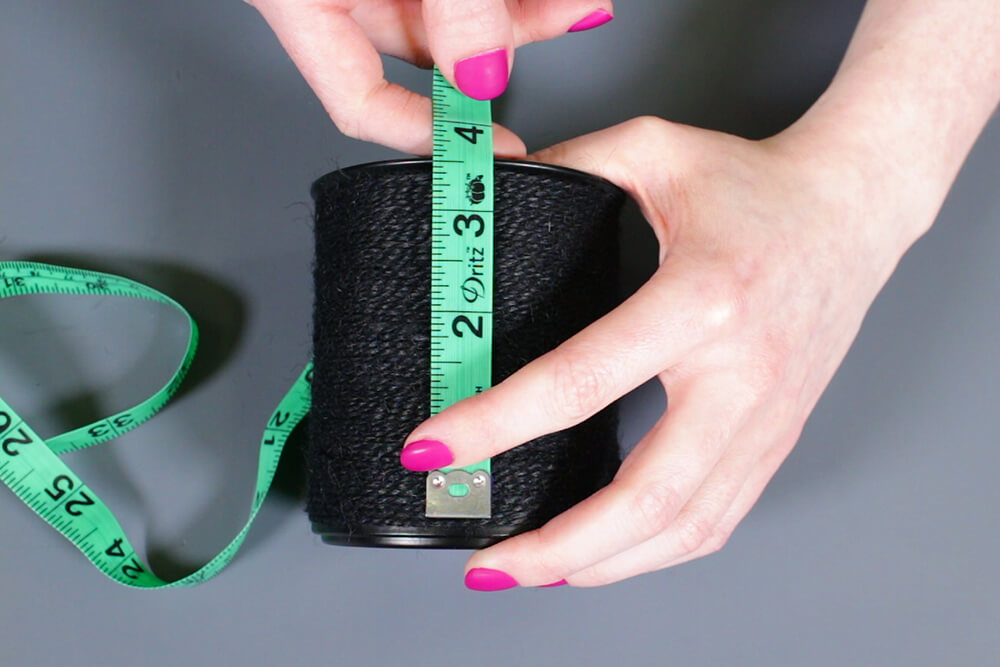
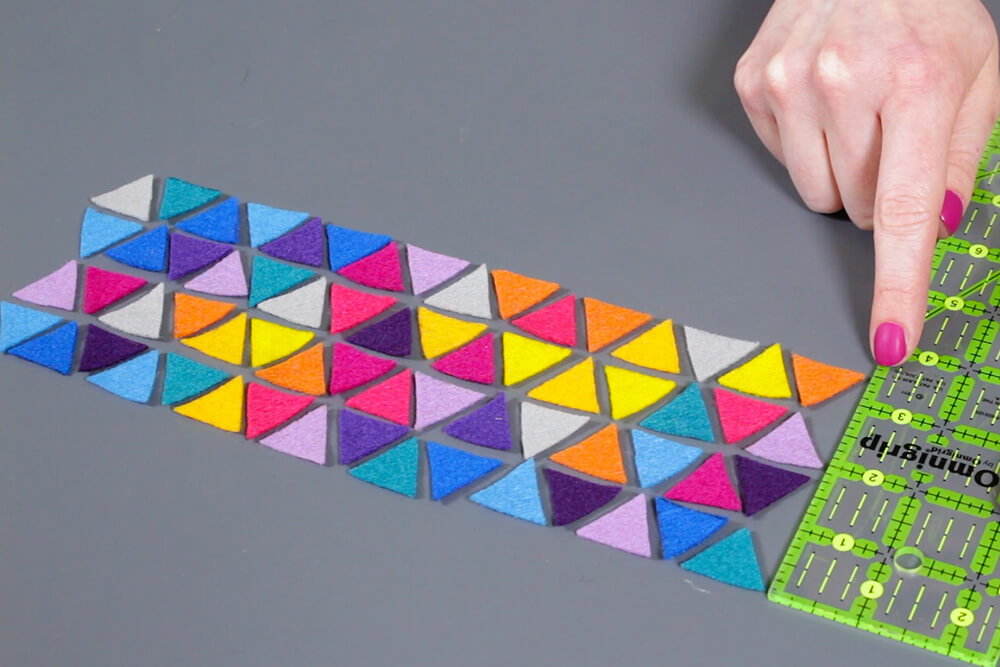
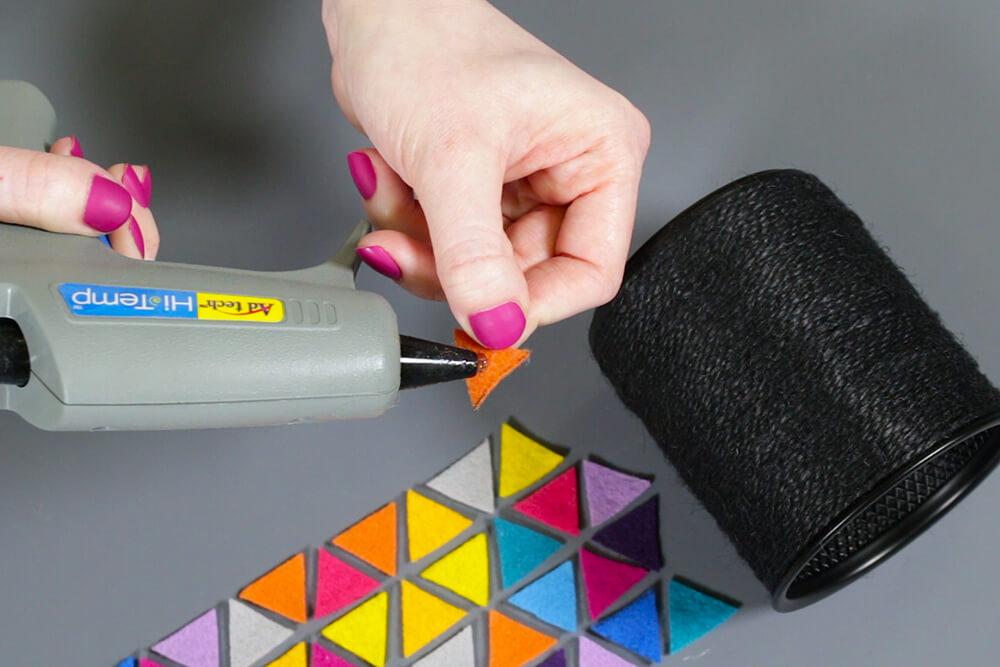
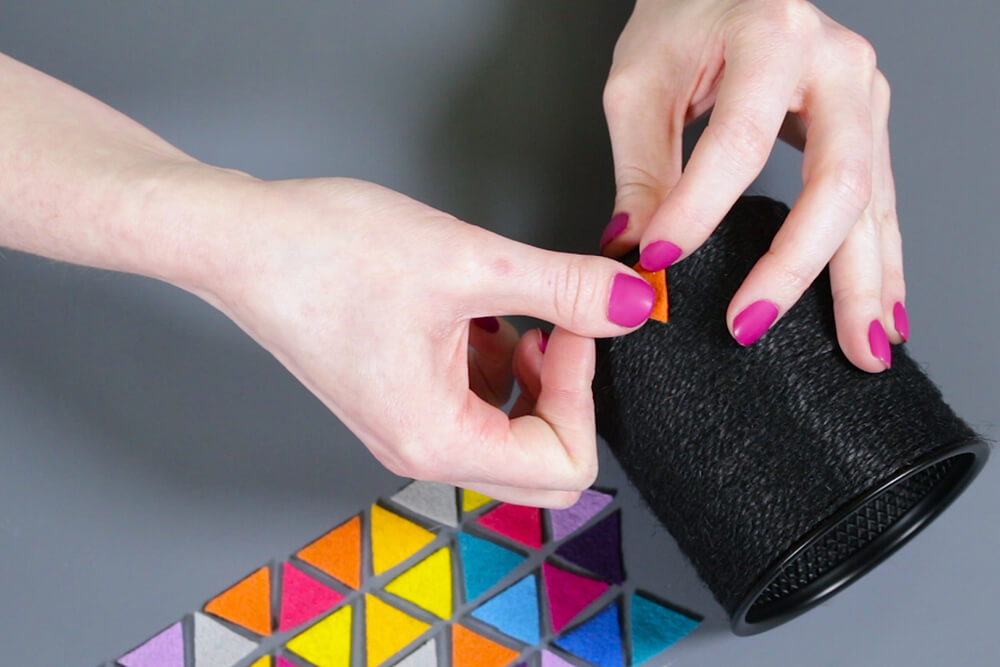
You may want to plan out the placement of the felt before attaching it. Measure the circumference of the pencil holder. This one is 10 and 1/2 inches and the height is 3 and 1/2 inches. I’m laying out the design to make sure it fits, and also to choose the colors. Put a dab of glue on the back of the felt and stick it to the twine. Repeat until all the felt is glued on to the pencil holder.

Cache time: 7:54:41 AM