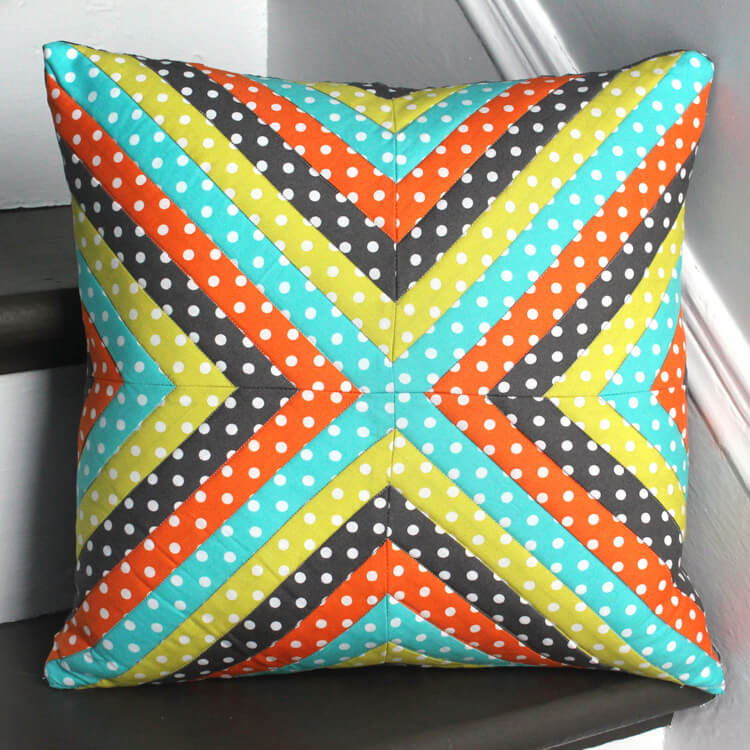
How to Make a Quilted Pillow – Strip Quilt Technique
- By Clara
- Intermediate
- 3 hours
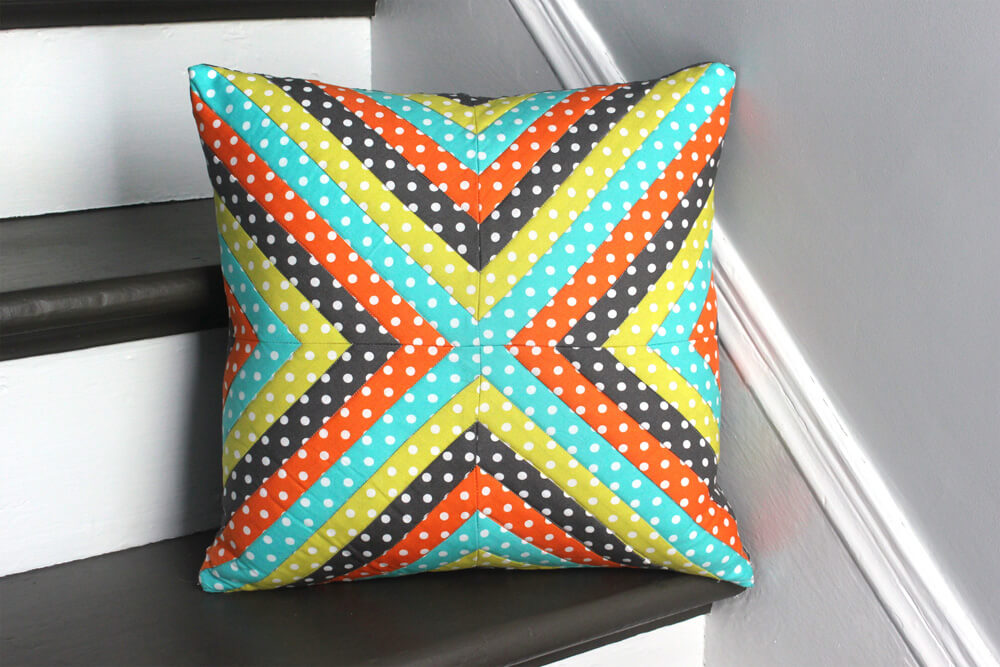
This decorative pillow cover is made using a strip quilt technique to create a pattern. If you haven’t quilted before, that’s not a problem. Doing a smaller project like this is a good introduction. You can also use this technique to make a larger quilt.
Want to get the printable PDF instructions?
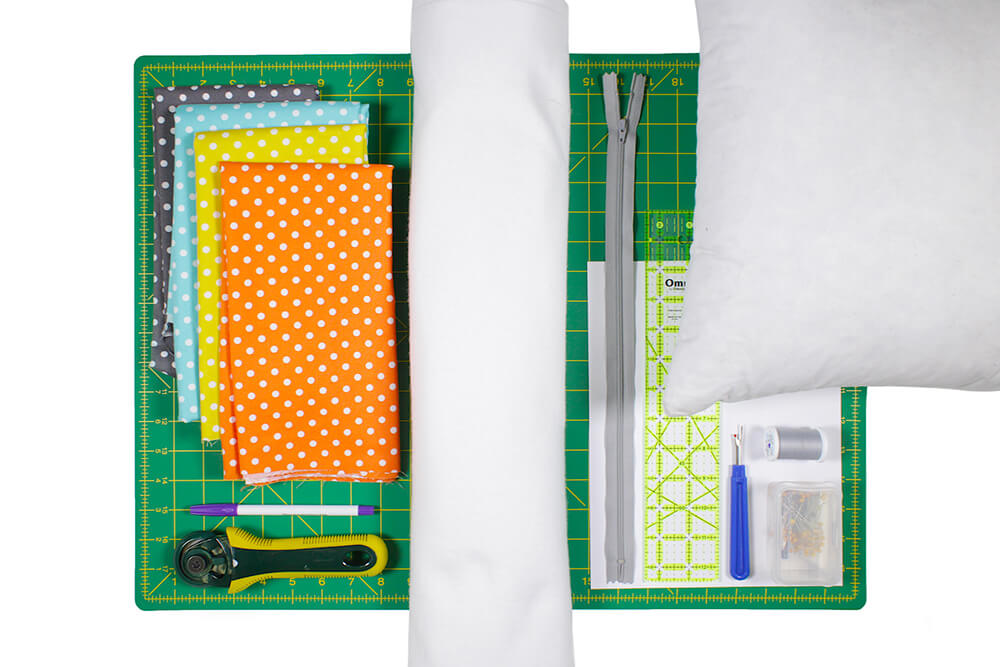
Materials
Related Products
-
 16" x 16" Down Pillow Form - 5/95
-
 Deluxe Seam Ripper
-
 Dual Duty XP Thread - Nugrey, 250 Yards
-
 #TP971F Thermolam Plus Fusible Fleece
-
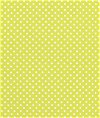 Dumb Dot Citron
-
 175 Quilting Pins - Size 28
-
 45mm Rotary Cutter
-
 Non Slip Ruler 2-1/2 inch X 12-1/2 inch
-
 18" x 24" Cutting Mat with Grid
-
 YKK 16" Chrome Gray #3 Closed End Zipper
Video
Instructions
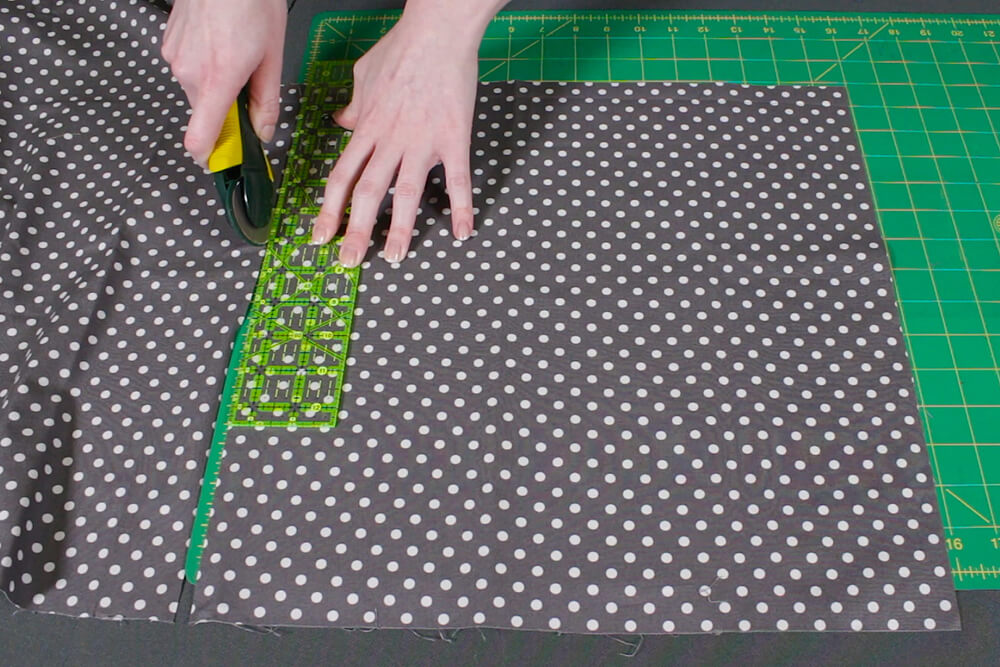
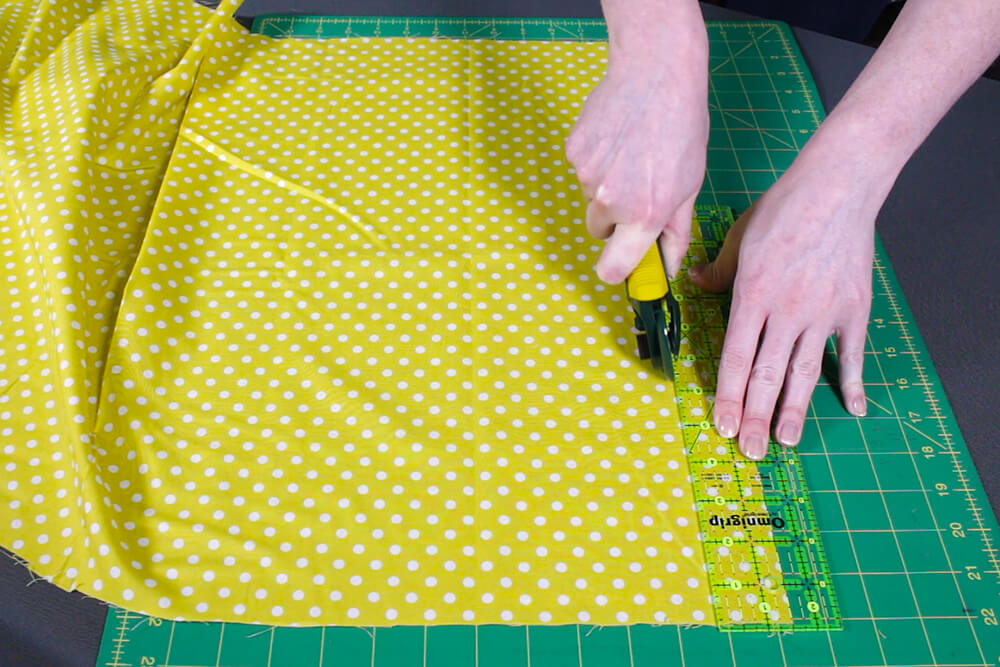
Step 1: Measure & cut fabric
Making covers 1″ – 2” smaller than the pillow form will make the pillow look nice and full.
Measure and cut a piece of fabric for the back of the pillow that’s the same size as your pillow form. I’m using a 16″ x 16” pillow. The seam allowance will be ½” all around, so the finished cover will end up being 1” smaller.
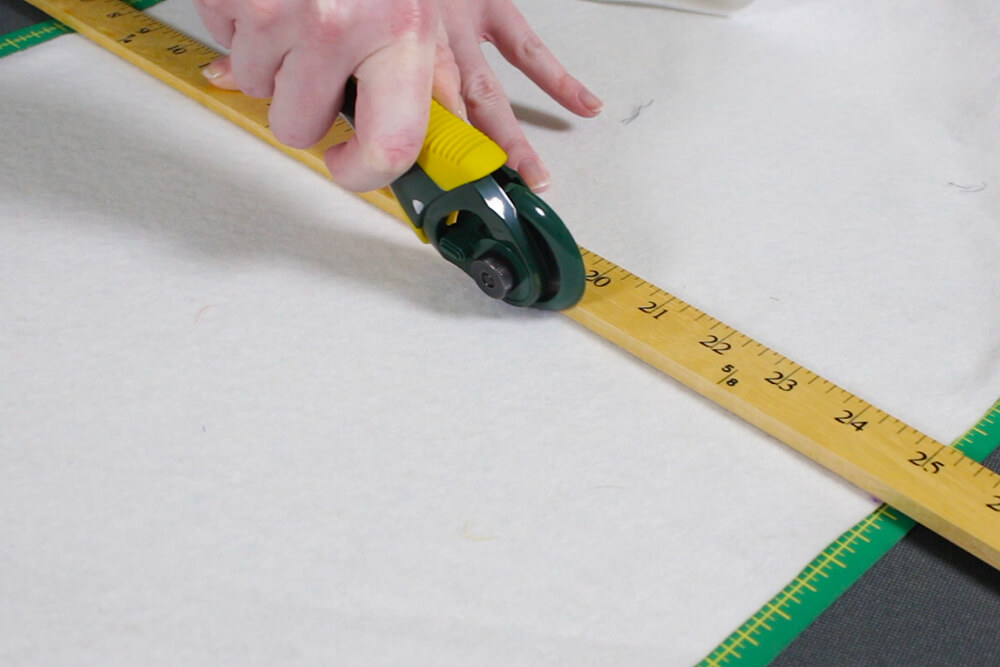
Next cut two pieces of the fusible fleece that are the same as the back piece minus the seam allowance, so 15″ x 15”.
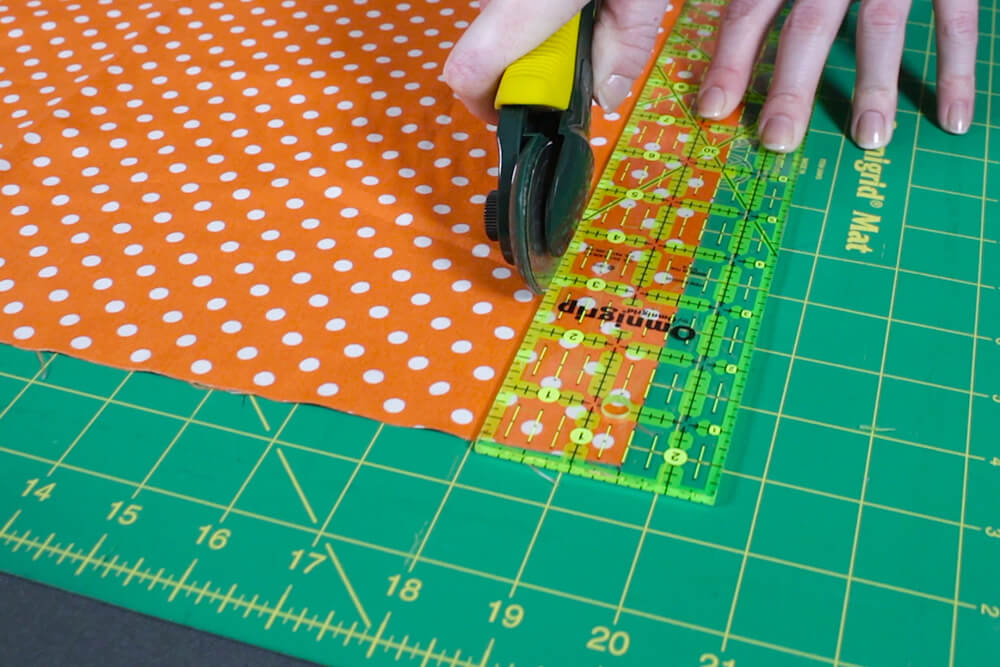
Finally cut a couple 1 ½” strips of each of the colors.
Step 2: Sew front of pillow cover
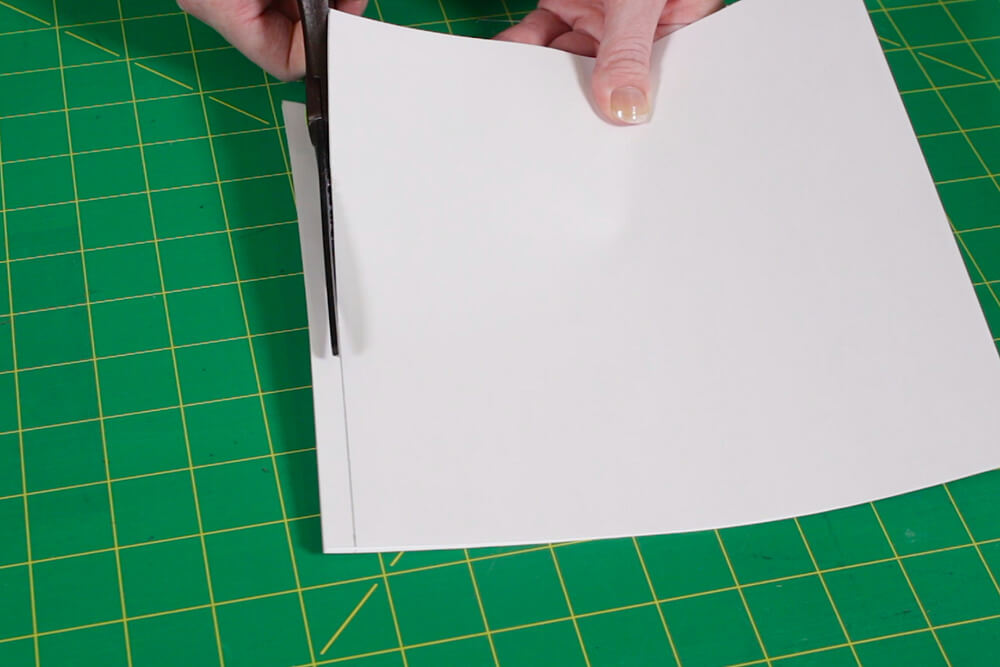
Cut 4 squares of printer paper that are each the finished dimensions of your pillow plus 1 ½” then divided by 2.
(Finished dimensions + 1 ½”) / 2
For this pillow that’s 8 ¼”.
(15″ + 1 ½”) / 2 = 8 ¼”
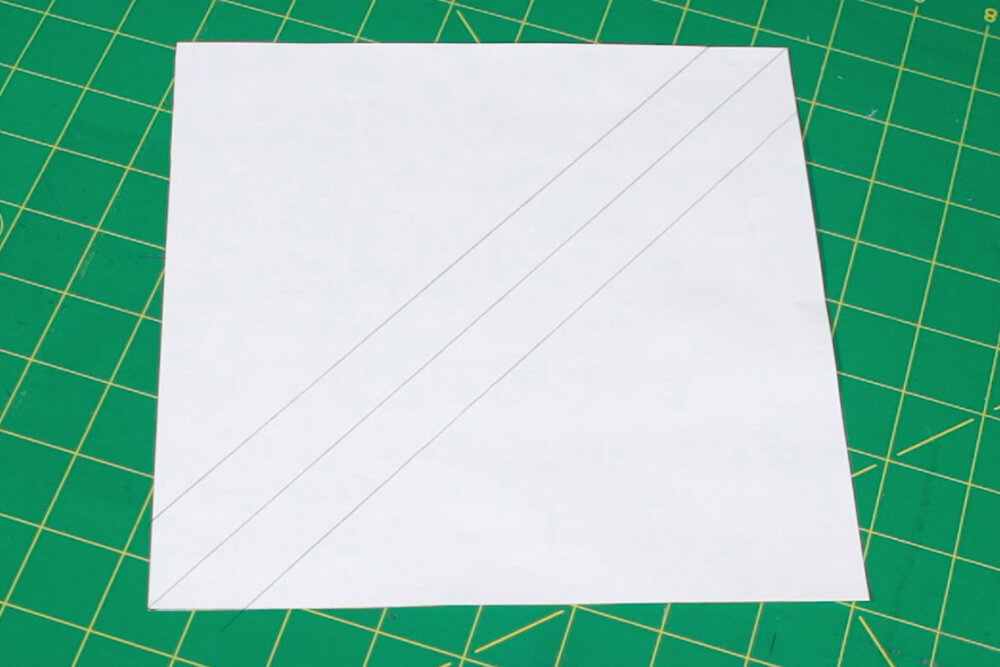
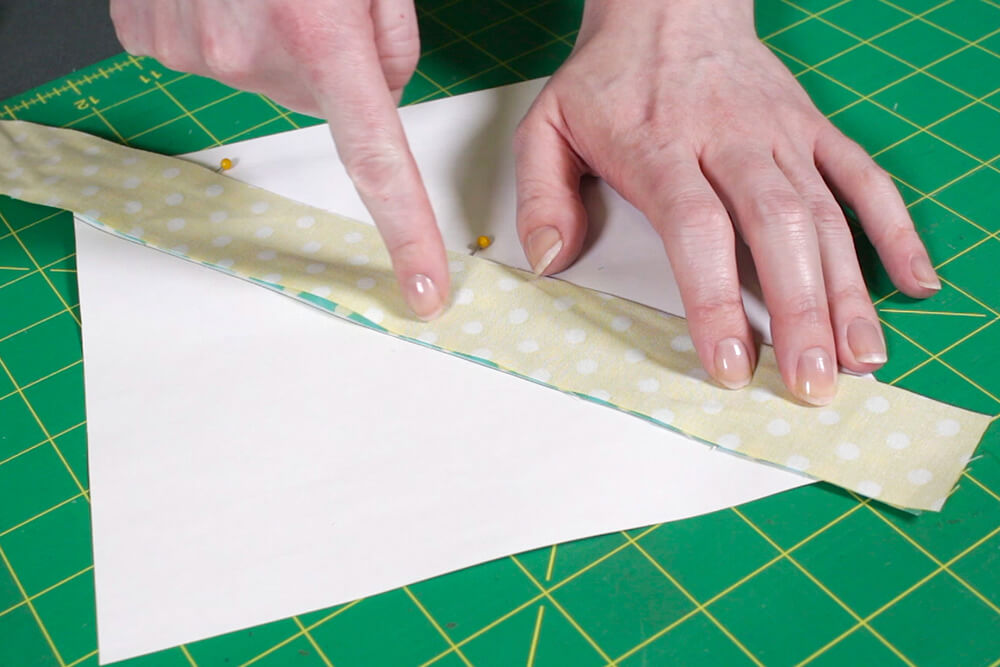
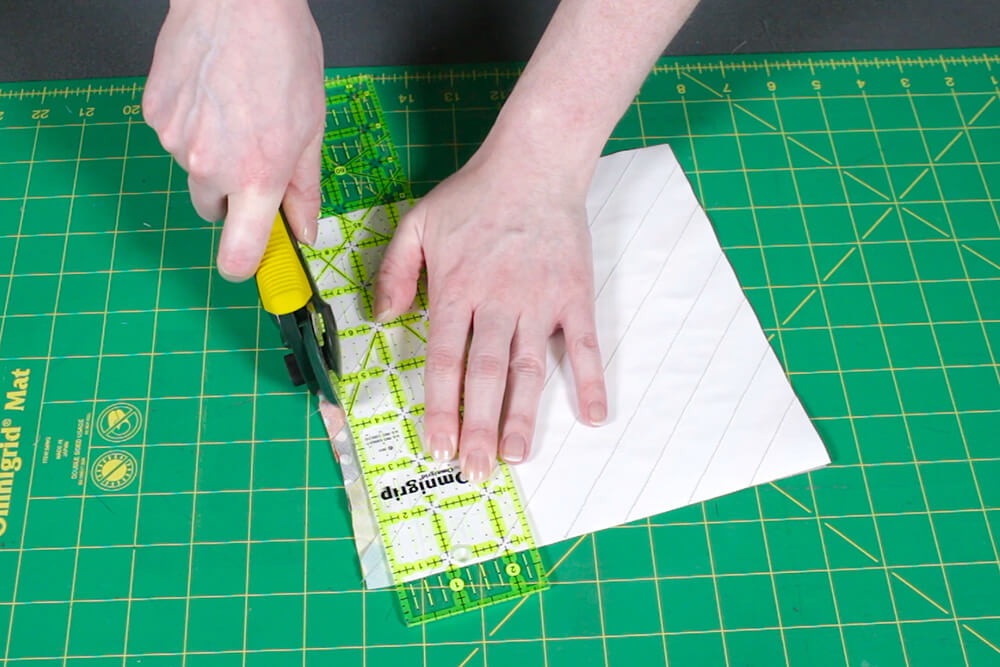
Draw a diagonal line from corner to corner. Then draw lines that are ¾” on both sides of the line so that it’s the same as the 1 ½” strips.
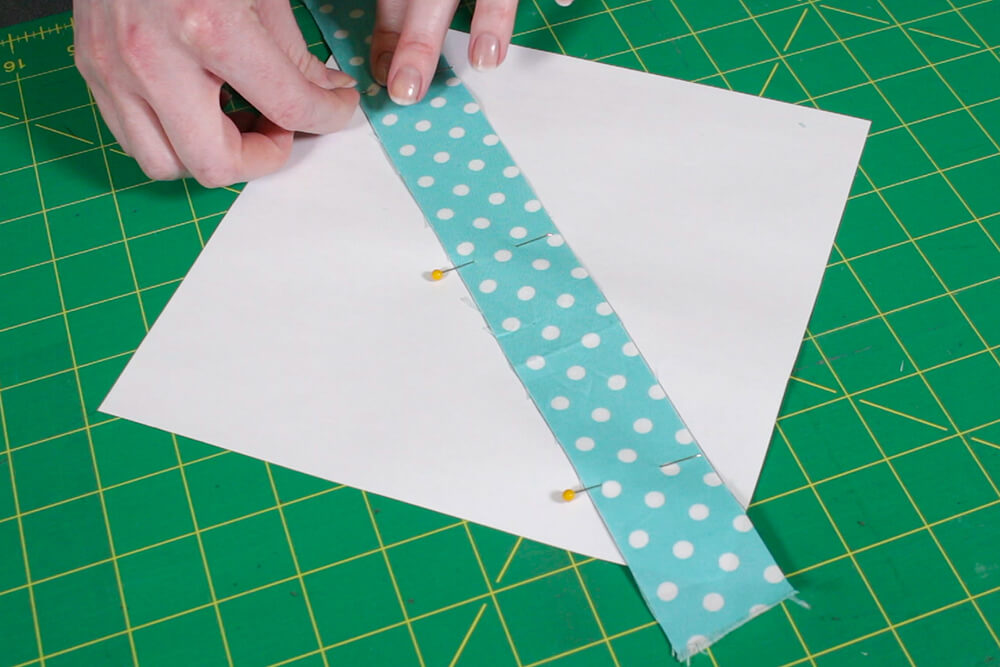
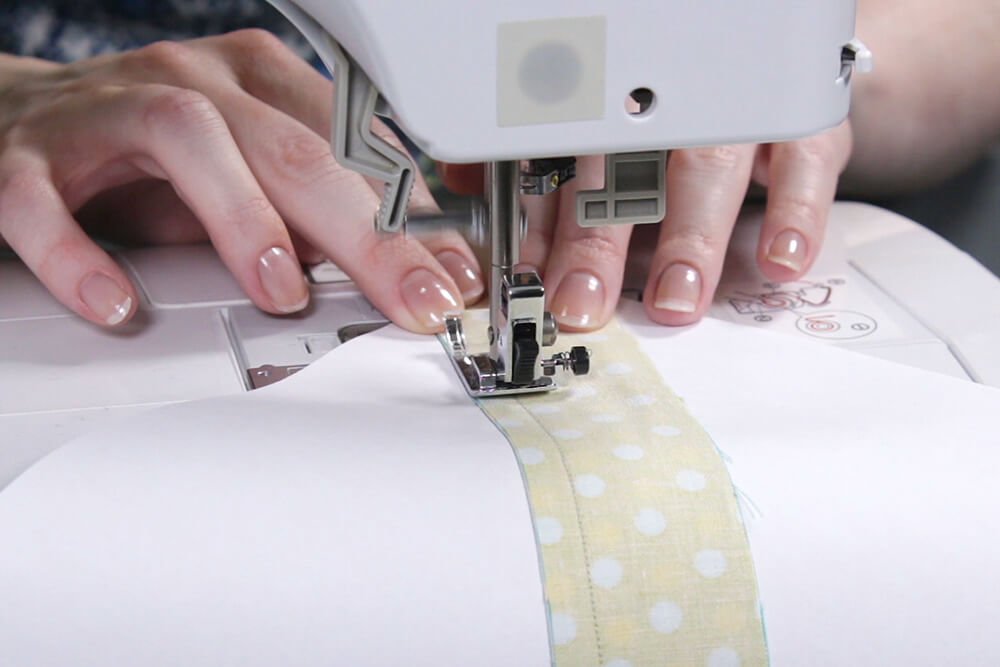
Place one of the strips between the lines and pin the fabric to the paper. Choose your next fabric, and place it on top of the other strip with the right side facing down. Sew through the two pieces of fabric and the paper with a ¼” seam allowance.
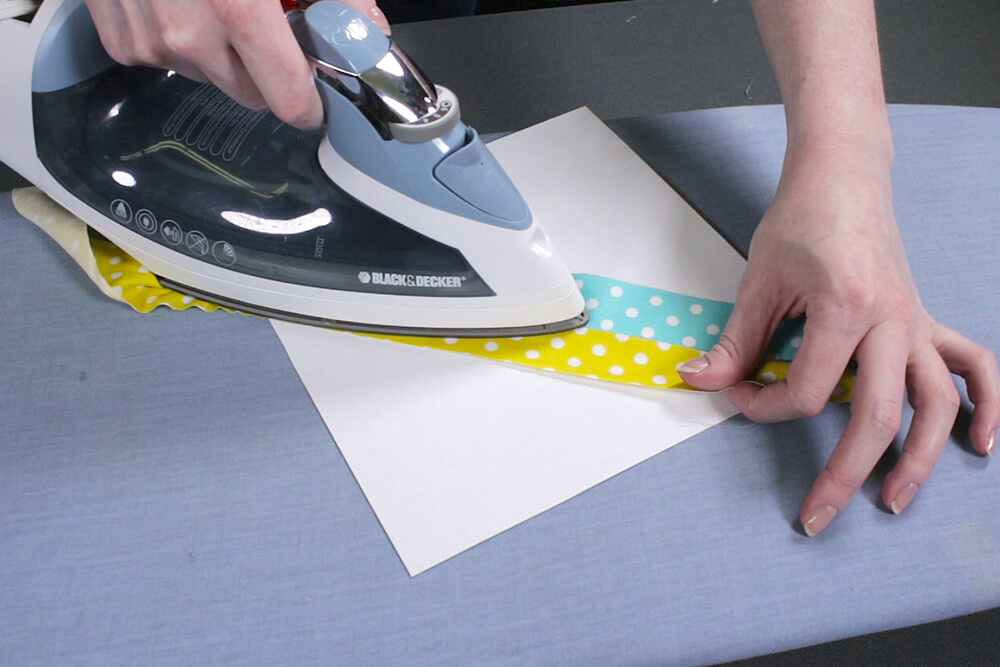
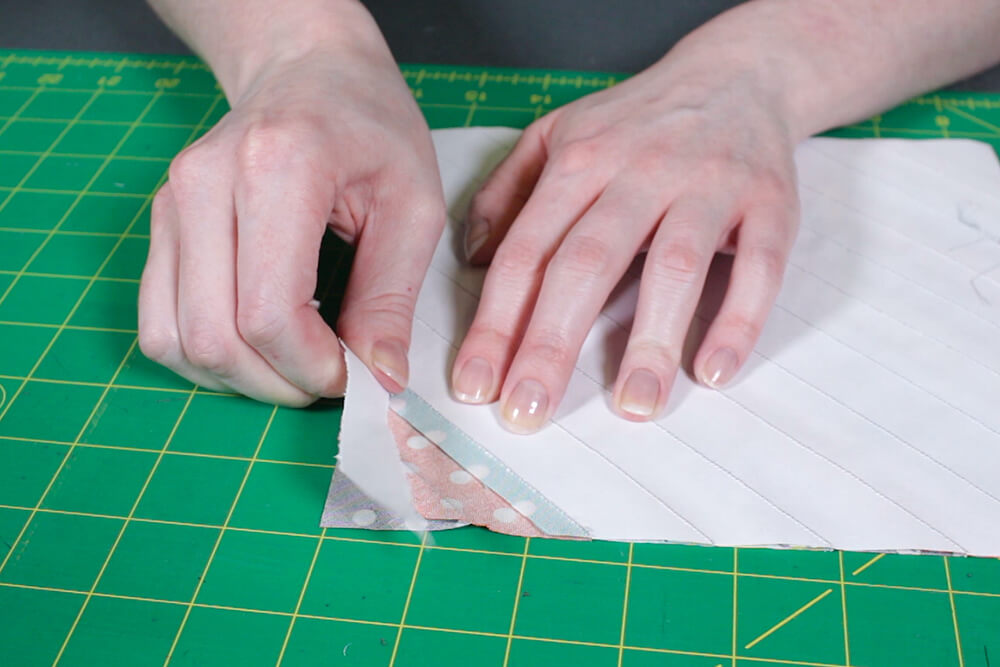
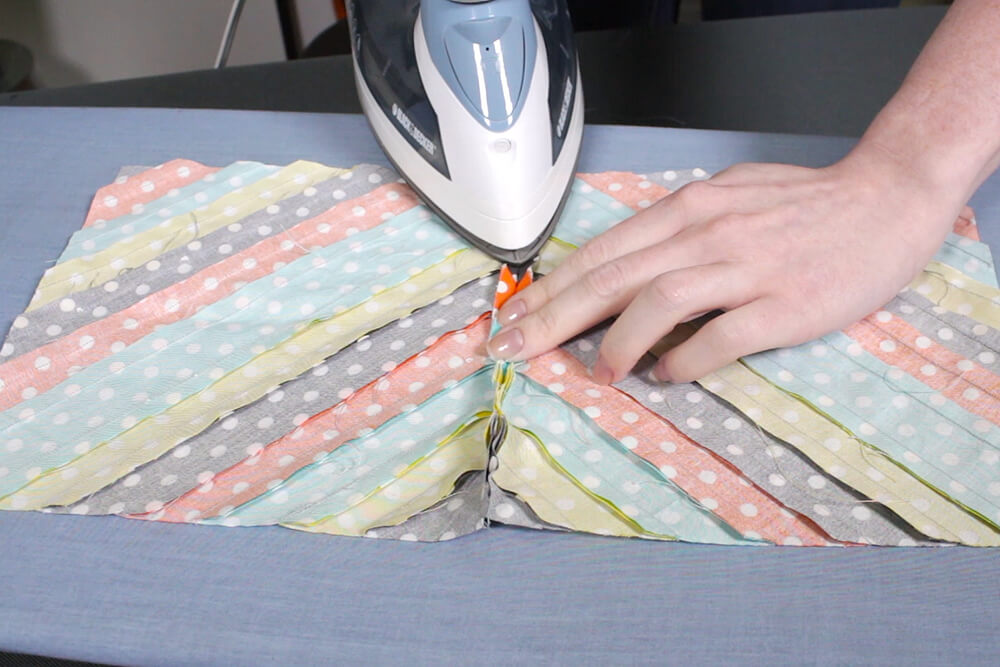
Change the stitch length on your sewing machine to 1.4 to be shorter than normal. A shorter stitch length will help when taking off the paper later. Unfold the two strips and iron. Continue sewing on strips until the paper is covered. The paper acts as a template and also helps stabilize the fabric for more precision.
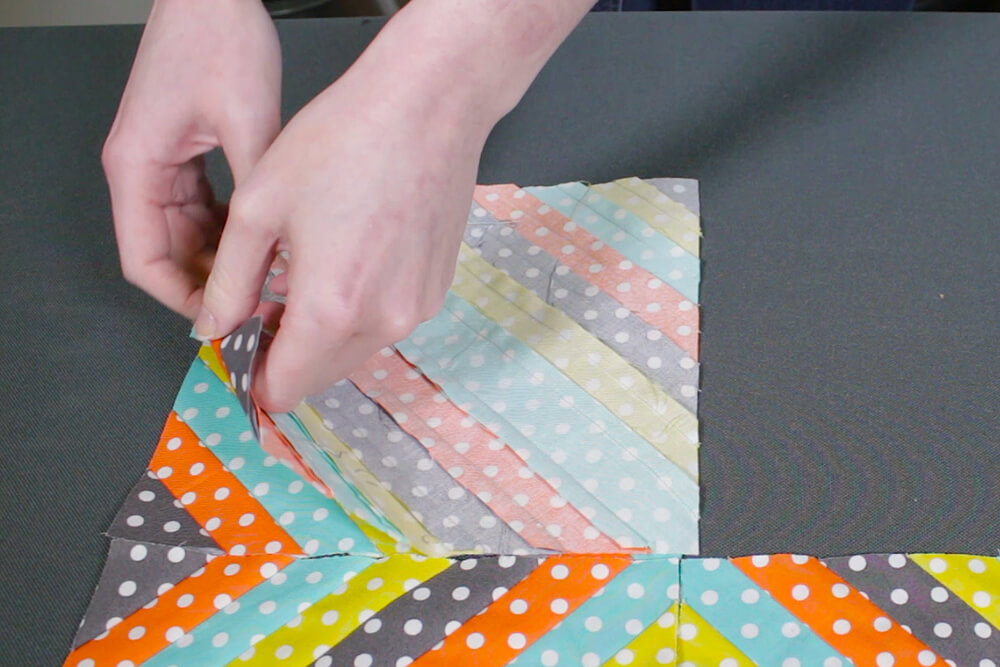
Trim the fabric excess fabric and remove the paper.
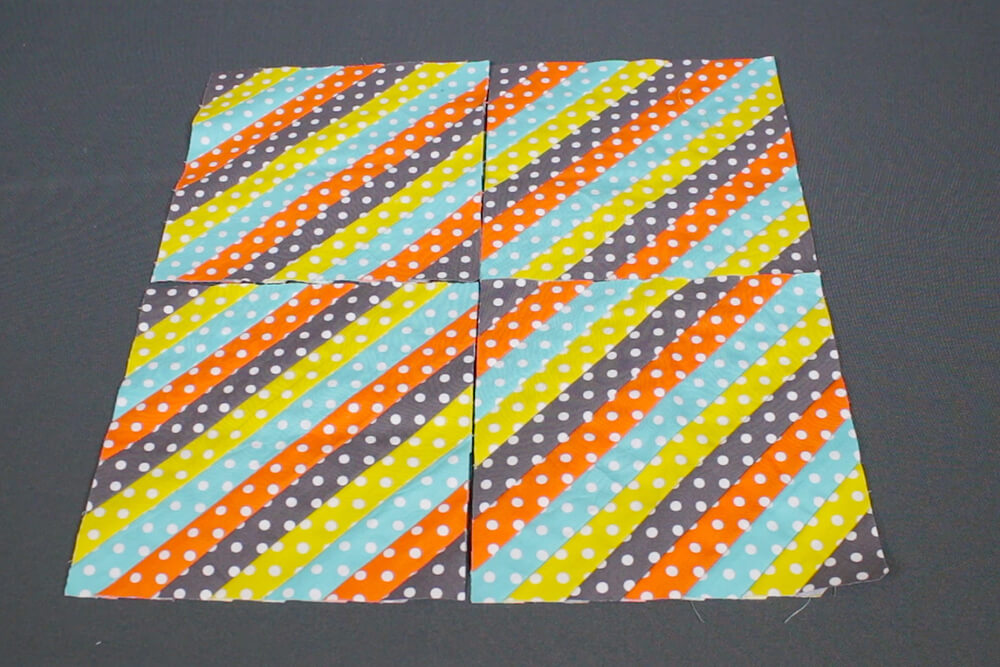
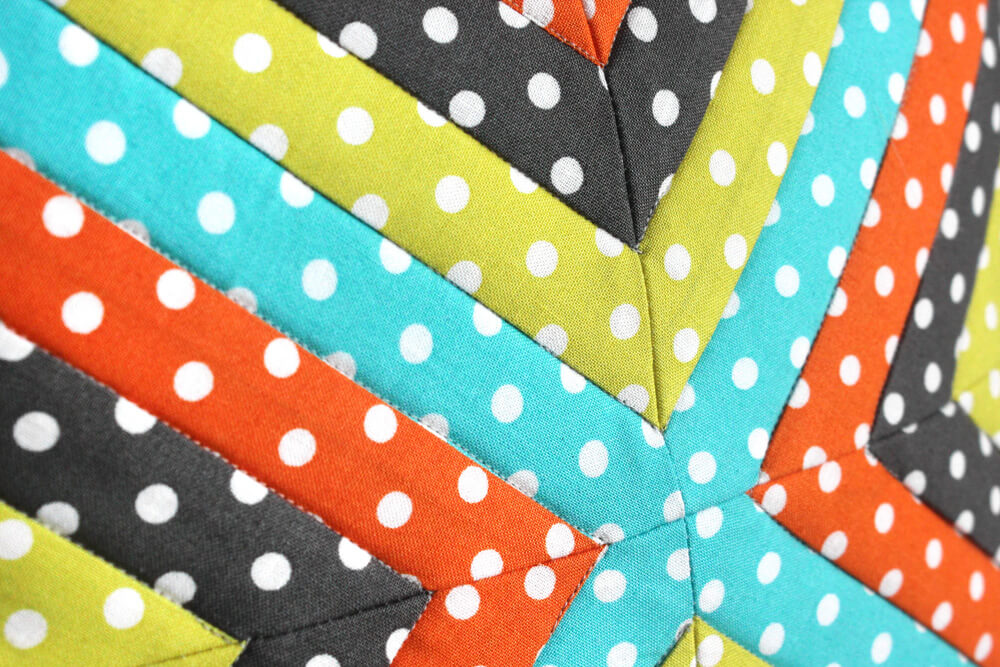
I’m making them all identical to the first with the same order of colors. You can also vary the colors and width of the strips for a more random look. It’s a good idea to keep the middle diagonal strip the same color and size, especially if you’re using this technique to make a quilt. This will give it stronger overall diamond pattern.
Step 3: Sew the squares together
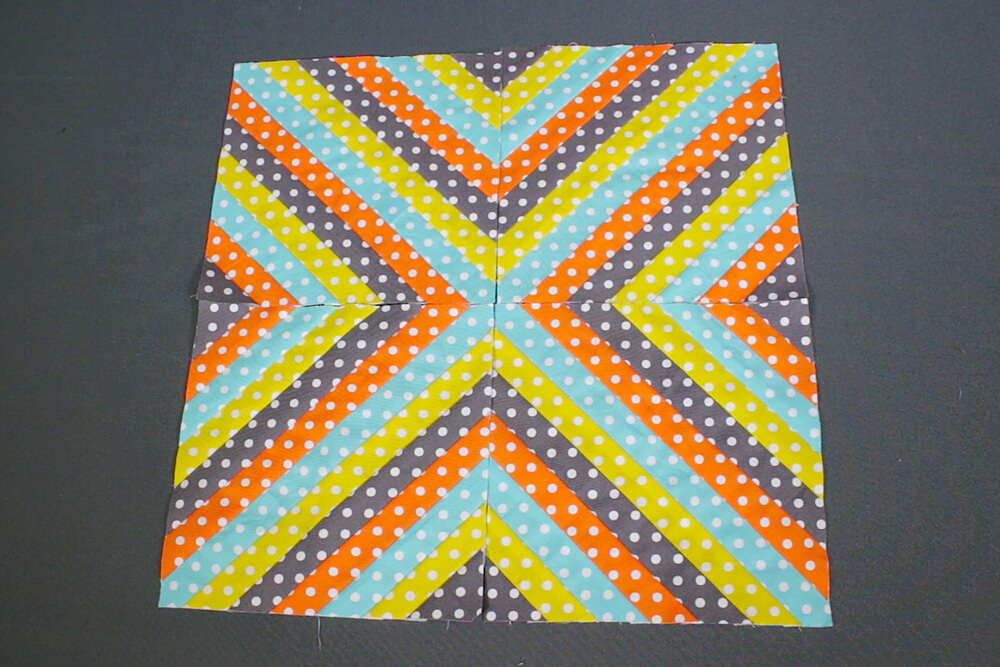
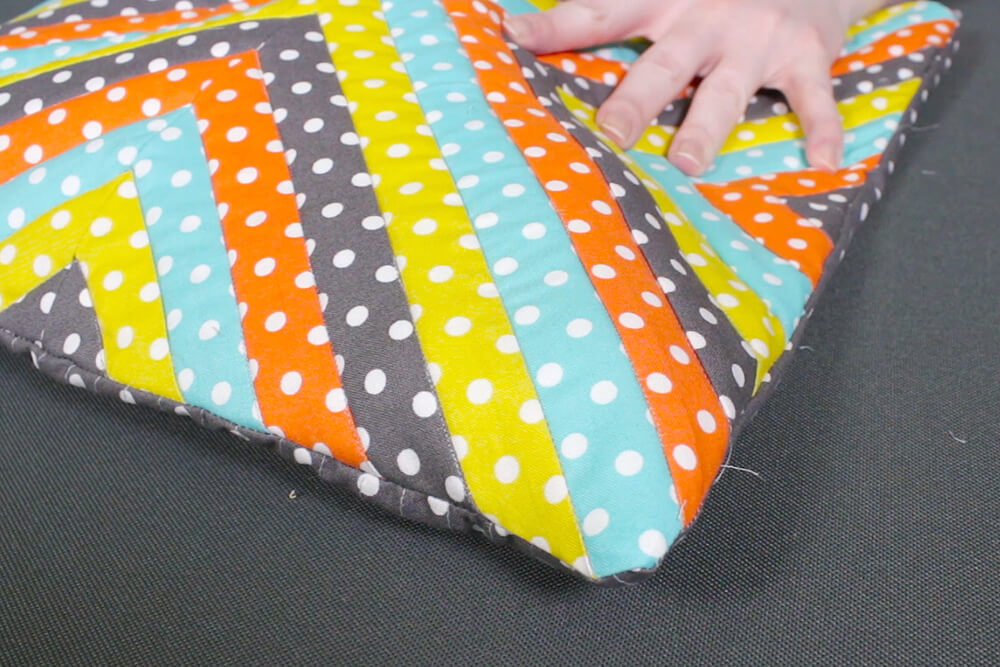
Arrange the 4 squares how you want. You can have the diagonals running in the same direction, you can create a diamond, or flip them to make an X shape, which is what I’m going to do.
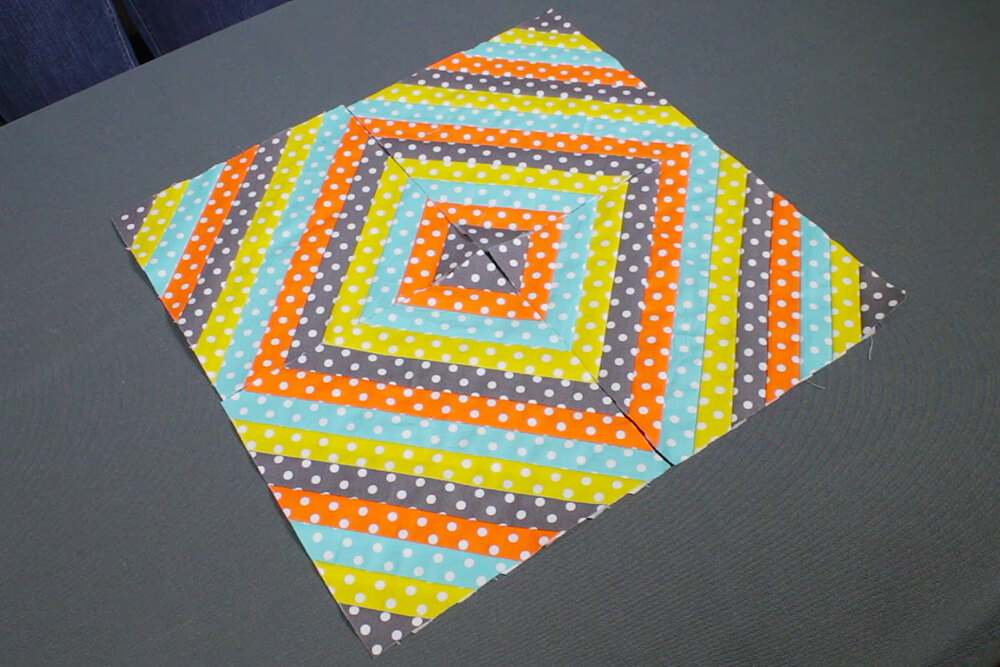
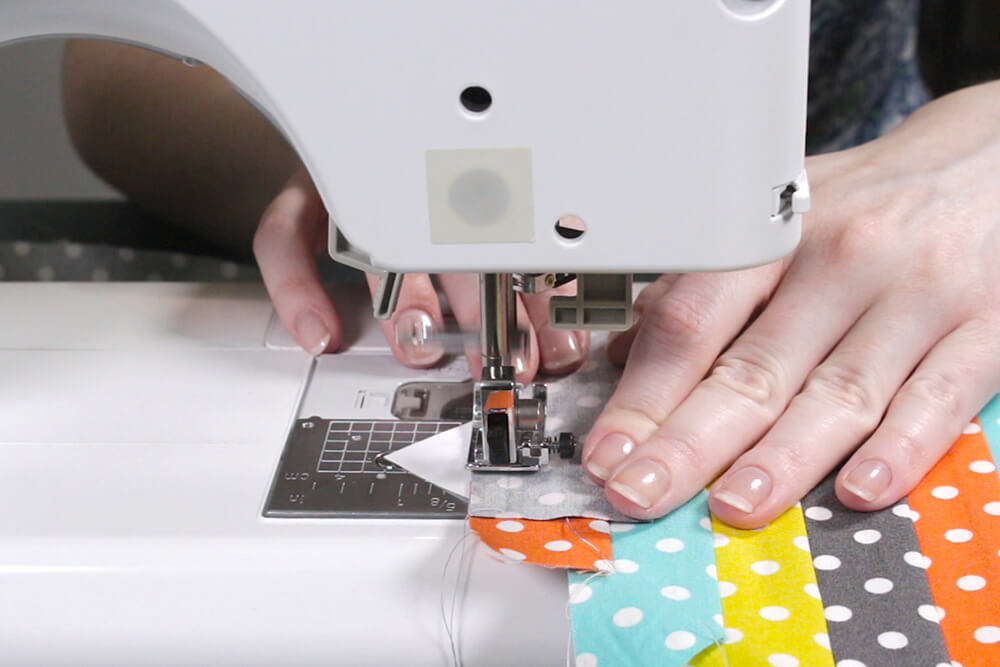
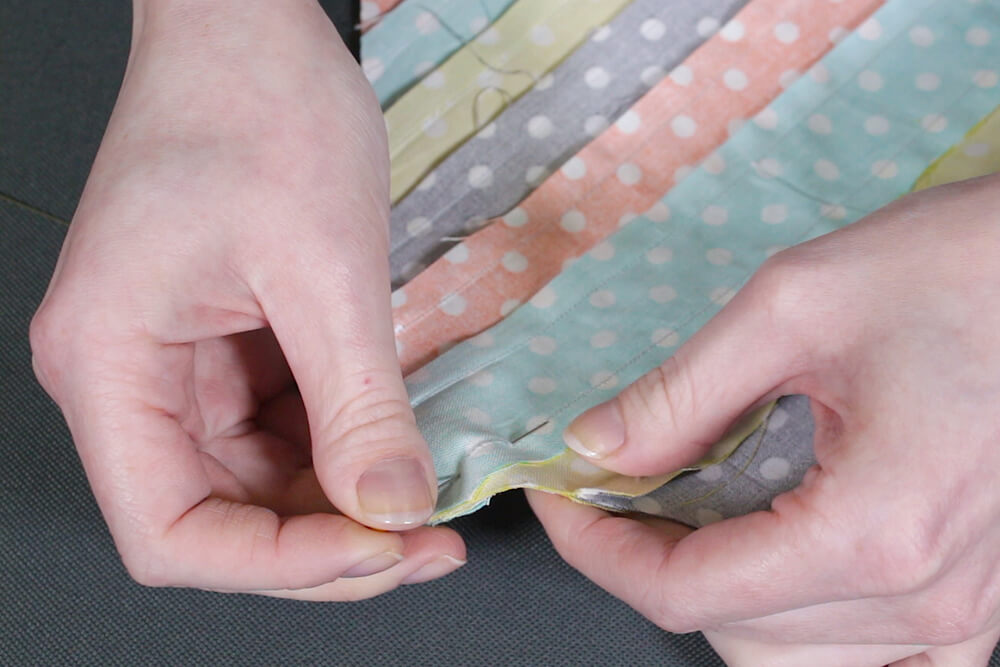
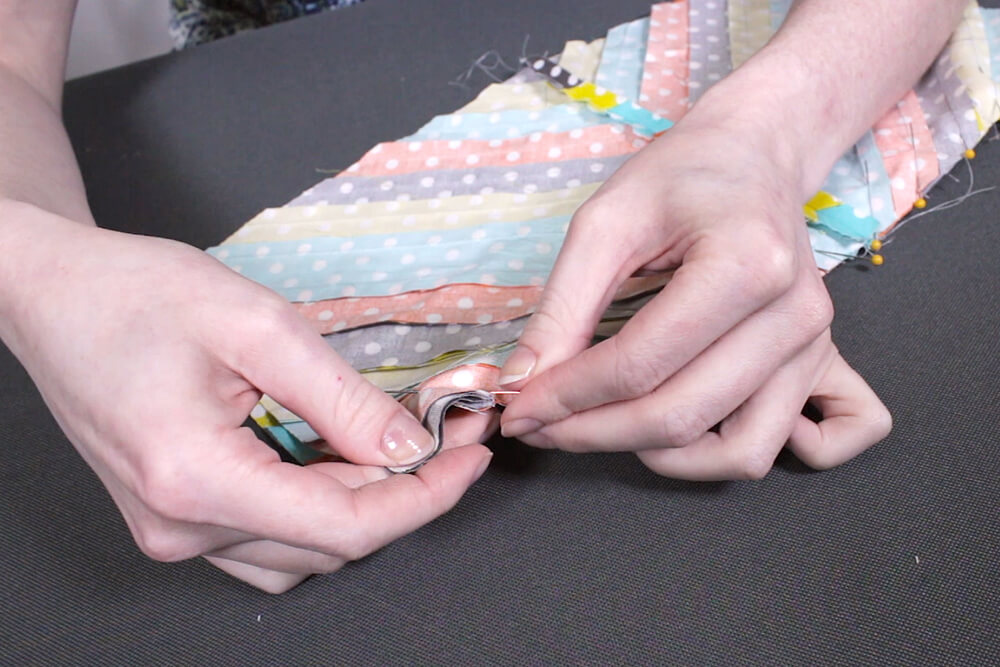
Take two of the squares and line them up so the right sides are facing. If you have strips that are all the same width, it’s important that the seams meet up, so pinning is recommended.
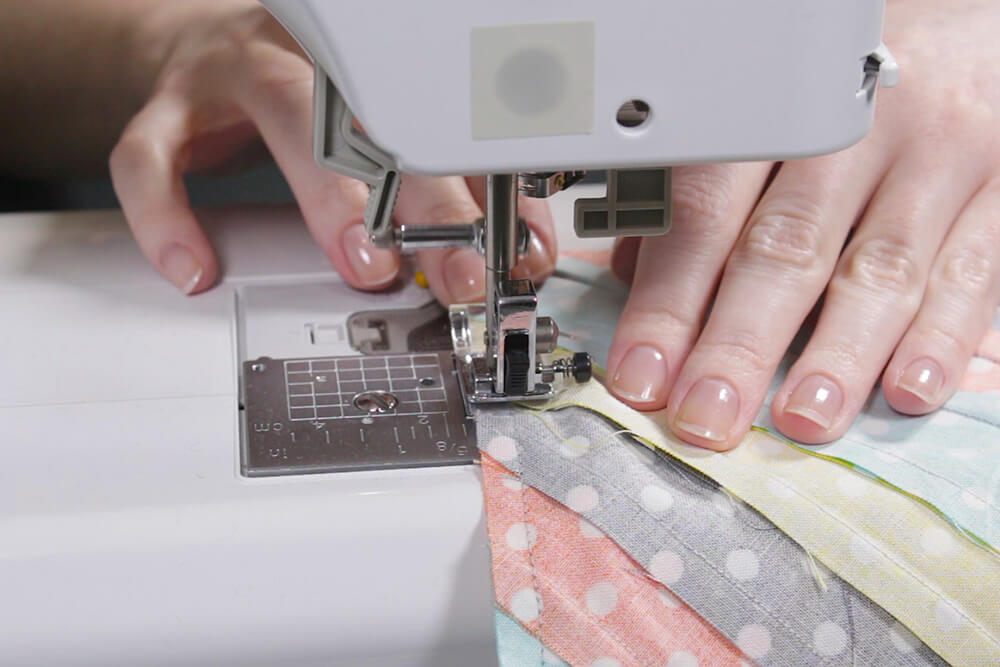
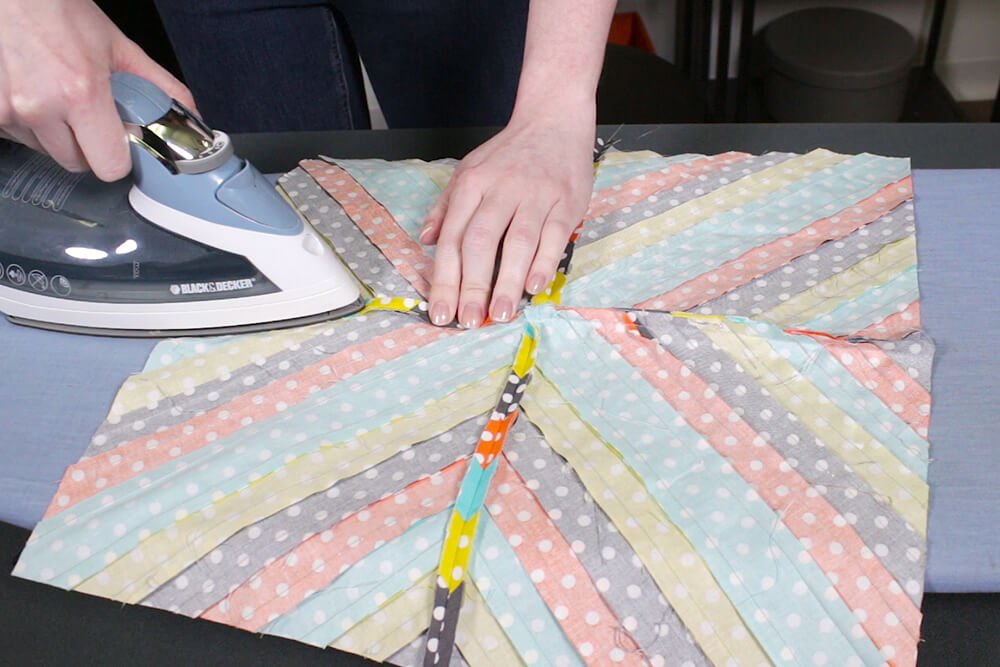
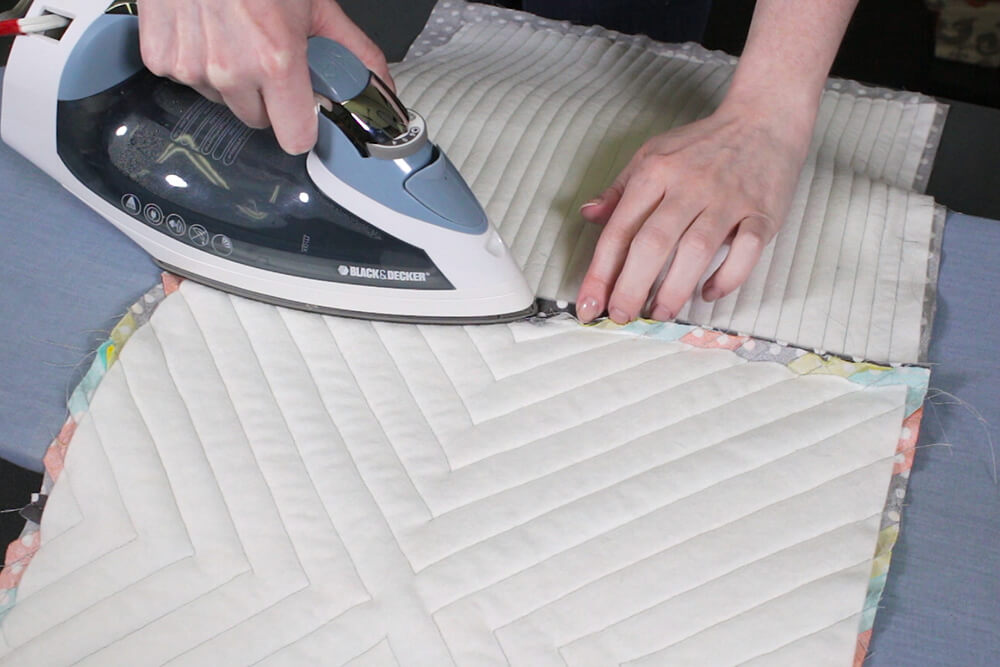
Change the stitch length back to normal. Sew them together with ¼” seam allowance. Then sew the other two squares together. Iron the seams open. Repeat for the other 2 squares.
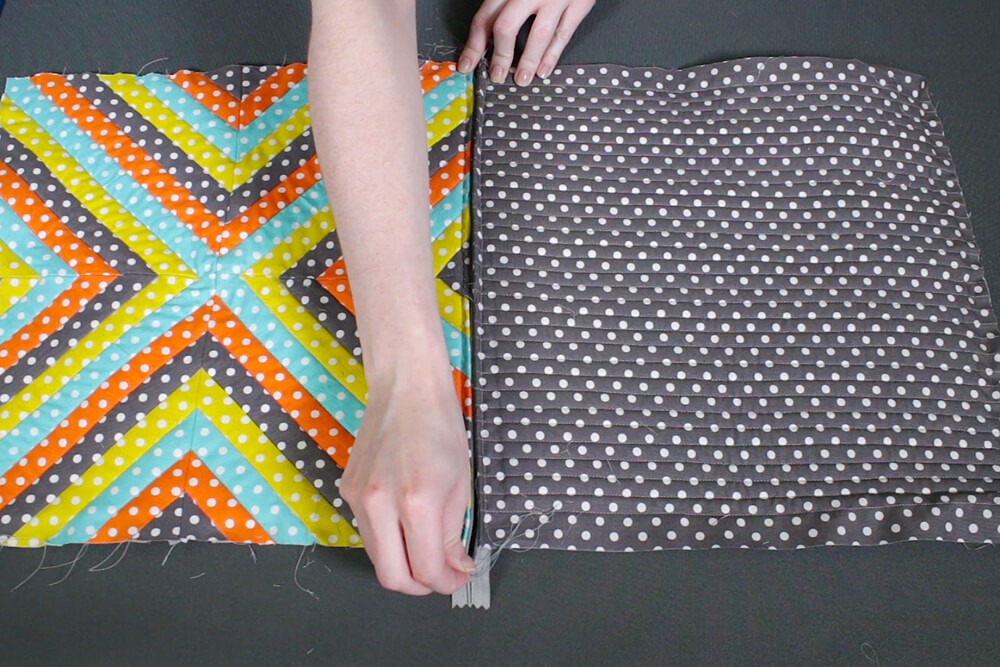
Finally sew together the 2 halves. Press the seam open.
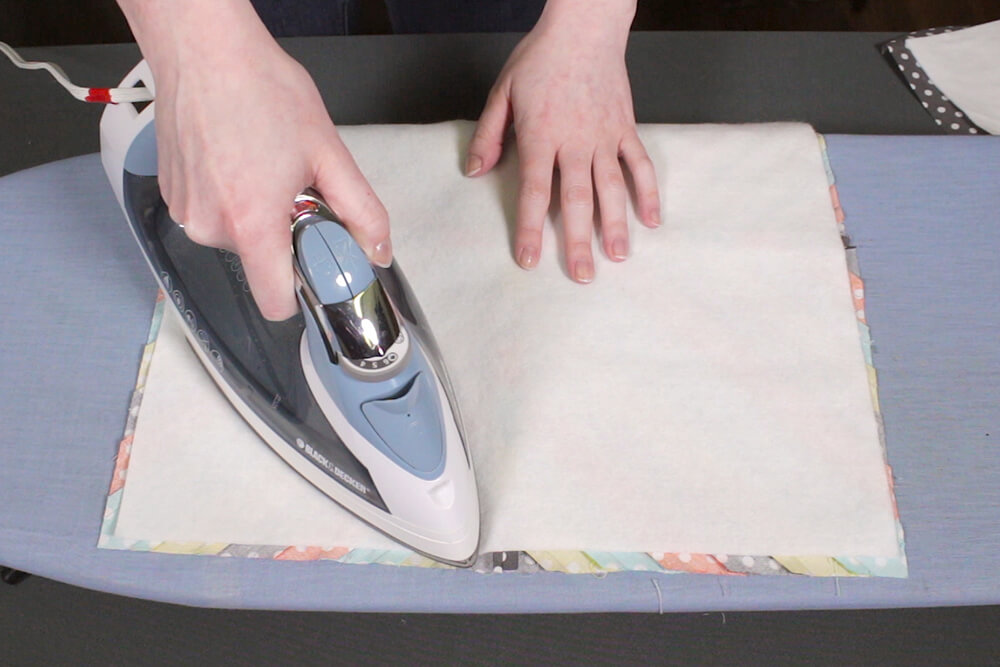
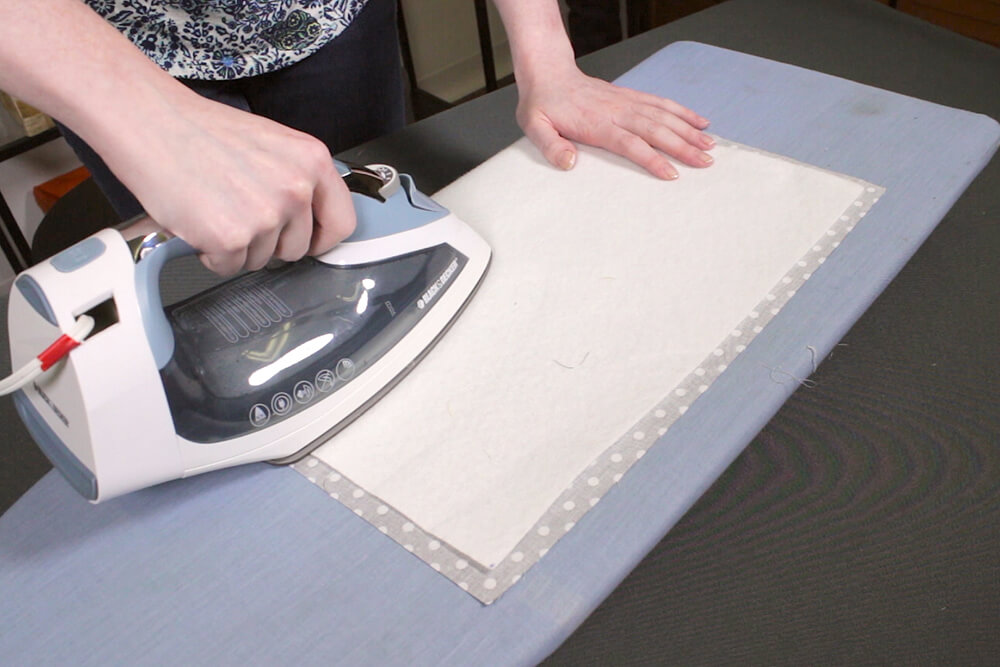
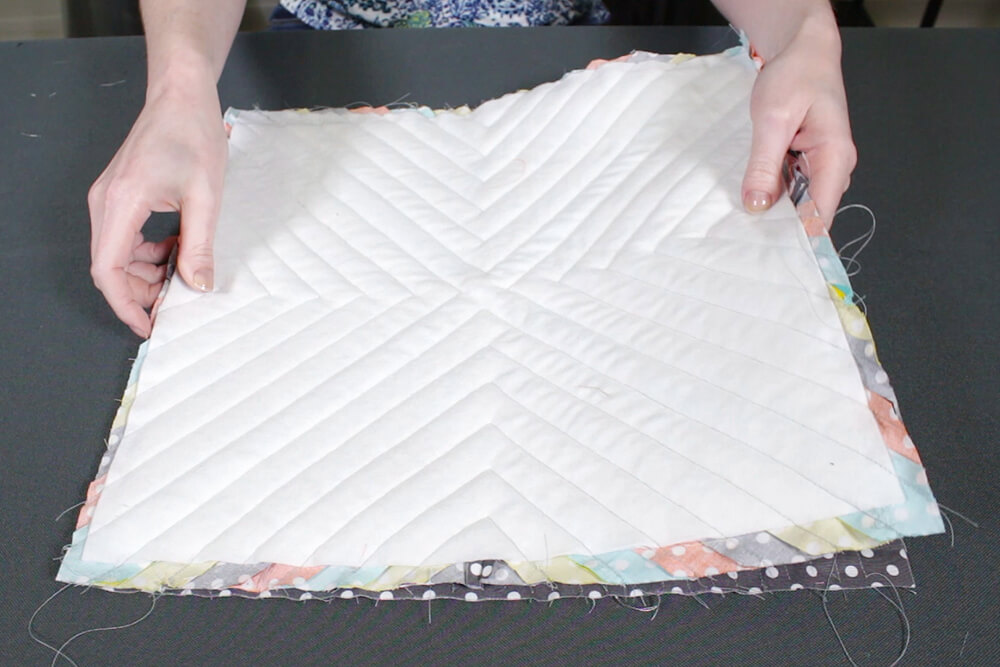
Step 4: Quilt the fabric
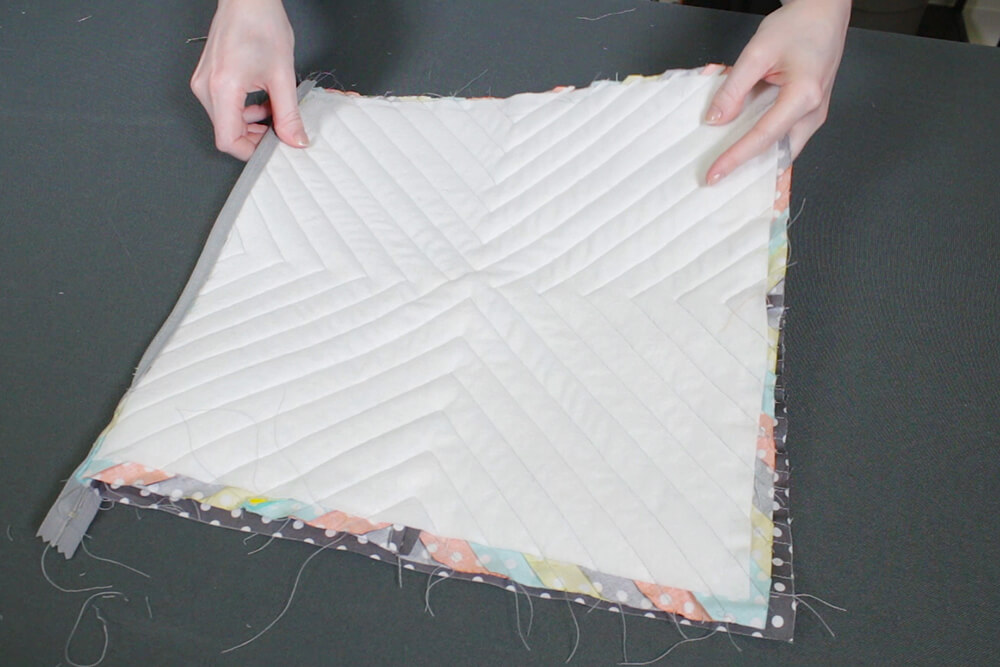
Place one of the pieces of fusible fleece in the center of the front piece and iron it on. Do the same for the back piece. Or you can use batting that you pin on instead of ironing.
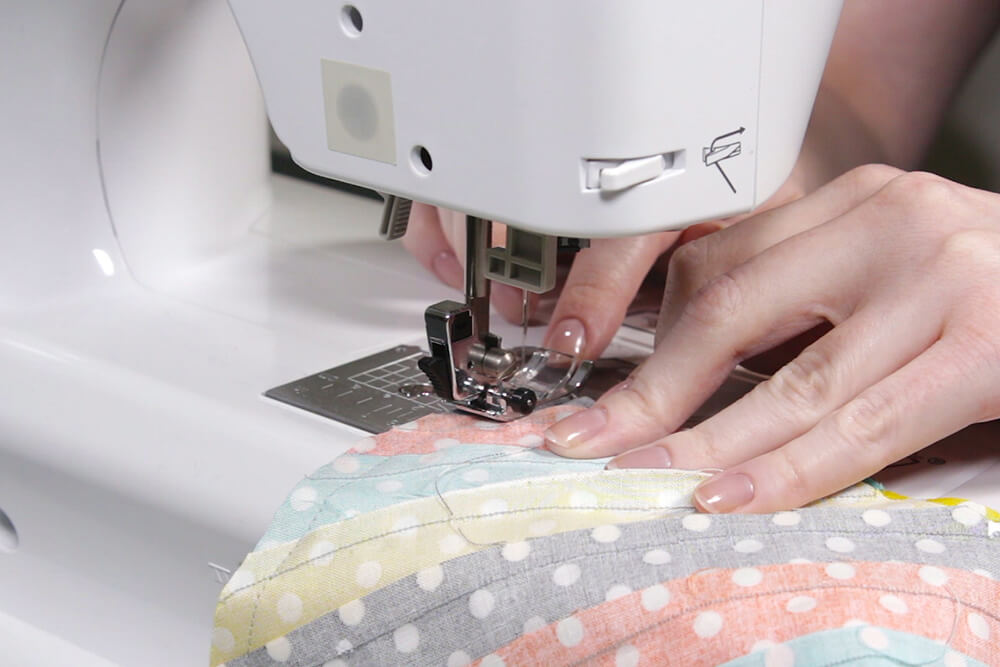
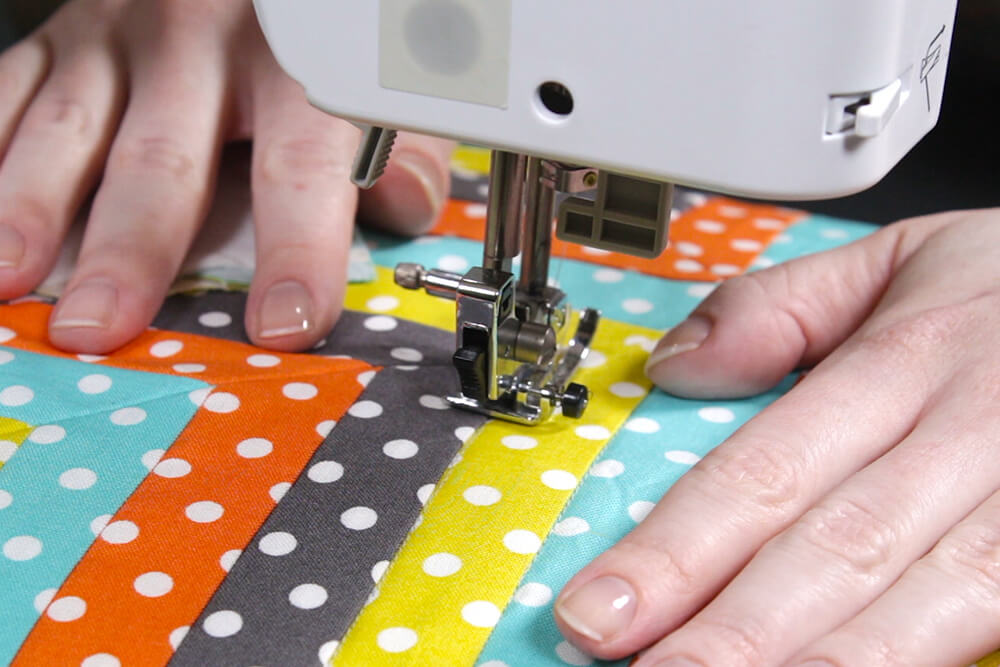
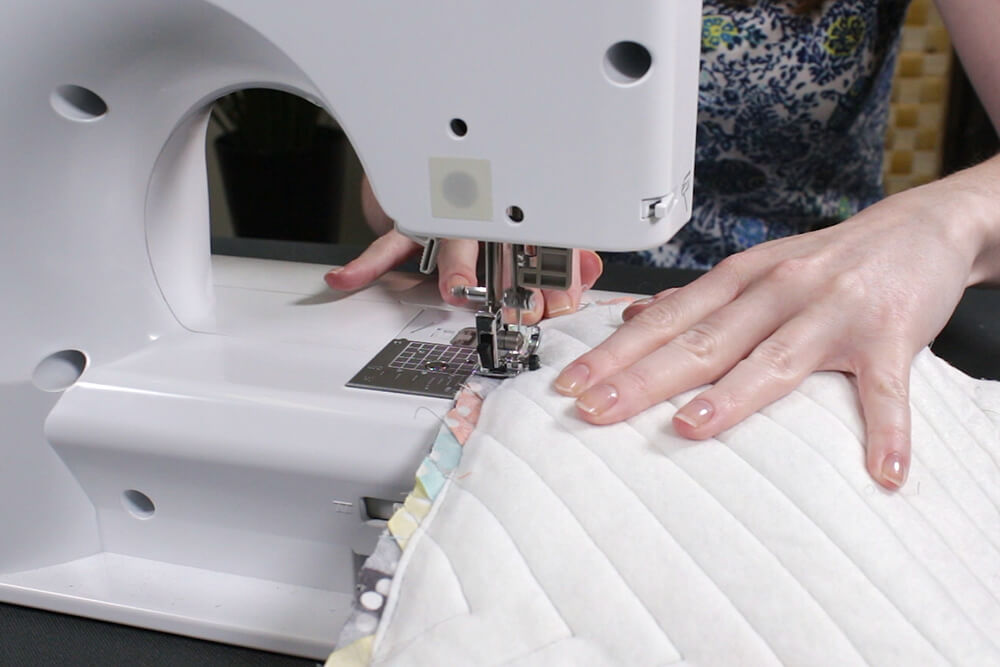
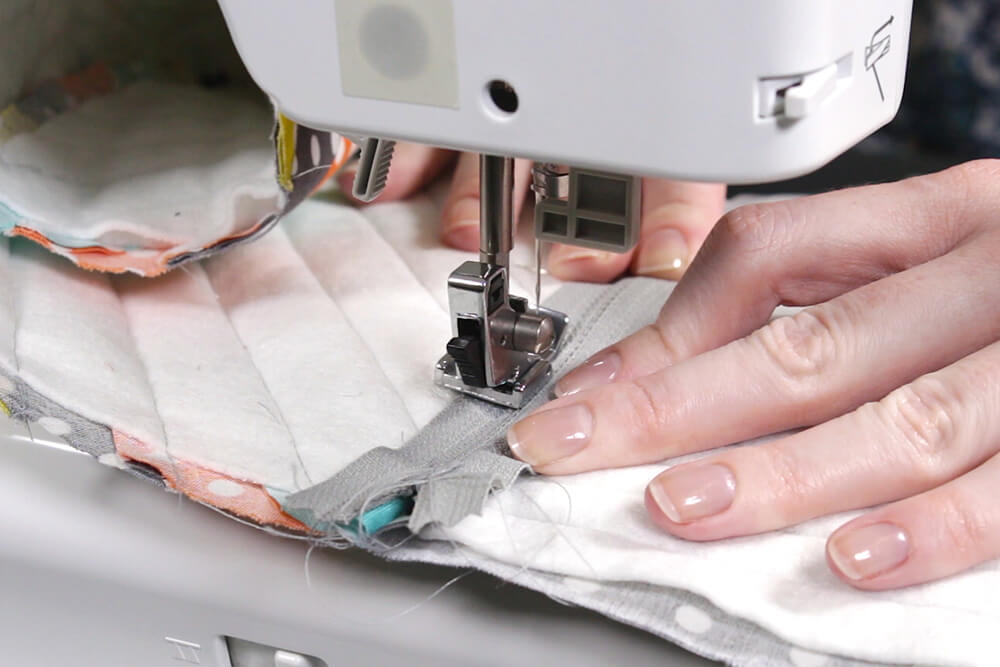
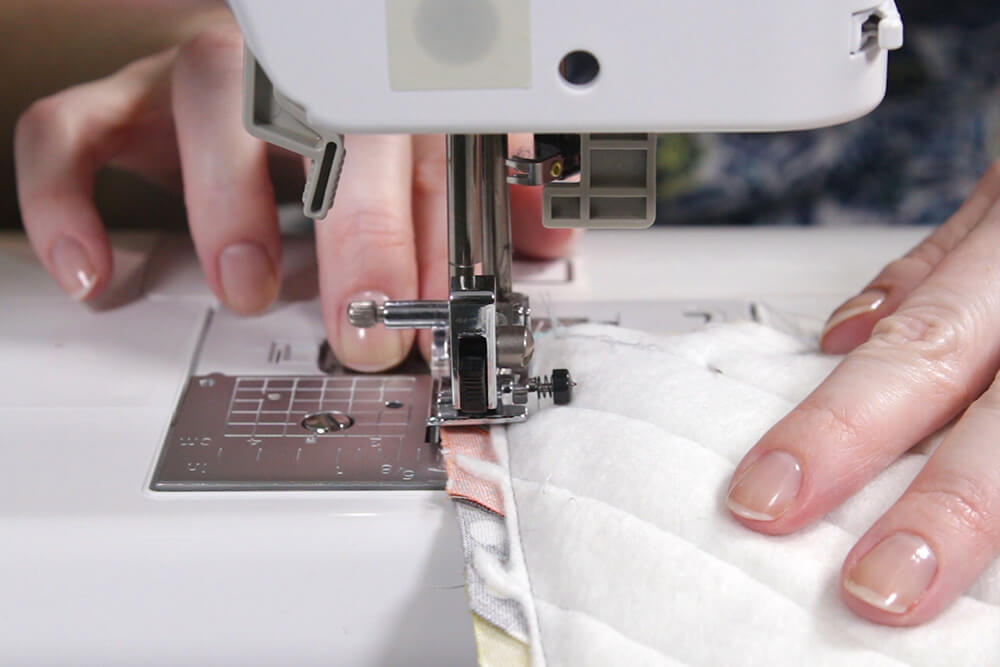
You can quilt the fabric in a number of ways. I’m going to stitch in the ditch, which means sewing right on the seams. You can also sew on either side of the seams or do a pattern that doesn’t relate to the design.
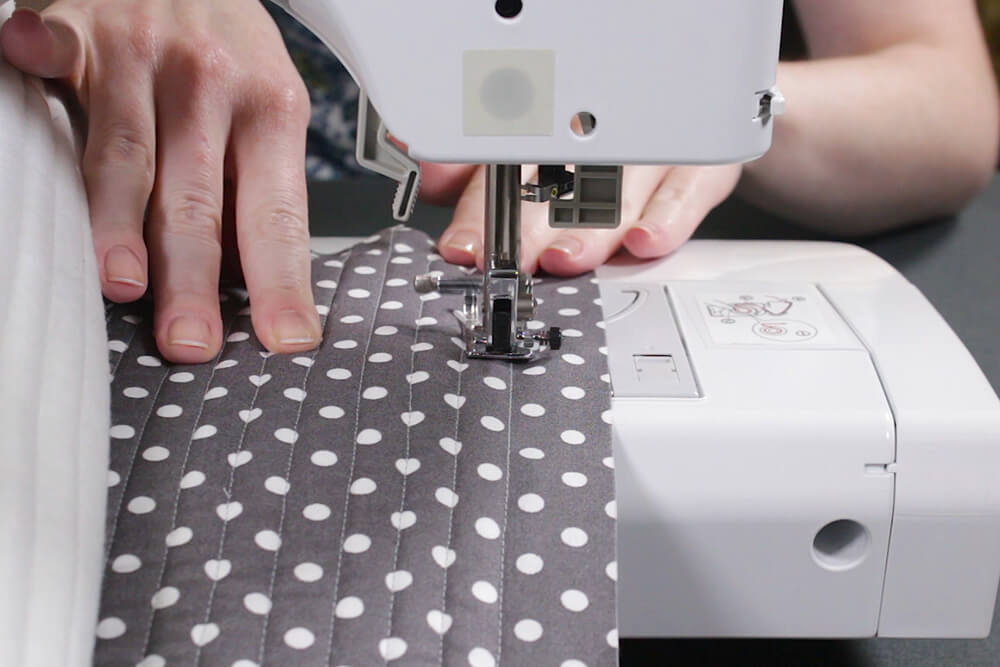
You can quilt the back in any way you want or you don’t have to quilt it at all. I’m sewing straight lines that are ½” apart.
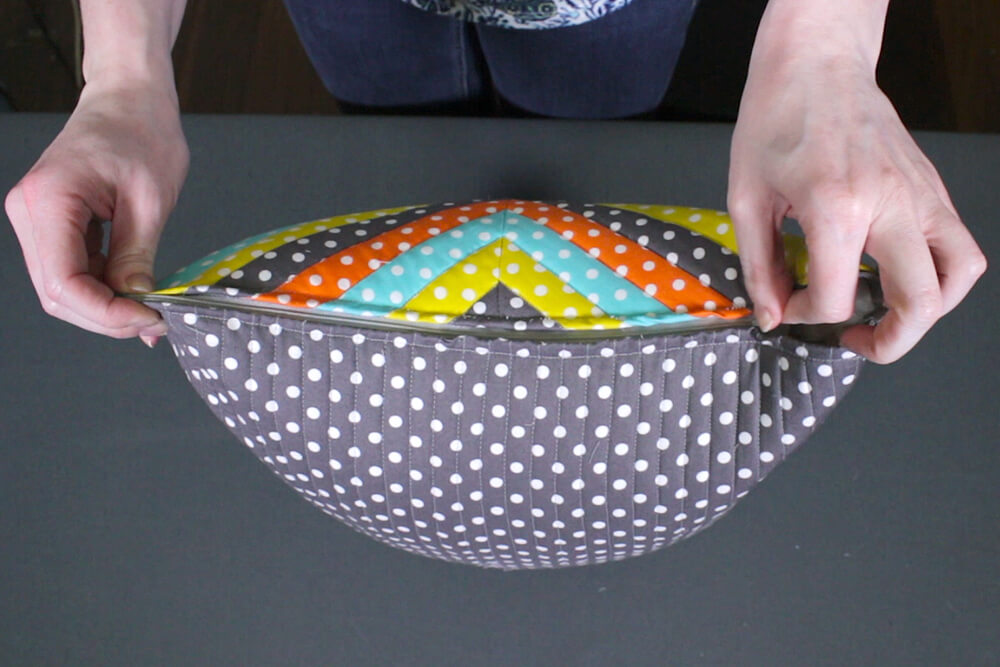
Step 5: Add the zipper (optional)
You can either add a hidden zipper or hand sew the pillow closed. I’m going to do the zipper option so that it’s removable.
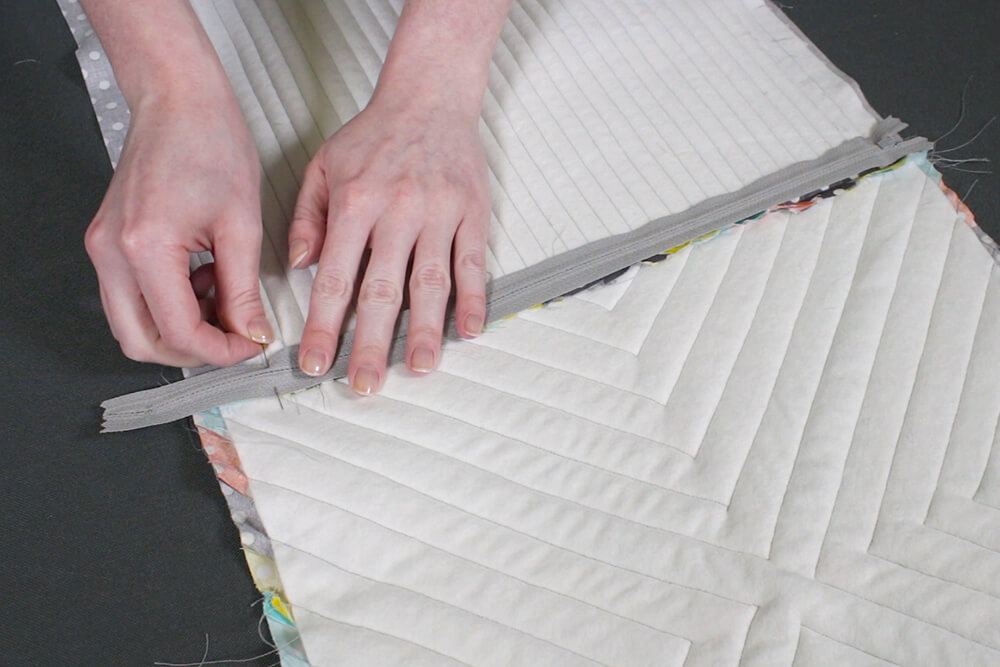
Place the front and back together with right sides facing. Change the stitch length to the longest for a basting stitch. Sew with a ½” seam allowance.
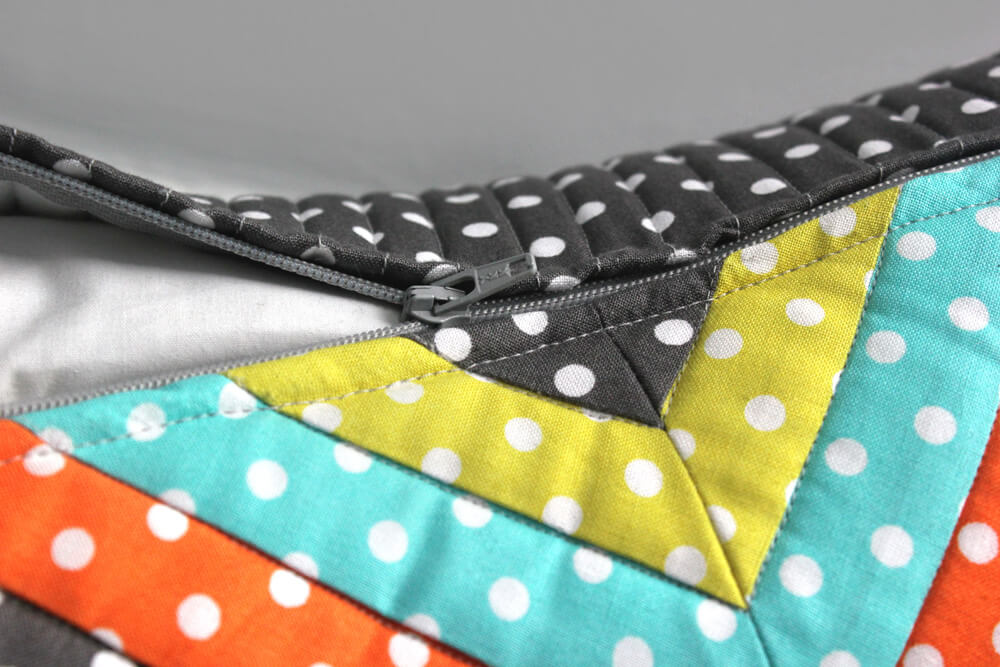
Press the seam open. Lay the zipper face down so it’s centered on the seam and pin.
Change the stitch length back to normal and change the foot to a zipper foot. Sew 1/8” to ¼” away from the zipper on both sides.
Use a seam ripper to tear out the basted seam on the front to reveal the zipper.
Make sure to open the zipper.

Step 6: Sew the pillow cover together
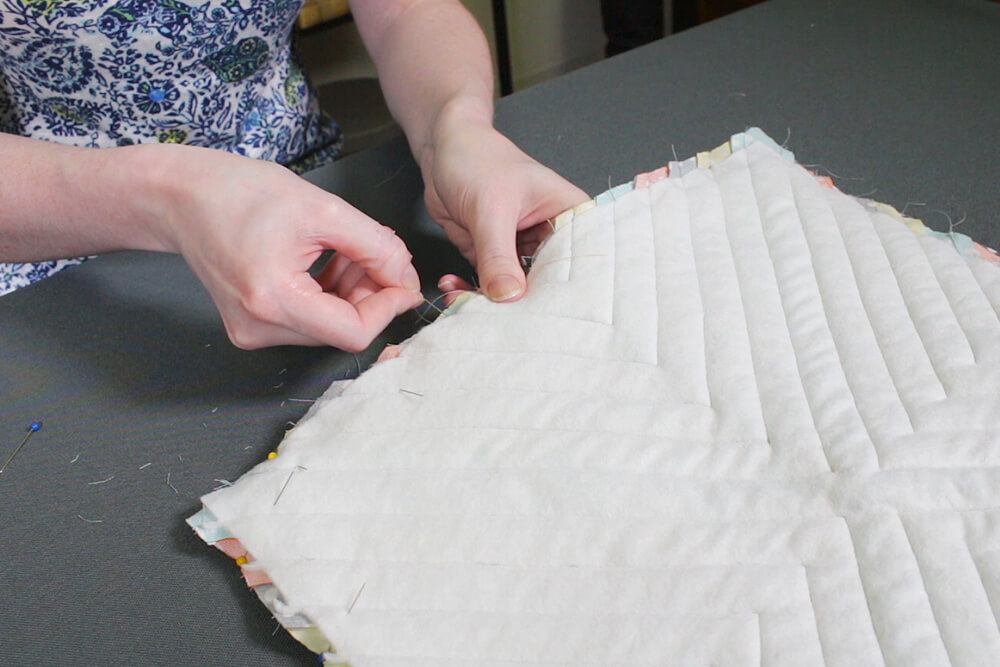
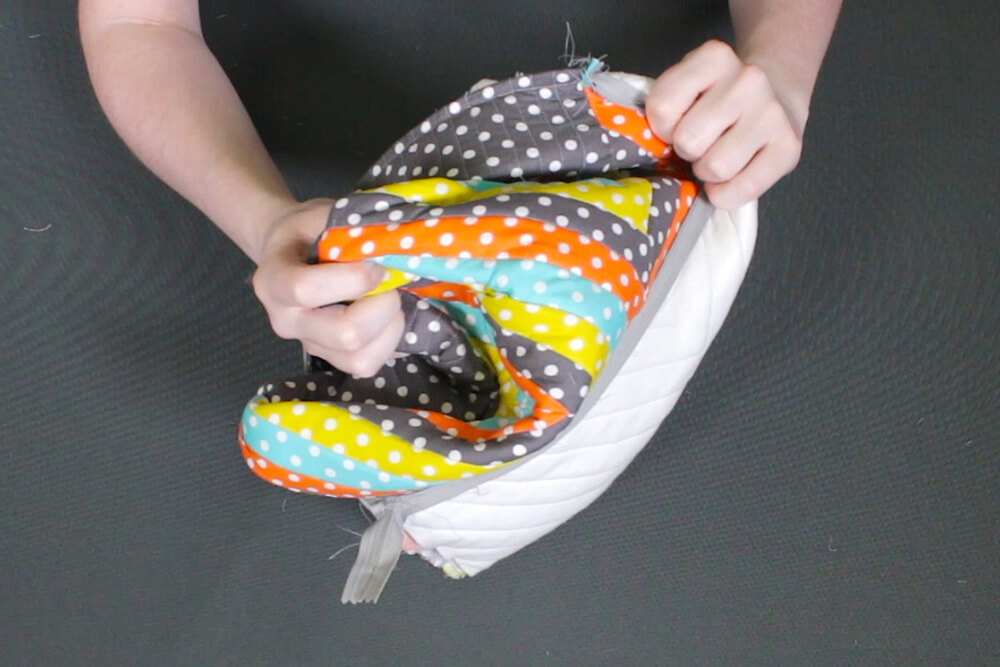
Pin the front and back together with the right sides facing. Sew around the sides with a ½” seam allowance.
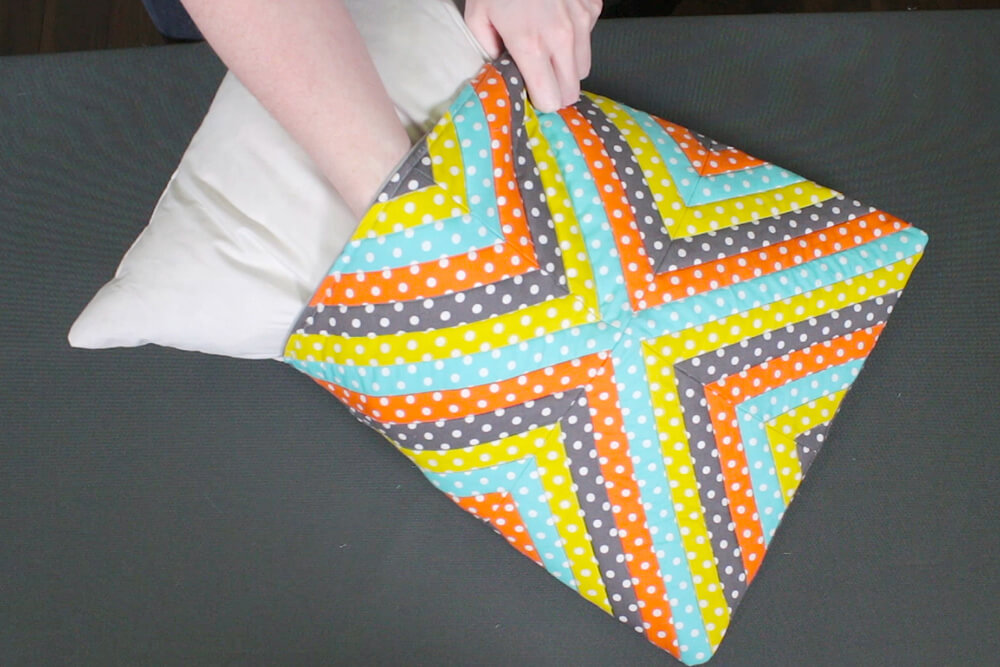
Turn the cover right side out and poke out the corners. Insert the pillow form and the quilted pillow is complete.
Ready to try it out? Find colorful cotton prints here.