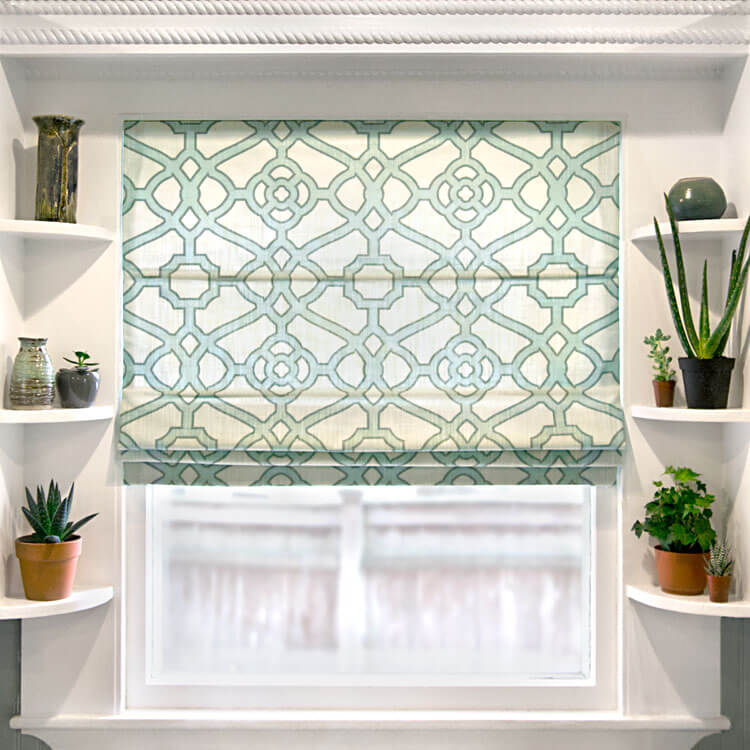
How to Make a Roman Shade
- By Clara
- Intermediate
- 3+ hours
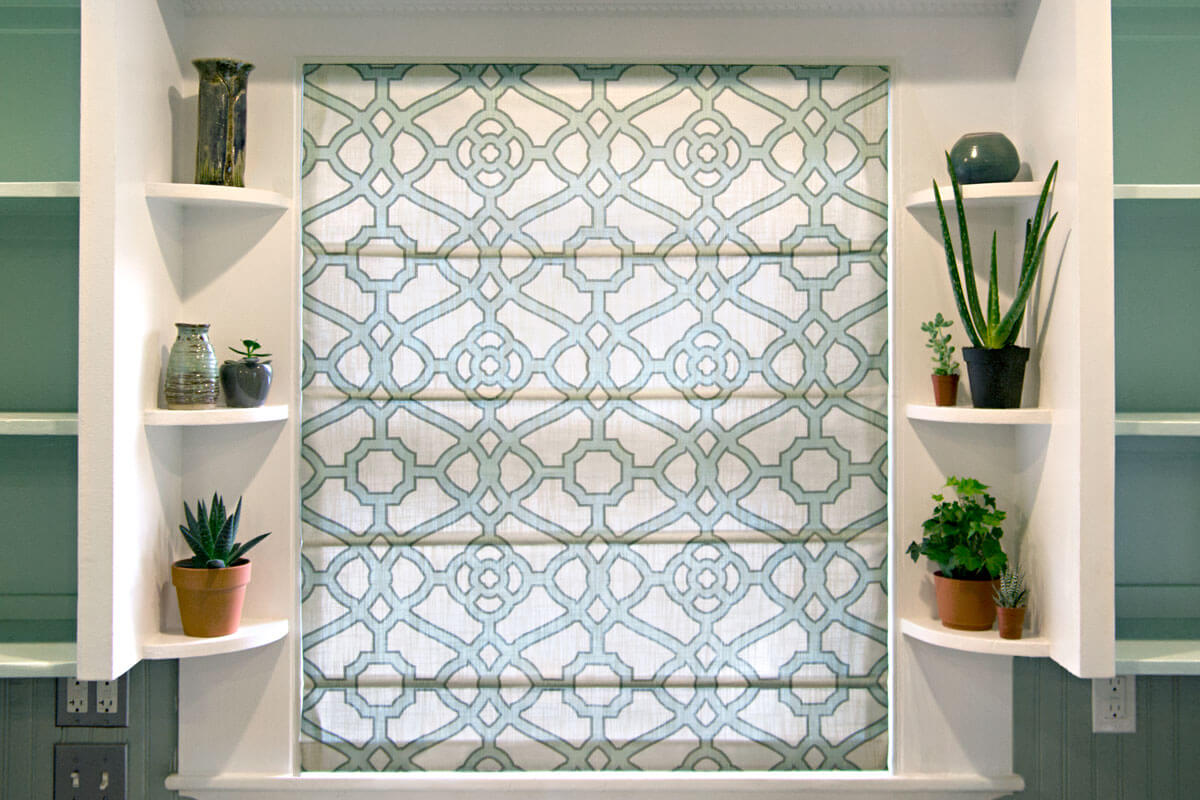
Roman shades give windows a clean appearance that goes well with many styles from traditional to modern.
There are many ways to make Roman shades. With the method shown here, there’s minimal stitching visible on the front for a professional look. This shade is made with wooden dowels (as opposed to the mini blind method).
If you plan on raising and lowering the Roman shade a lot, it’s worth using a cord lock and pulleys so it operates smoothly and easily. Otherwise, eye screws and a cord cleat can be used.
This shade is an inside mount but can also be installed using L-brackets for an outside mount.
Custom shades are expensive so if you want to get exactly the look you want, it’s much less expensive to do the work yourself. And it is work! There are a lot of steps and it may not be an easy project for a beginner.
Want to get the printable PDF instructions?
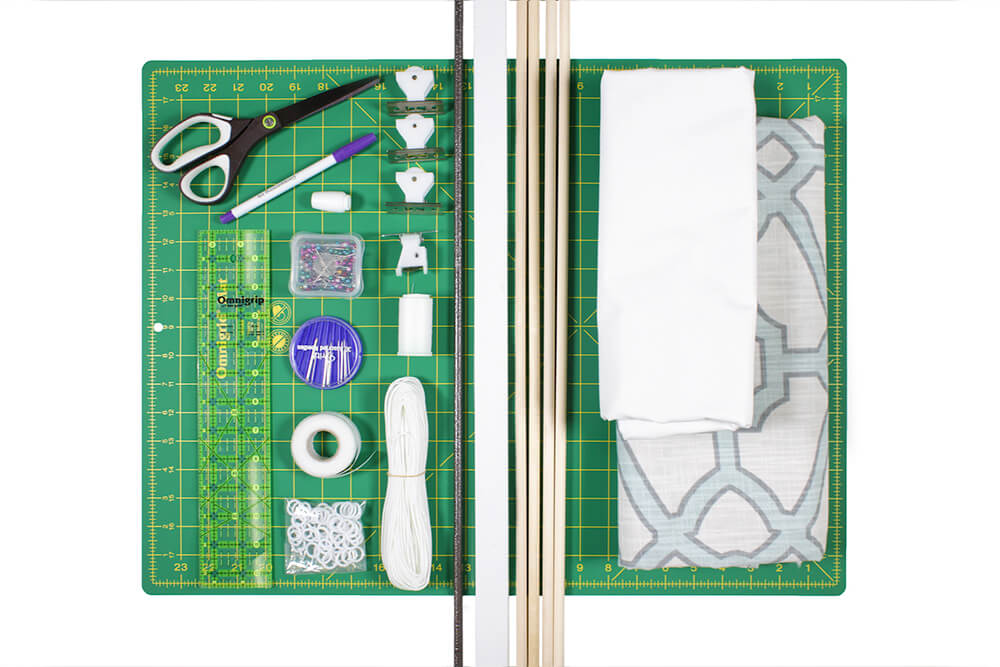
Materials
- Drapery fabric
- Drapery lining
- Wood dowels
- 1 x 2 wood board
- Metal rod or slat of wood
- Blind cord
- Thread
- Cord lock or cord cleat
- Pulleys or eye screws
- Rings
- 5/8" stitch witchery
- Hand sewing needle
- Pins
- Ruler
- Scissors
- Fabric marker
- Pull end
- Staple gun or hot glue gun
- Iron
- Drill
- Screws
Related Products
-
 Rain No Stain White Drapery Lining
-
 30 Assorted Needles
-
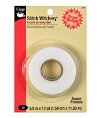 Stitch Witchery Super Weight - 5/8" x 13 Yards
-
 Dual Duty XP Thread - White, 500 Yards
-
 3 Cord Shade Lock
-
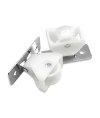 Plastic Cord Pulley
-
 1.5 mm White Blind Cord - 25 Yards
-
 5/8" White Urea Rings - 50 Pack
-
 120 Long Pearlized Pins - Size 24
-
 Disappearing Ink Marking Pen - Purple
-
 Non Slip Ruler 2-1/2 inch X 12-1/2 inch
-
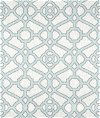 Pavilion Fretwork Tropical Blue
-
 White Bell Shape Wood Blind Cord Tassel - 5 Pack
Video
Instructions
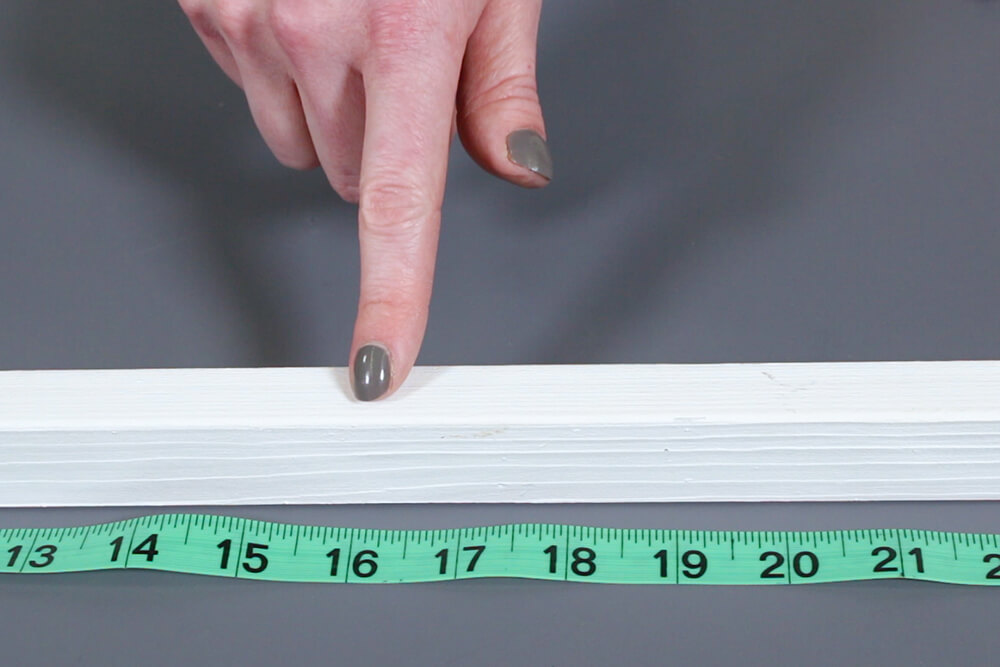
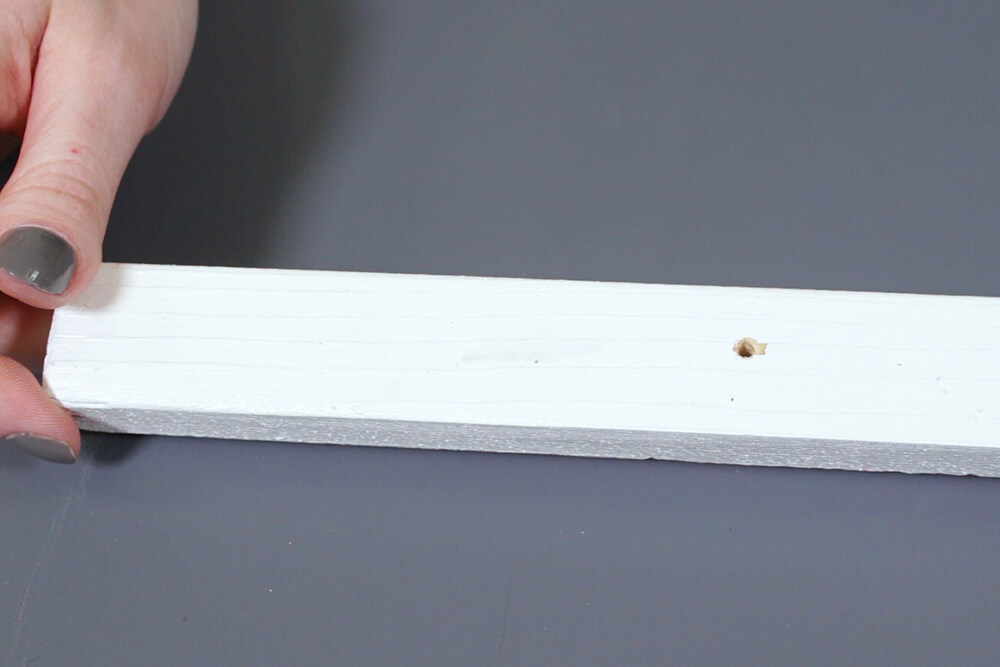
Step 1: Measure & cut the materials
Cut the 1 x 2 or a board of a similar size so it will fit inside the window frame. This will be the finished width of the Roman shade. I also painted the wood to match my trim, but you could leave it unfinished or wrap it in the lining fabric instead.
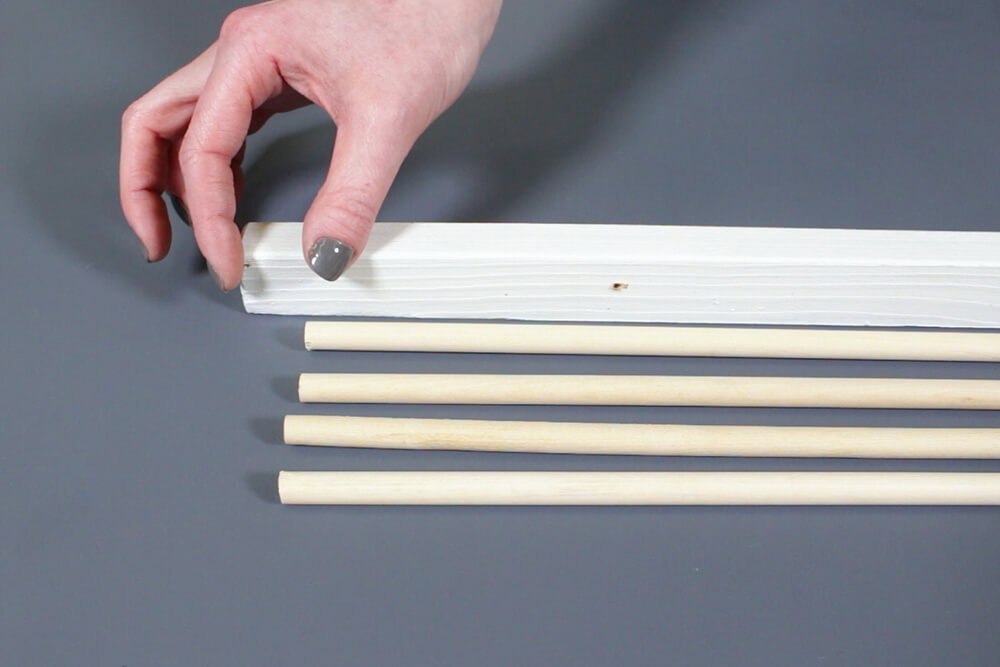
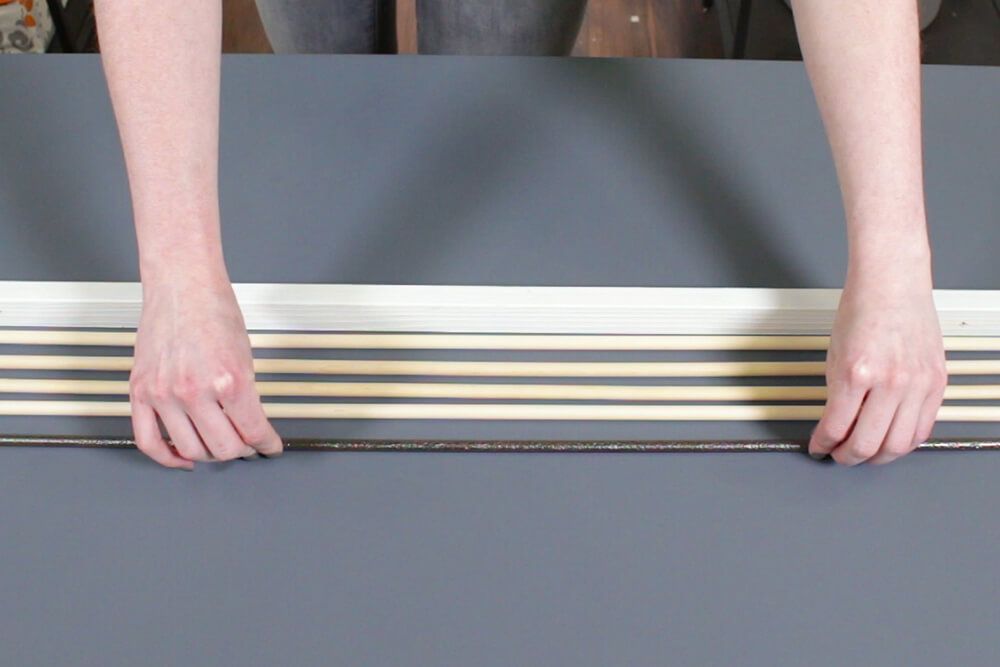
The dowels should be 1” shorter than the board. These are 3/8” dowels, but 5/16” work well too.
The bottom of the shade needs to be weighted so it can be lowered easily. Use a thicker dowel, a slat of wood, or a metal rod cut to the same width as the dowels. Or you can use weighted drapery tape.

To be safe, you can add another couple of inches to the height because any extra fabric can be trimmed off at the end.
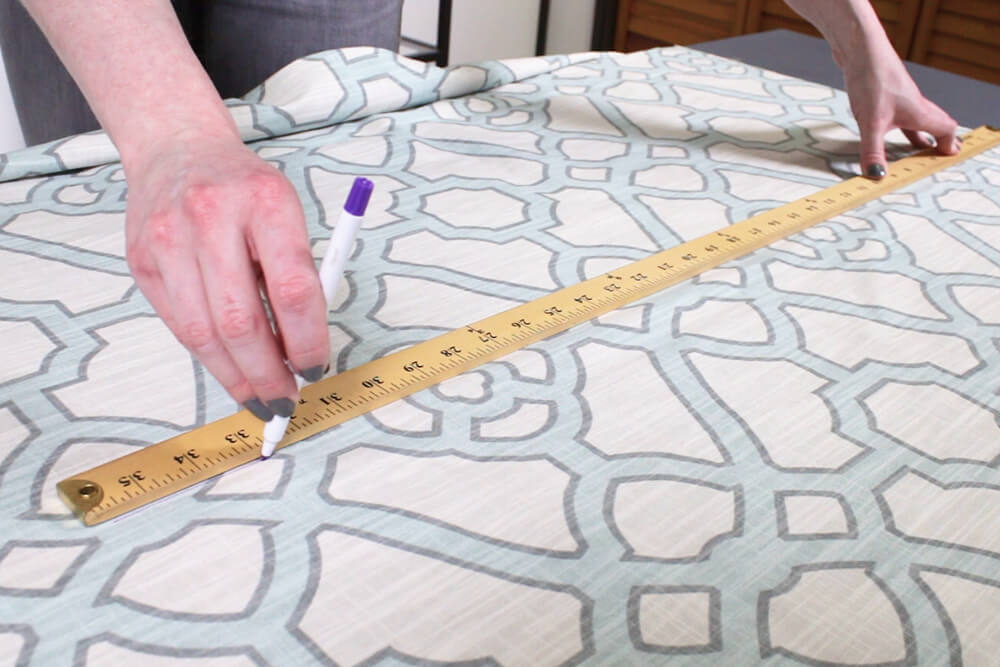
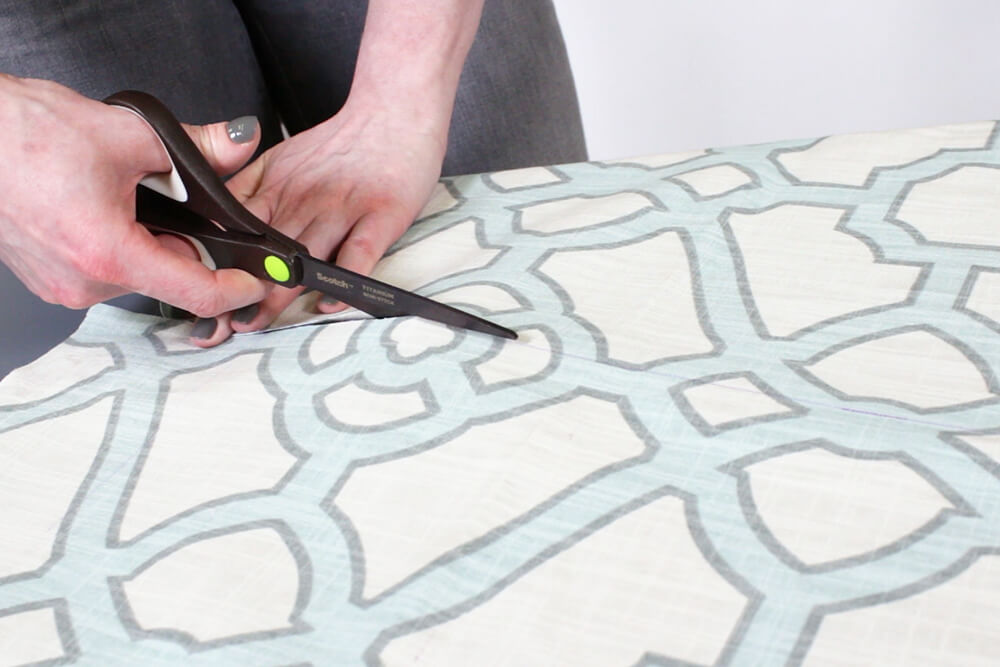
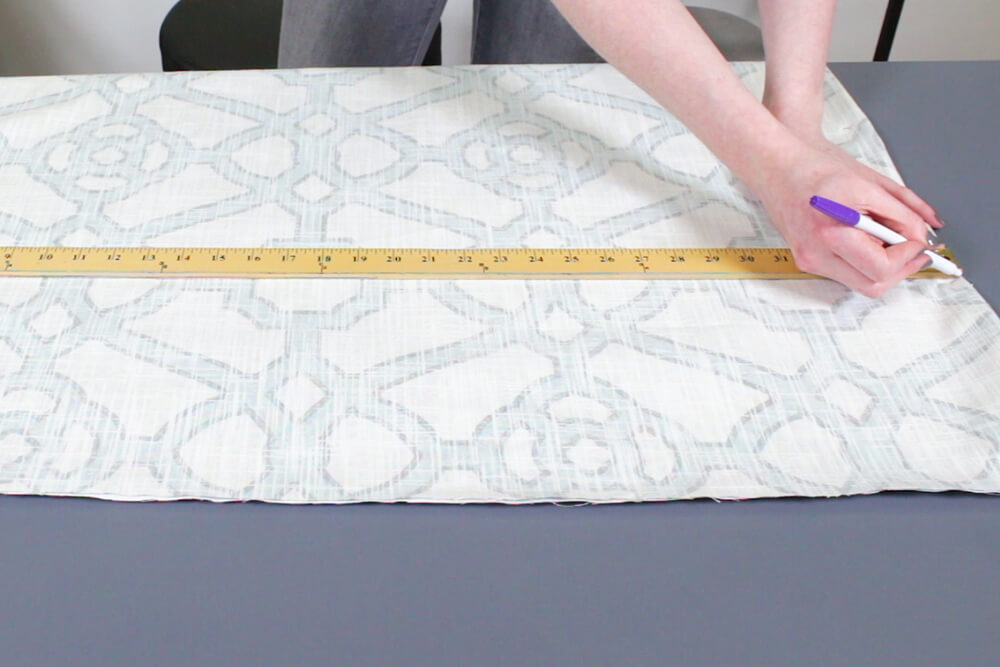
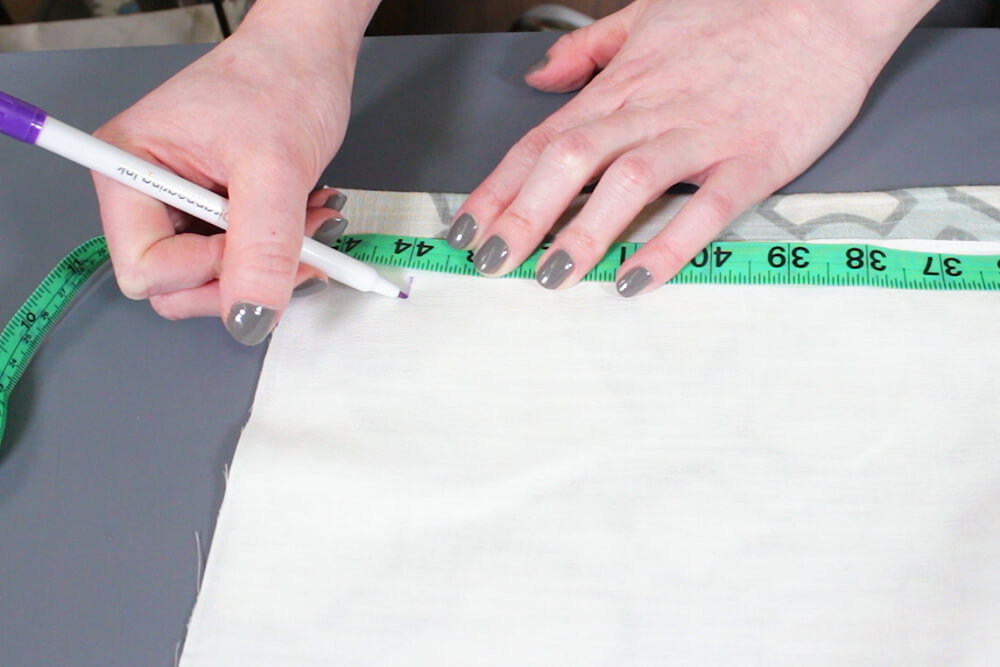
Cut the drapery fabric to be 3” wider than the finished width of the Roman shade and 5” longer than the finished length.
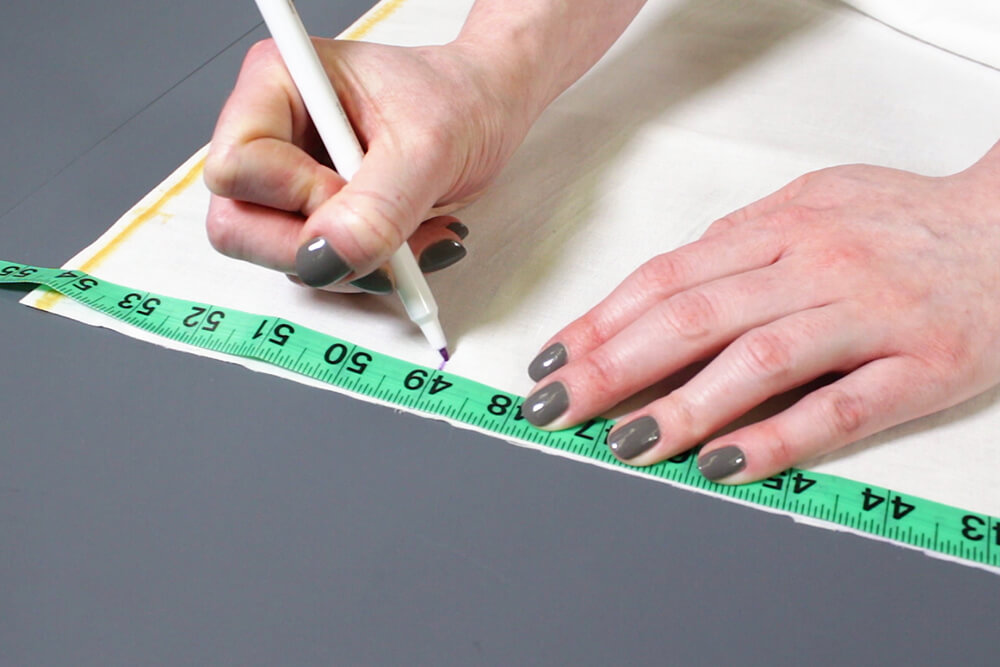
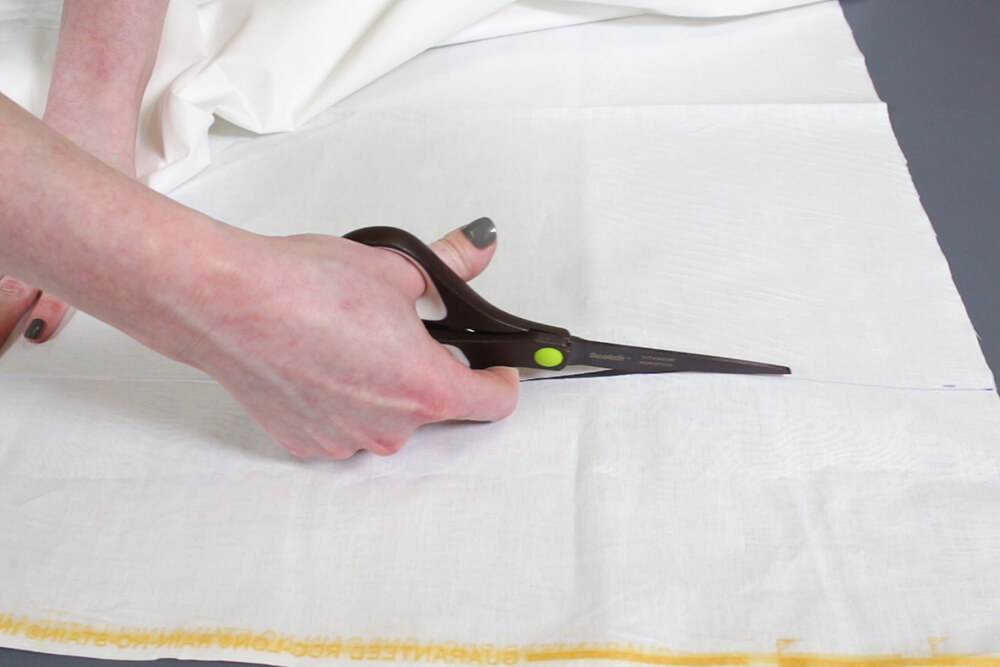
Cut the drapery lining 1” less than the finished width (4″ less than drapery fabric) and the same height as the drapery fabric.
My shade will be 37” wide and 44” tall when finished, so I’m cutting the drapery fabric to be 40” x 49” and the lining to 36″ x 49″.
Take a look at our drapery fabric and drapery lining!
Step 2: Sew the fabric together
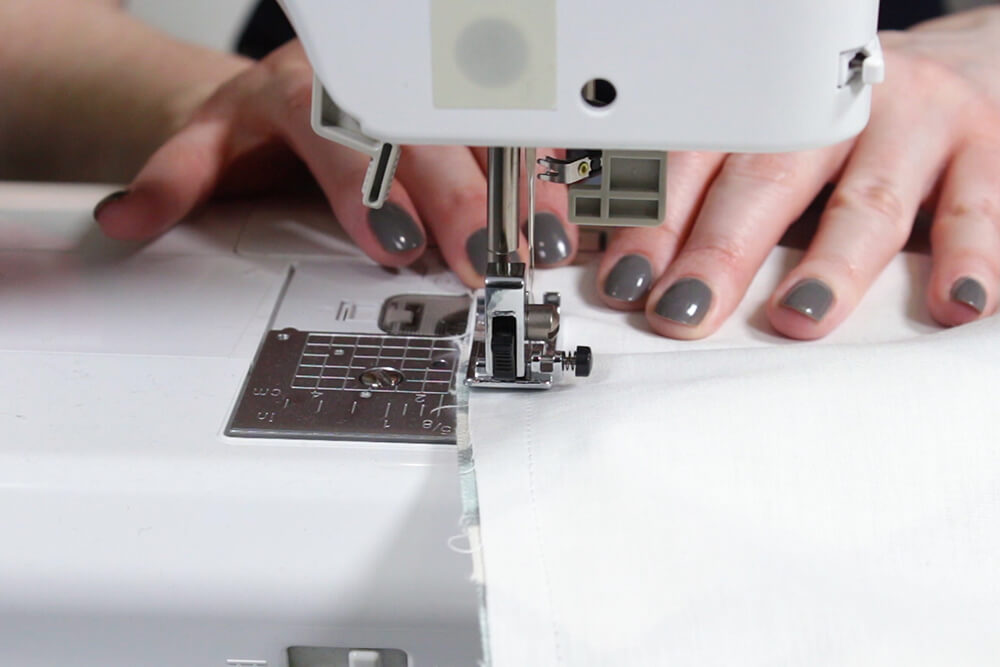
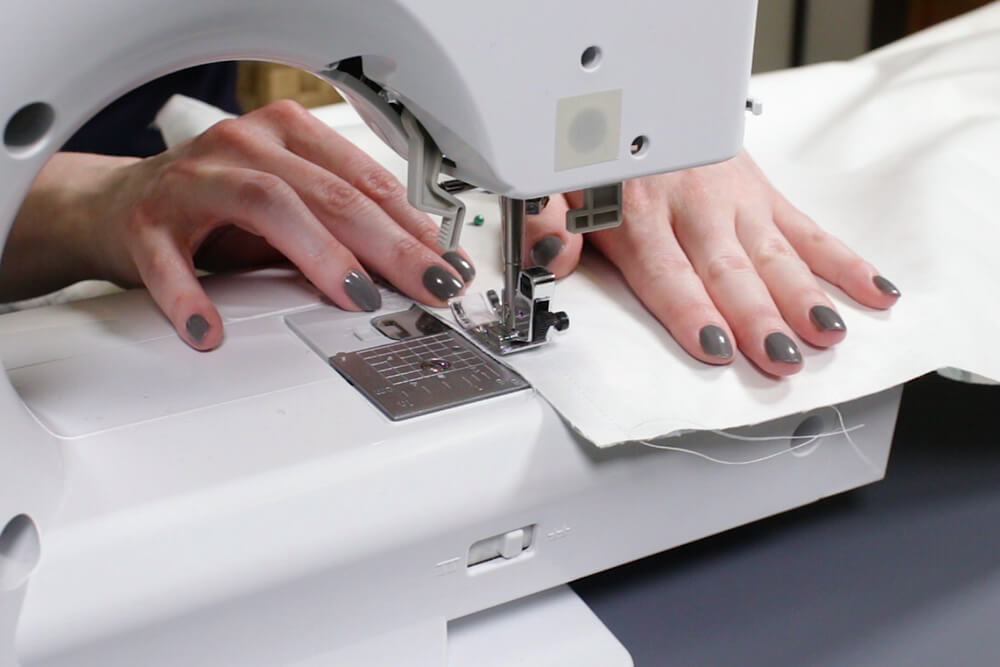
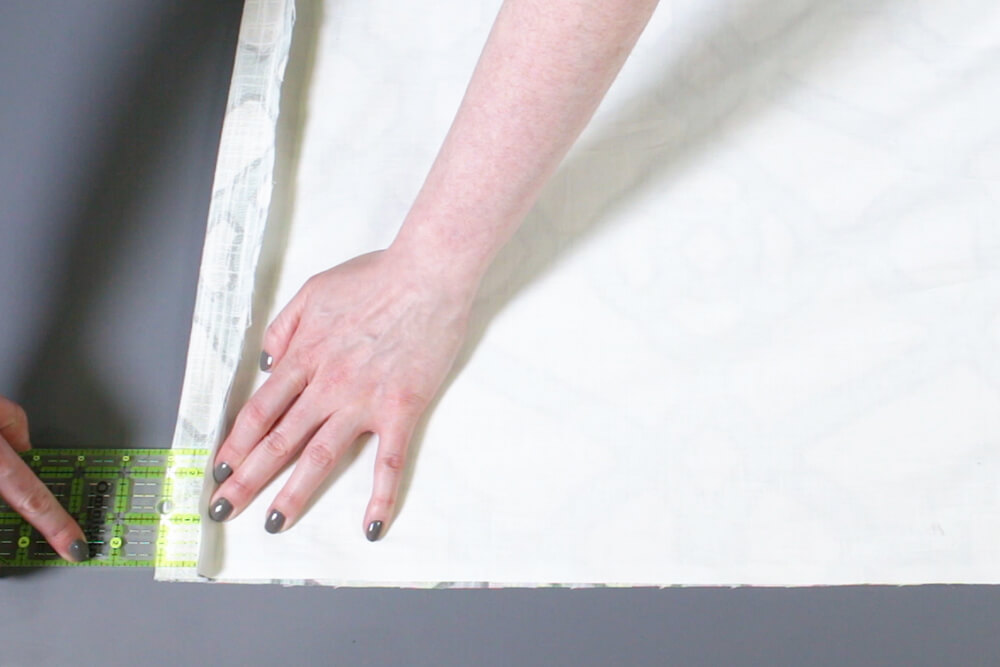
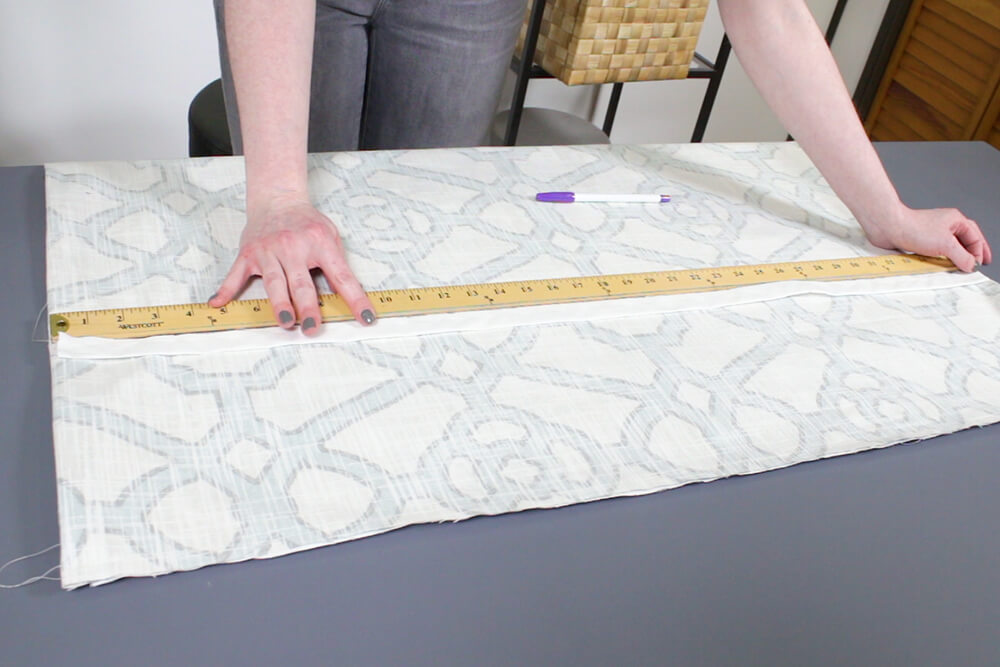
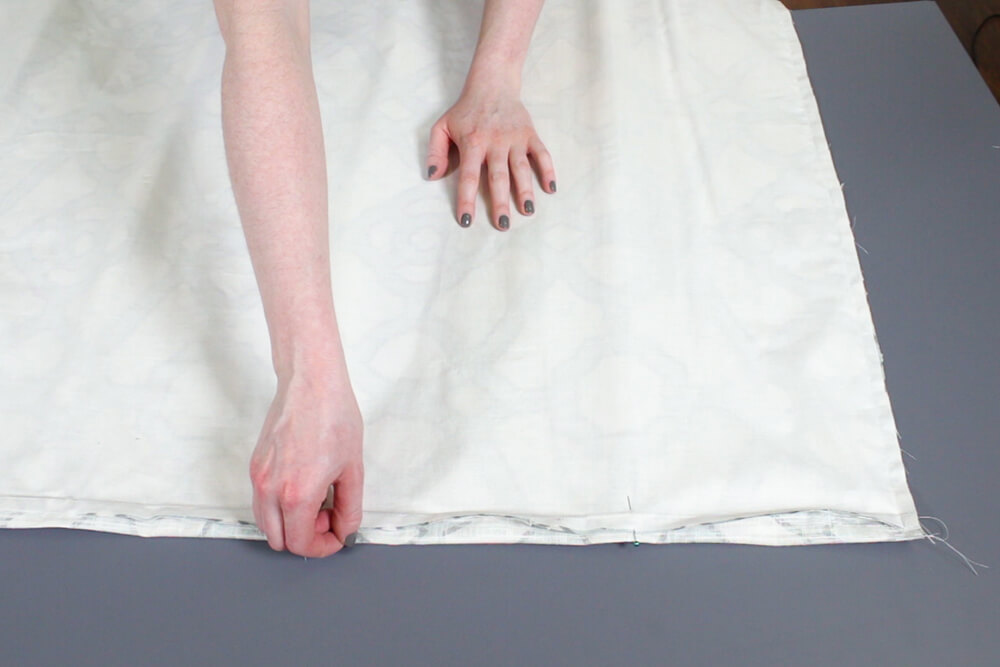
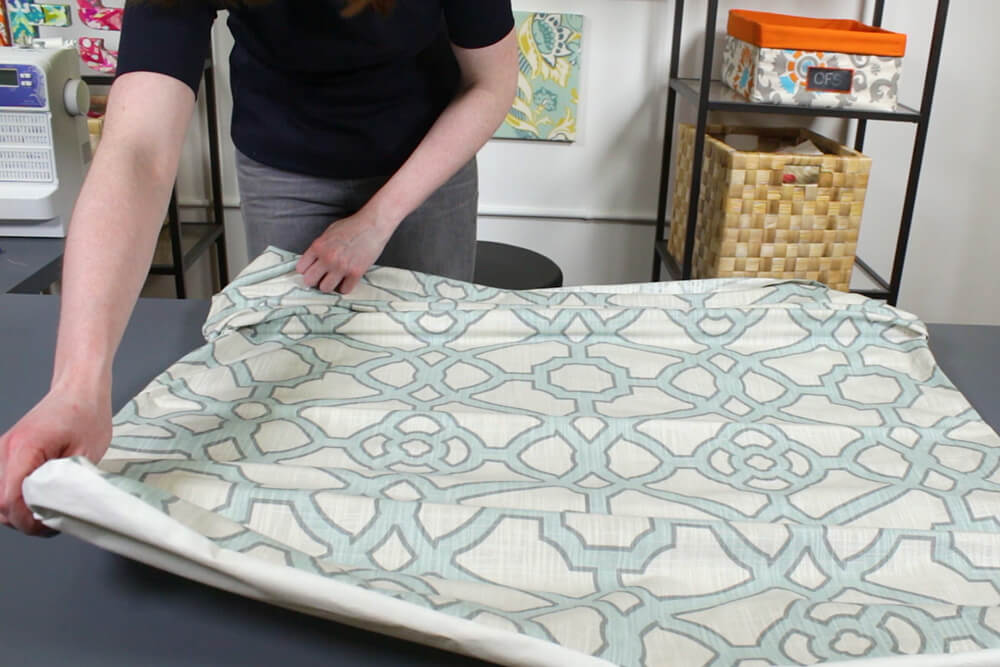
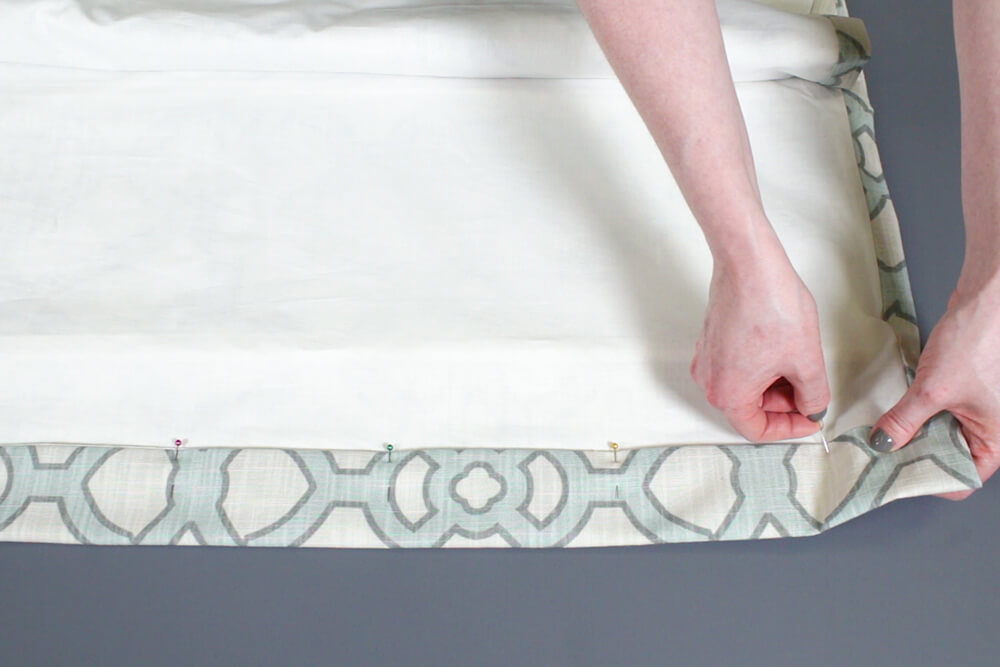
With right sides facing, pin one side of the drapery fabric and lining together. Sew down the length with ½” seam allowance.
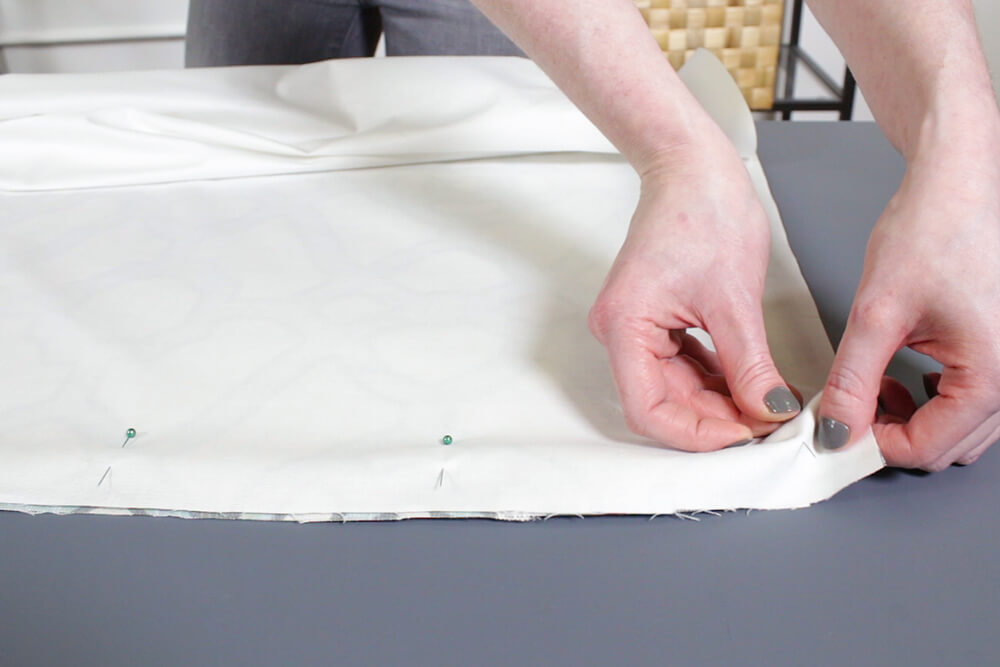
Pull the lining fabric so that it lines up the other side of the drapery fabric, pin, and sew.
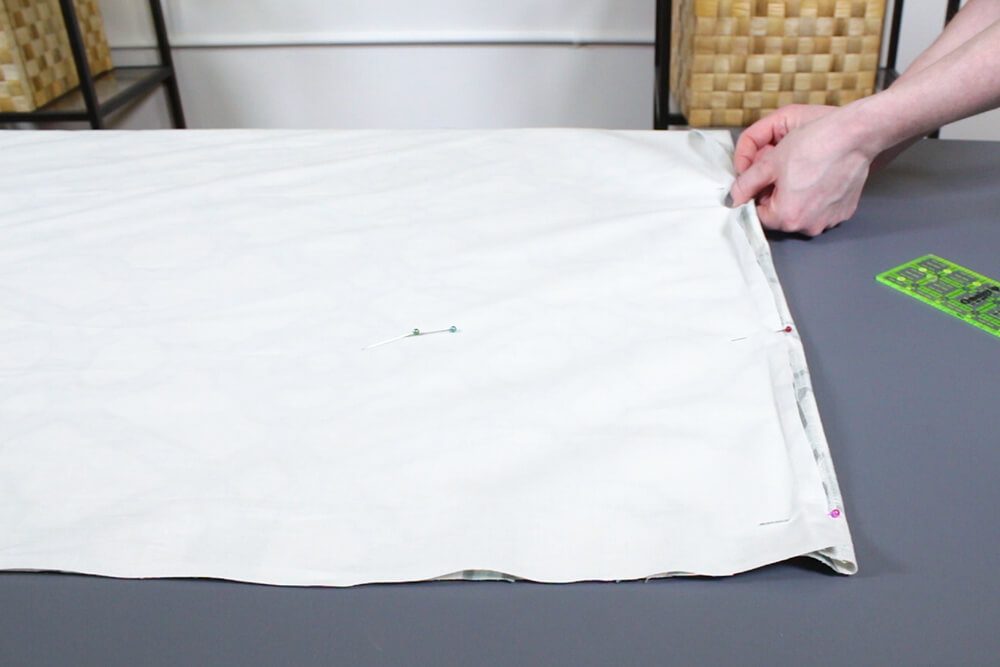
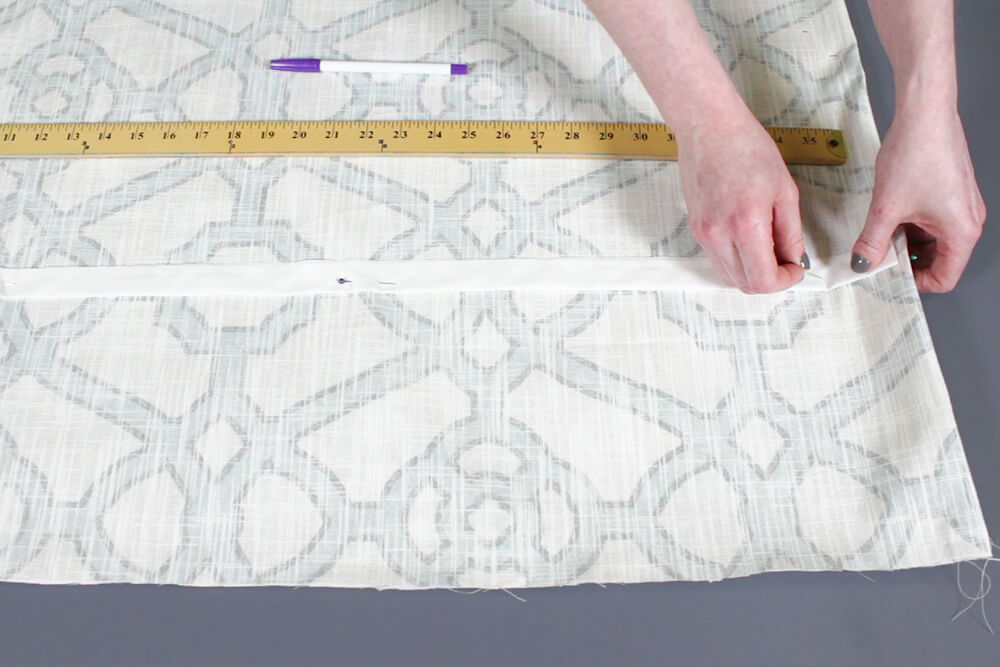
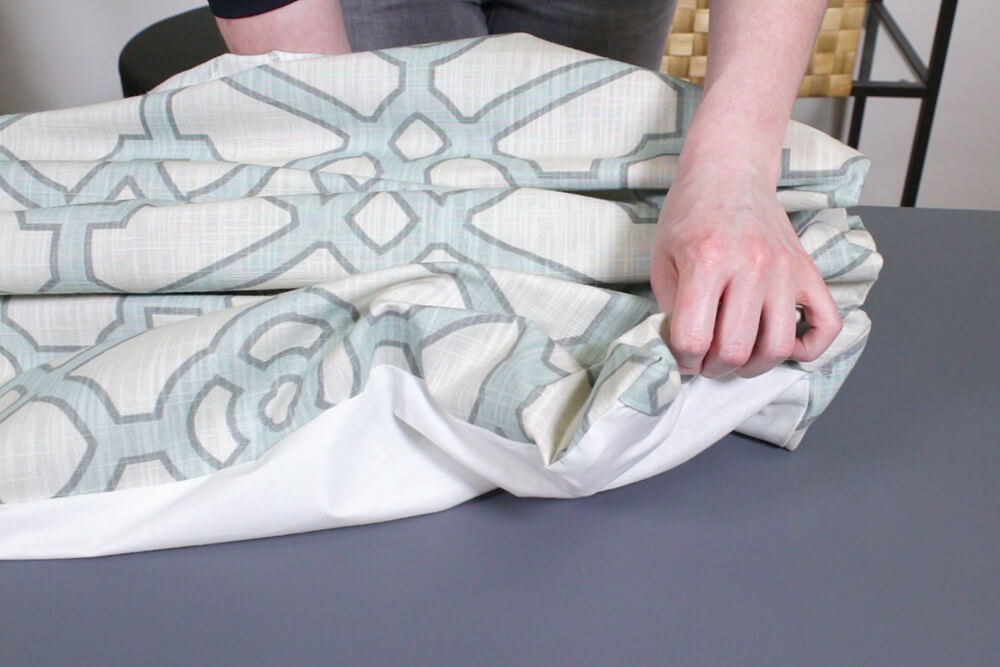
Center the lining on the back so that there’s an inch of the drapery fabric on either side and pin the bottom. Sew across again with ½” seam allowance.
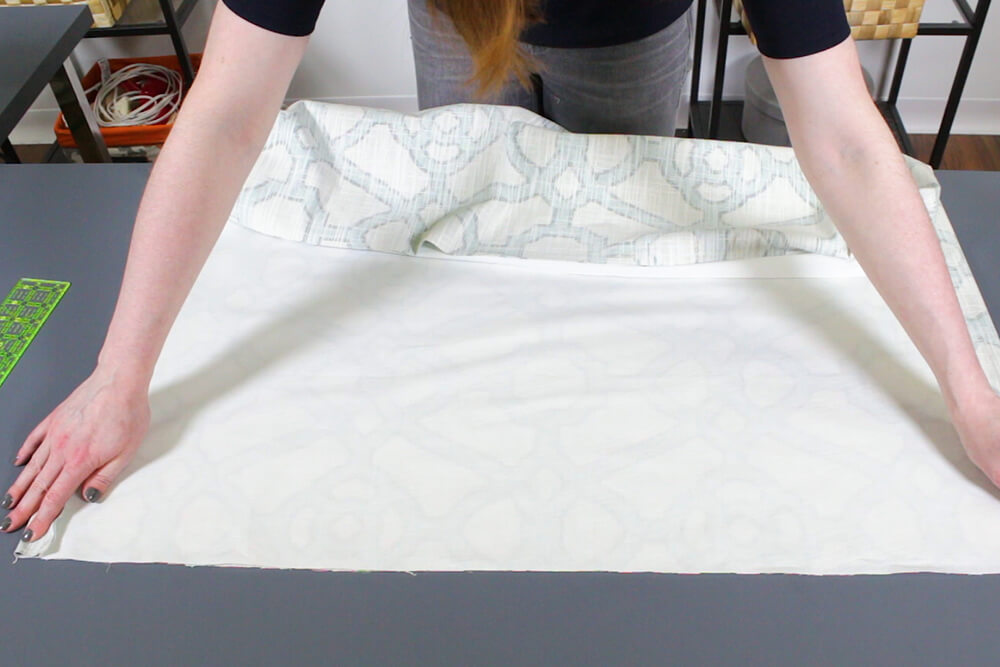
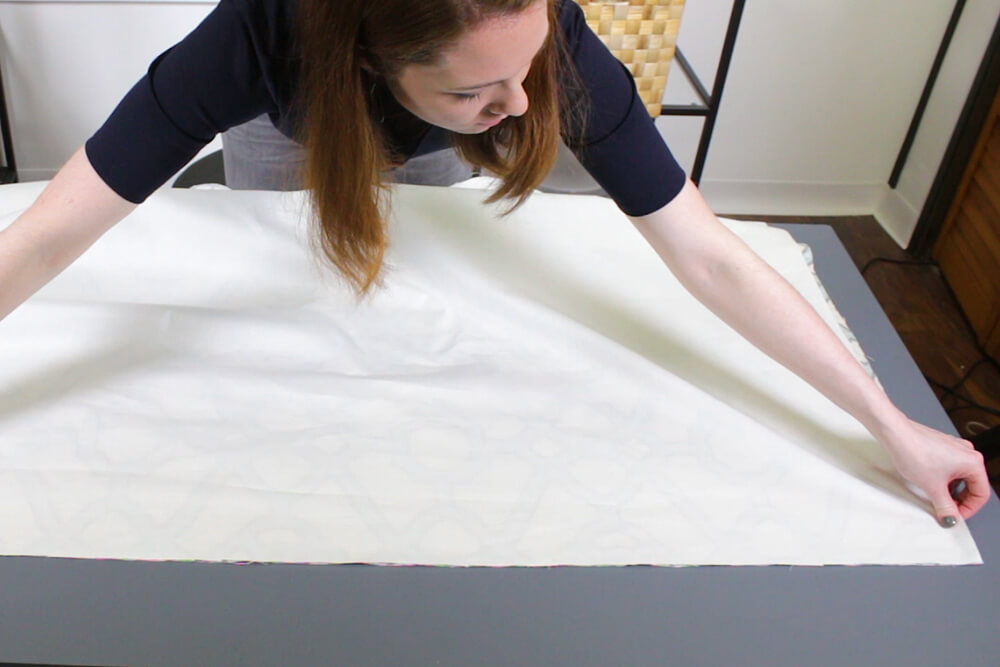
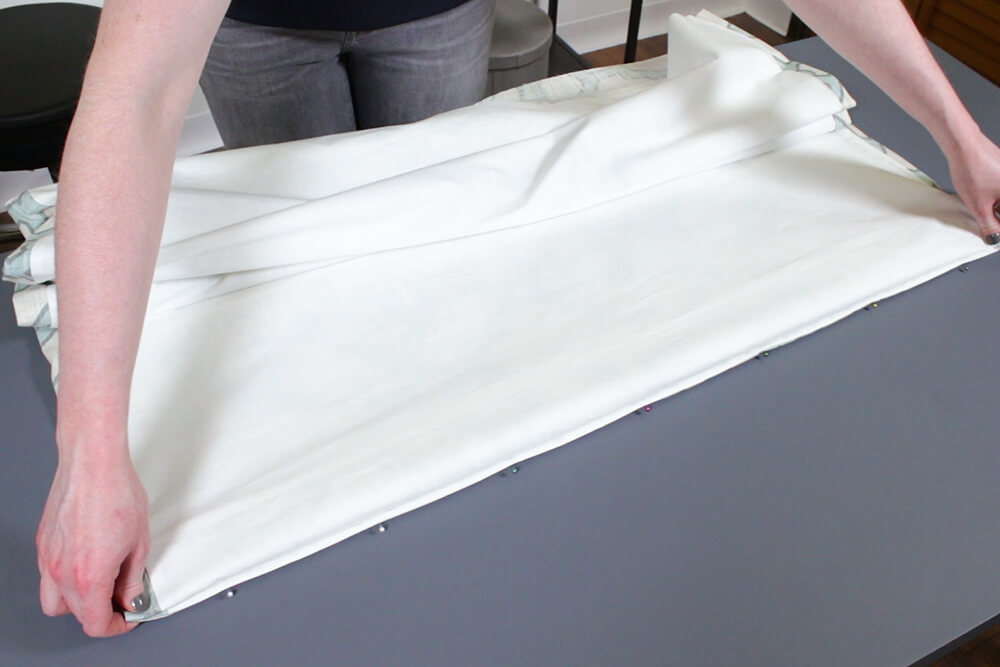
Center the drapery lining again on the top and pin down the sides.
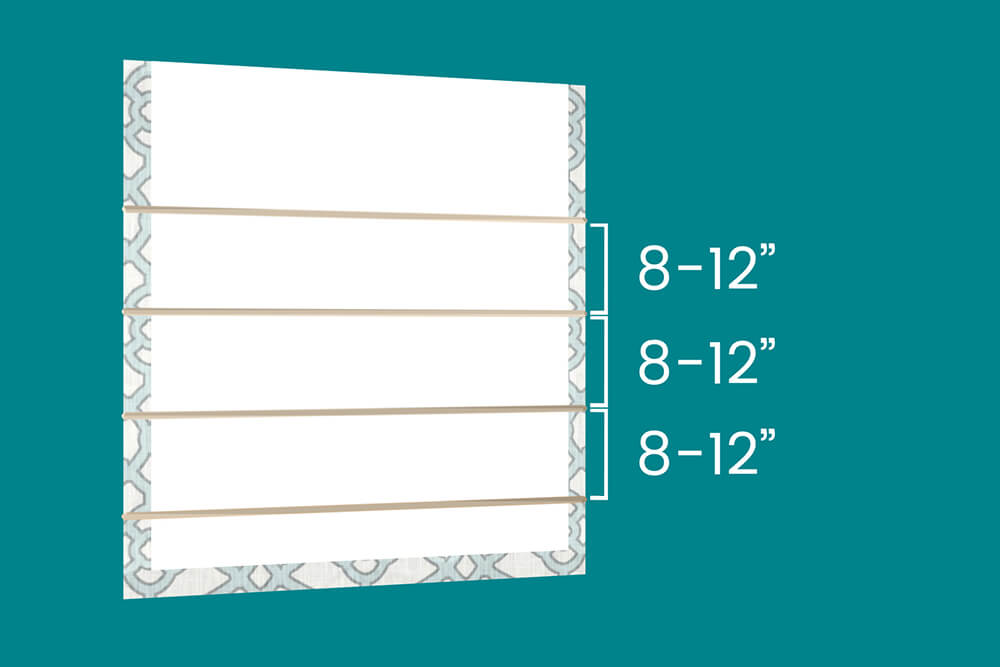
Step 3: Calculate the spacing of the dowels
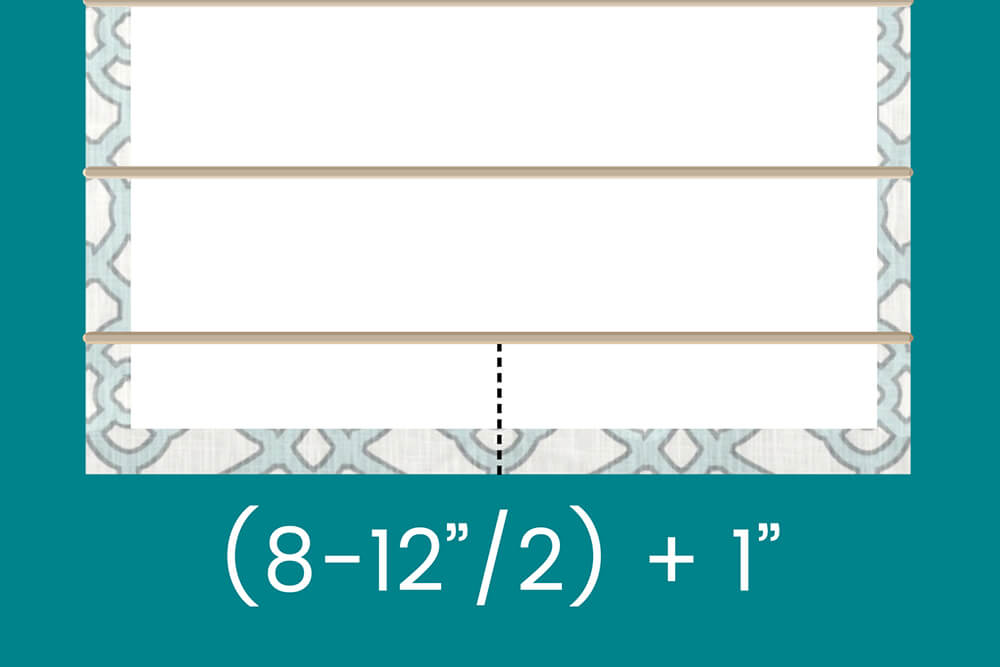
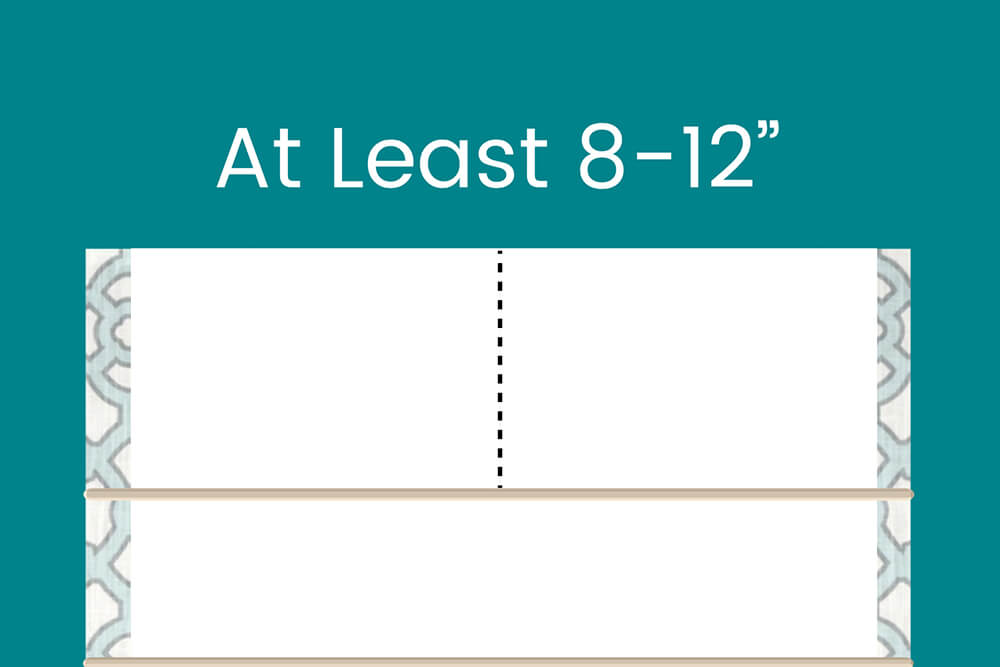
Next, figure out the spacing for the dowels. This will differ based on the height of your window, but generally 8 -12” between the dowels works well. The amount below the bottom dowel should be half of the distance between dowels plus 1”. The amount above the top dowel isn’t as important, but it should be at least as much as the spacing between dowels.
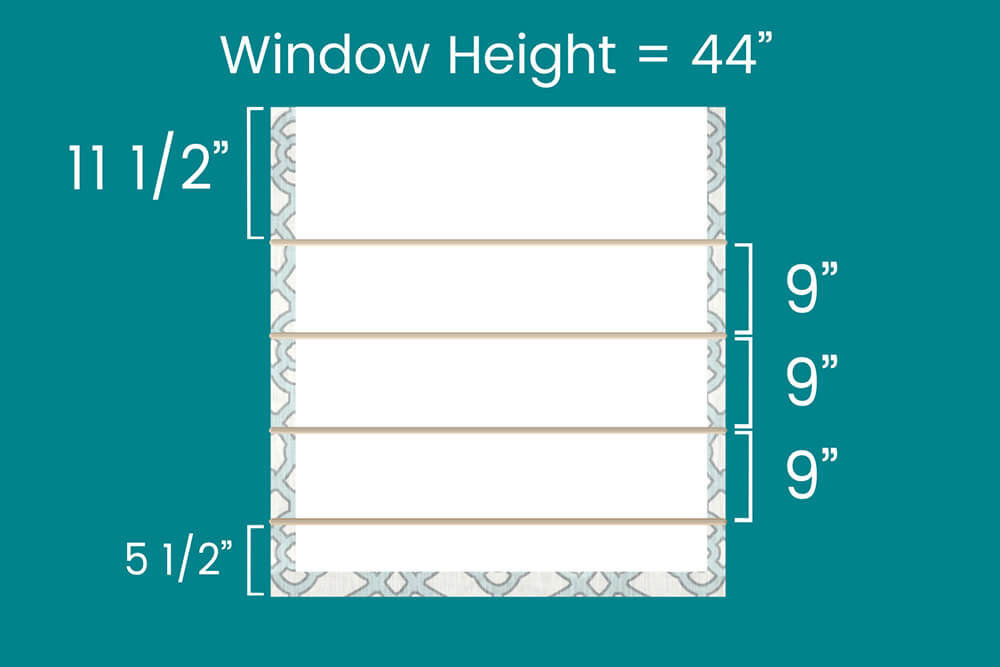
My window is 44” high, so I decided to space out the dowels 9”, which leaves 5 ½” at the bottom and 11 ½” at the top.
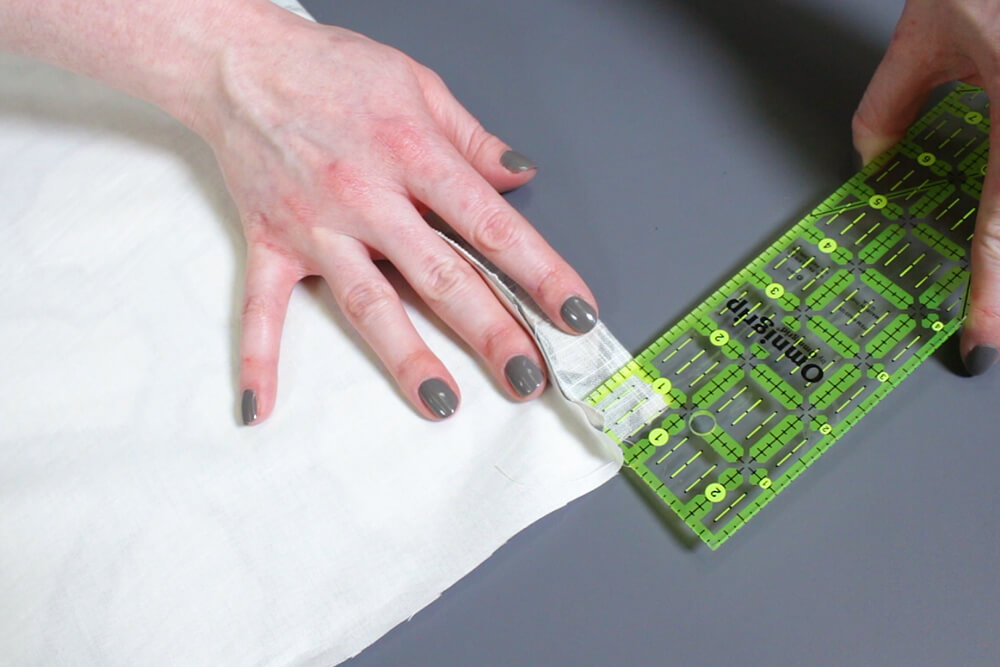
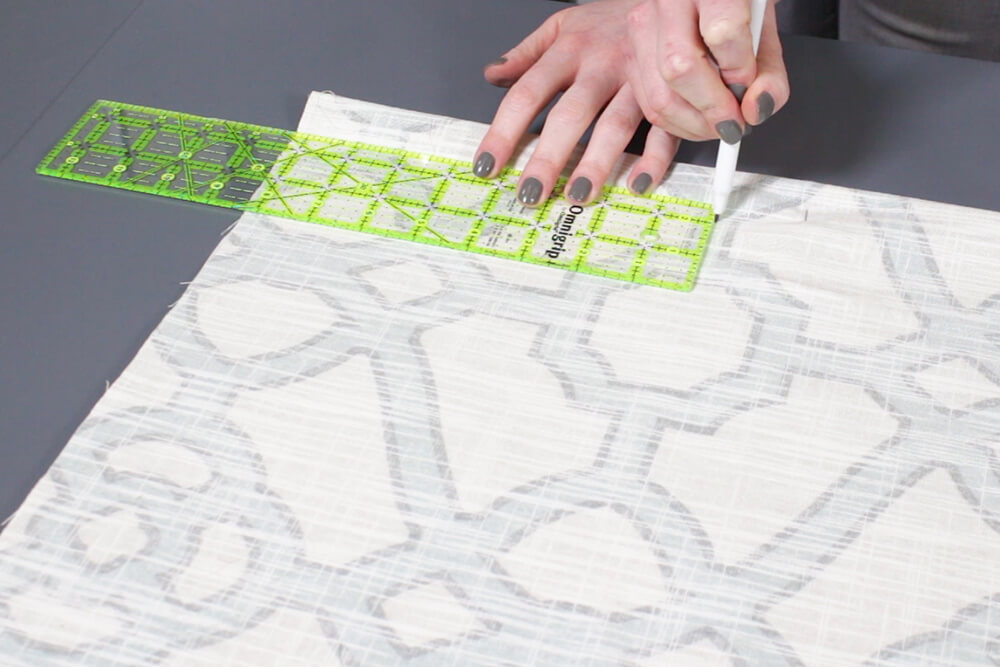
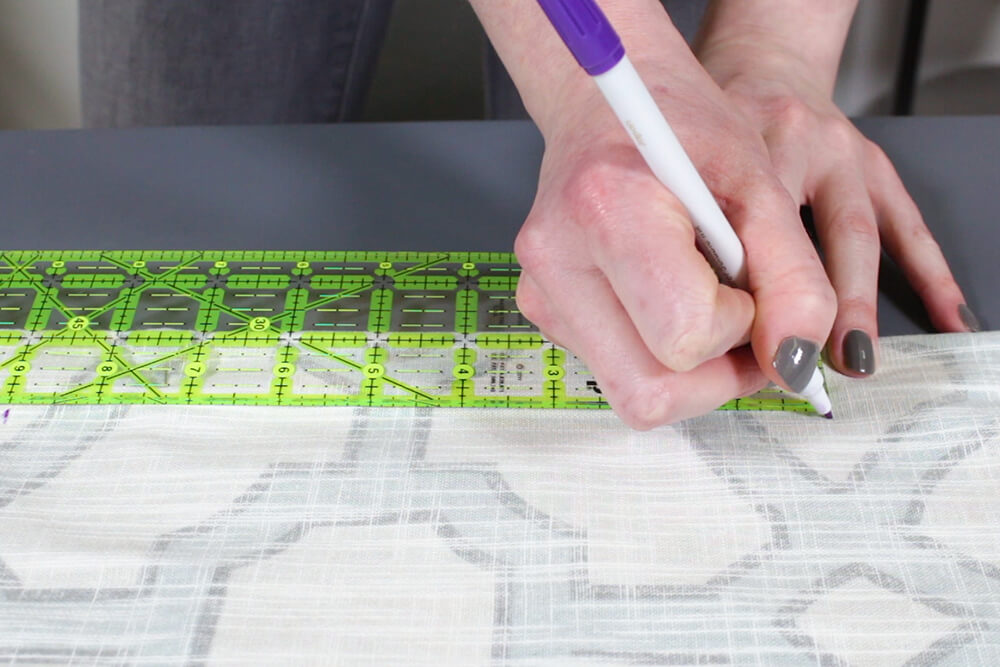
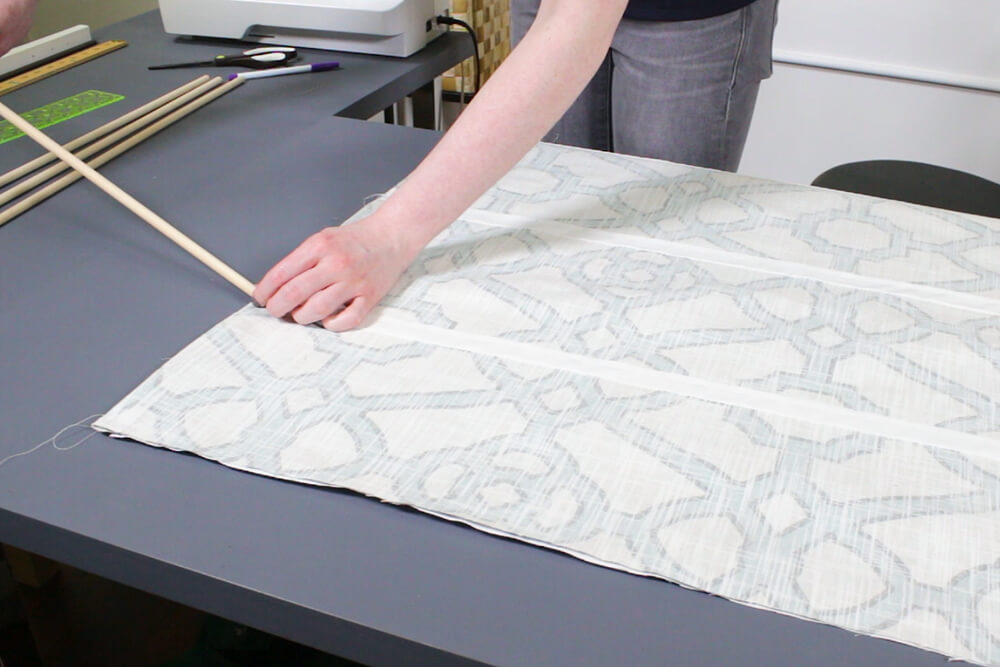
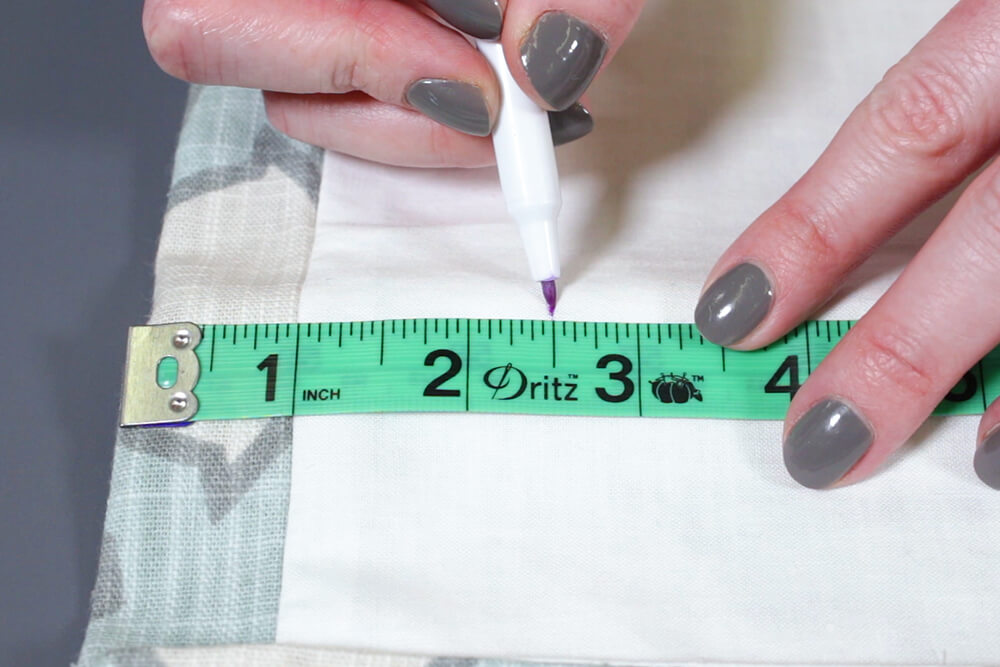
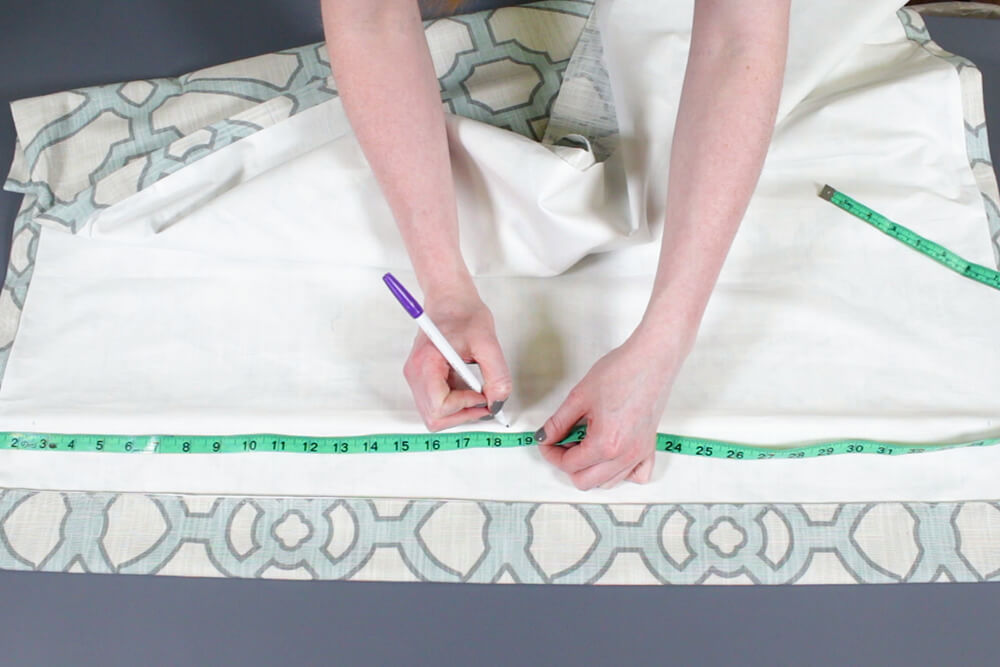
With the wrong side of the drapery fabric facing up, measure up from the bottom for the location of the first dowel. After the dowels are added, the bottom will be hemmed up 2 ½”, so add that amount to the bottom plus the seam allowance.
For me that’s a total of 8 ½”. ( 5 ½” + 2 ½” hem + ½” seam allowance )
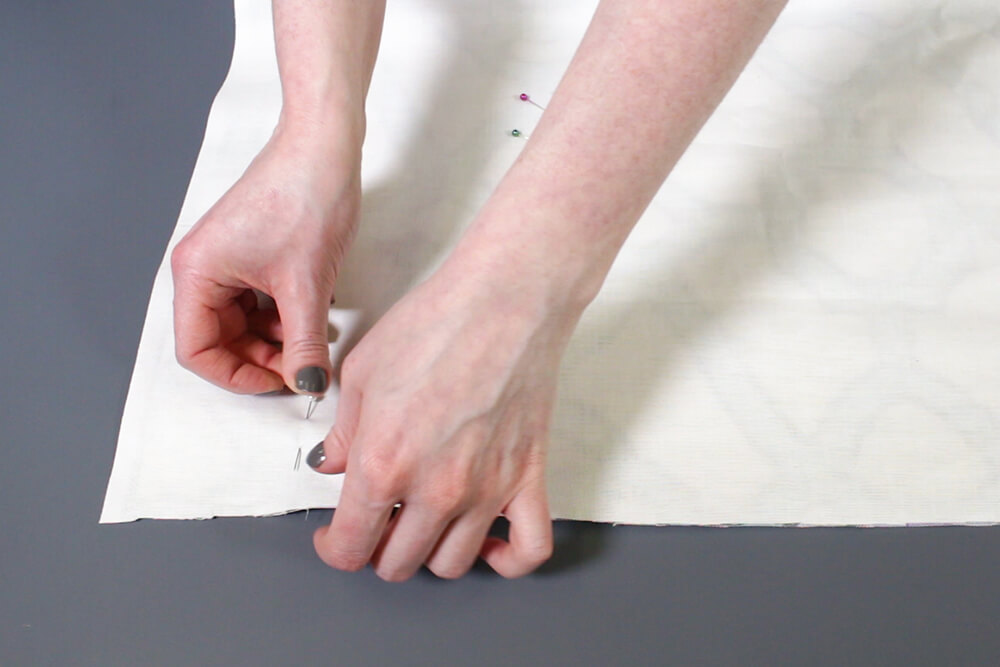
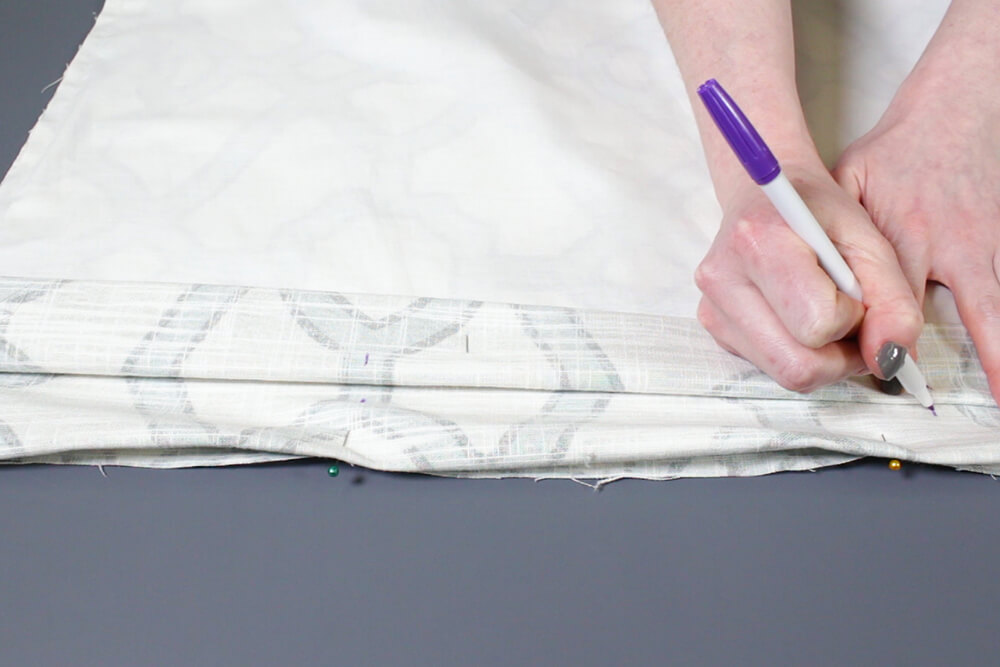
Measure and mark the distance for the rest of the dowels. To mark the other side, it’s easiest to fold the fabric in half so the sides are aligned and transfer the marks so you don’t have to measure again.
Step 4: Make pockets for the dowels
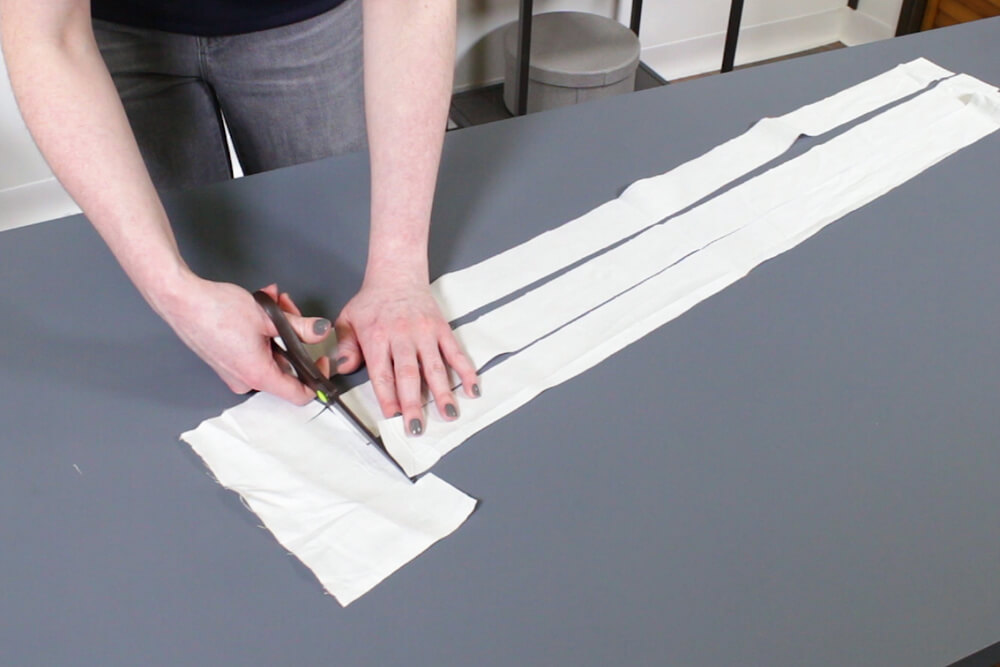
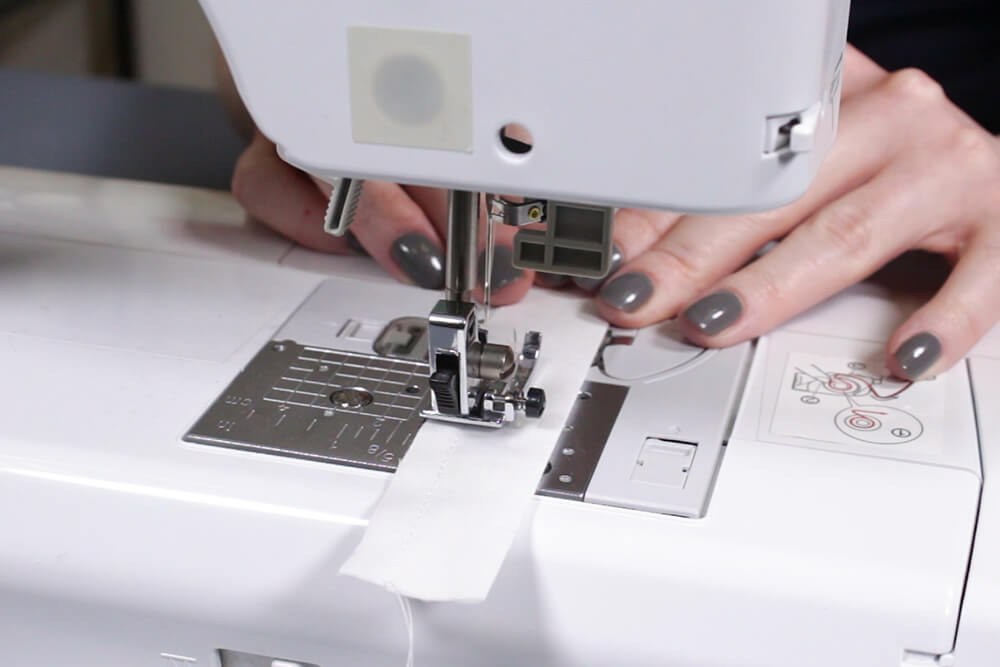
To make pockets for the dowels, cut 2” strips of the lining that are the width of your shade. Cut enough for each dowel. Fold the pieces in half and iron. Then sew the raw edges together with a ¼” seam allowance.
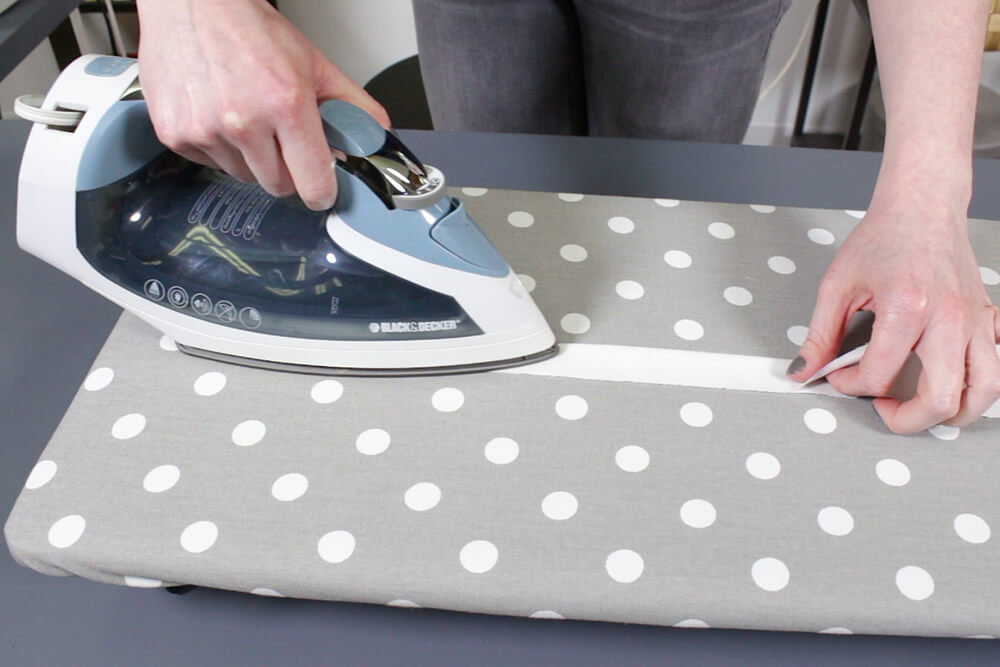
Take the 5/8″ Dritz Stitch Witchery and lay it on top of the strip. With the iron on the steam setting, hold it above the Stitch Witchery so it melts slightly and sticks to the fabric.
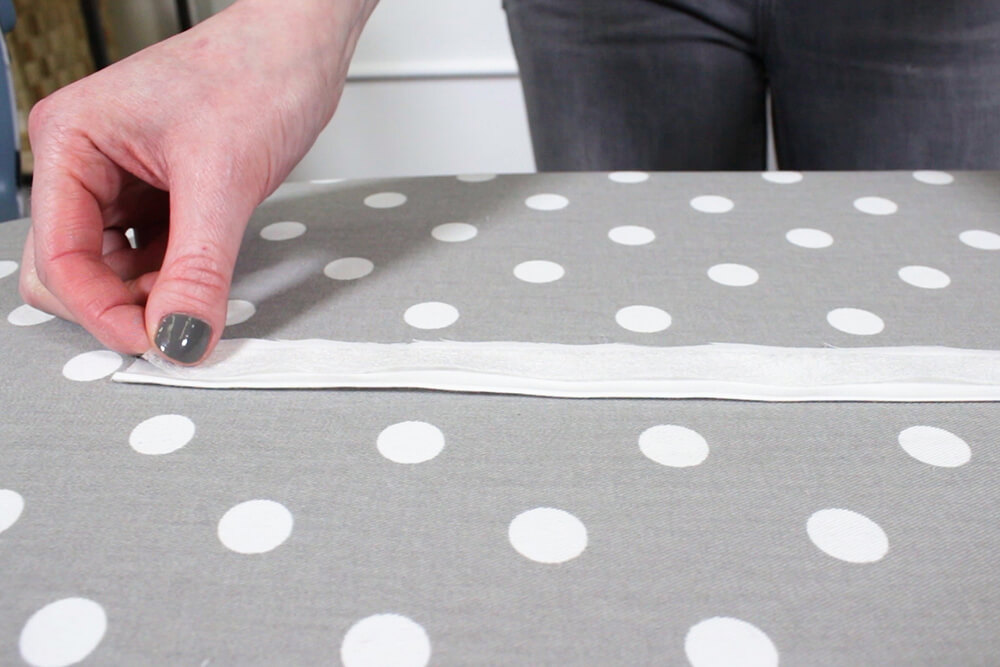
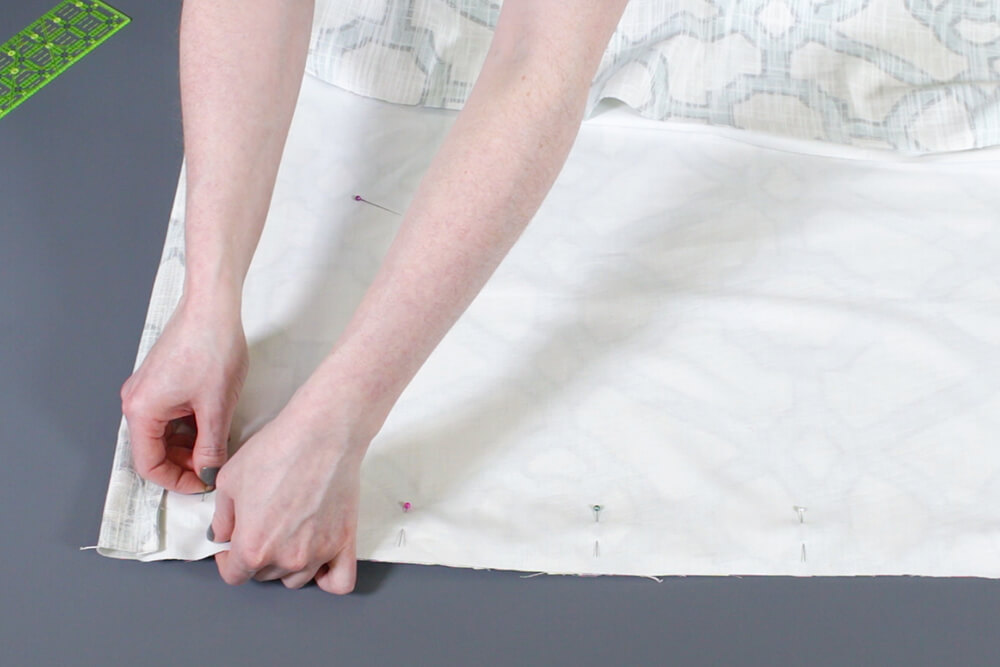
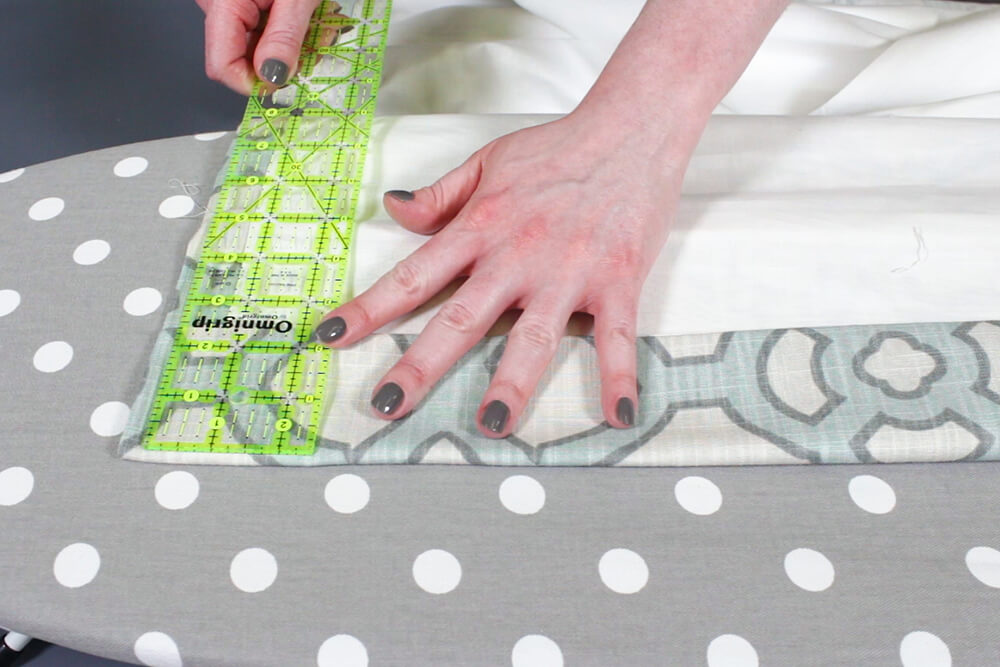
Extend the markings for the dowels to the edges. Lay the strip across the fabric so the area between the fold and seam is centered on the markings. You can use a straight edge to straighten the strip before pinning it in a couple of places.
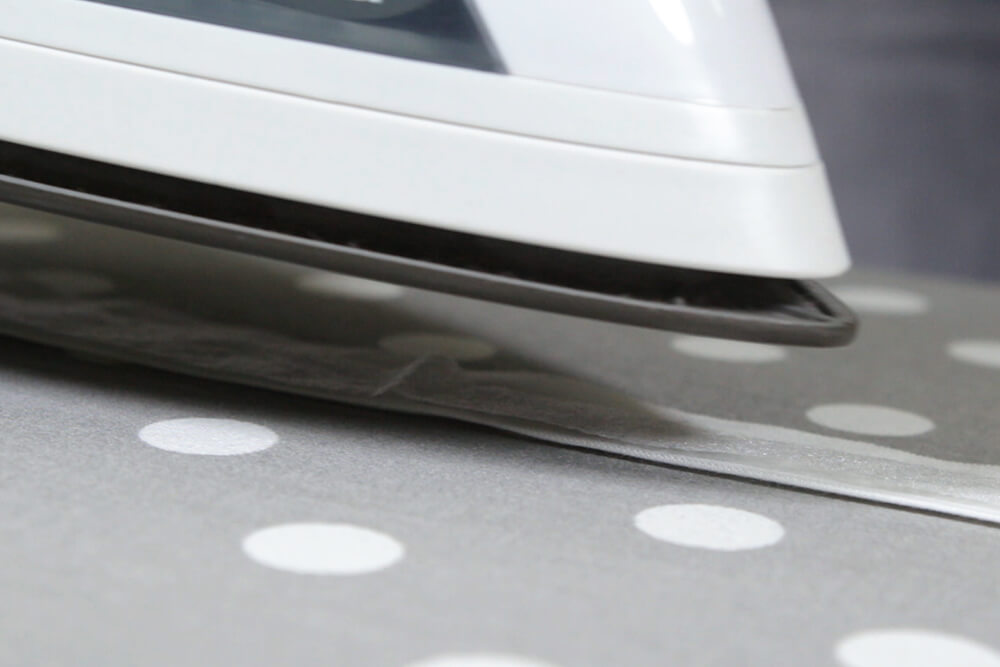
Iron to bond the strip to the fabric, following the instructions on the Stitch Witchery. Repeat for the rest of the strips.
If the Stitch Witchery isn’t working well for you, fabric glue also works well. By using Stitch Witchery or fabric glue instead of sewing, there won’t be any visible stitches on the front.
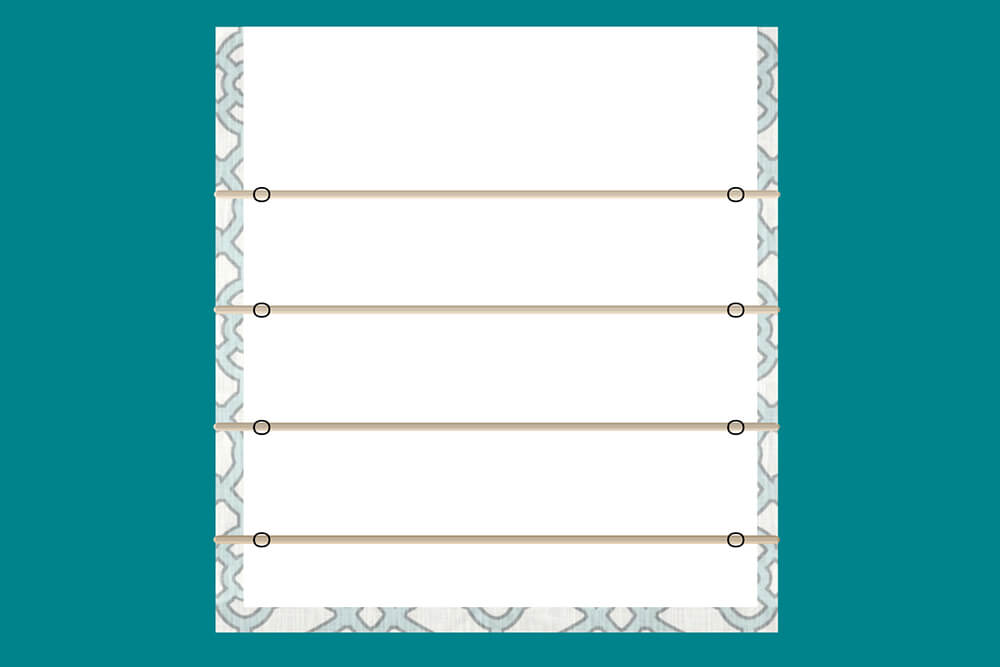
Next, insert the dowels.

Remove the pins, clip the bottom corners, and turn the shade right side out. Starting with the bottom, carefully pull the dowels up through the top opening.
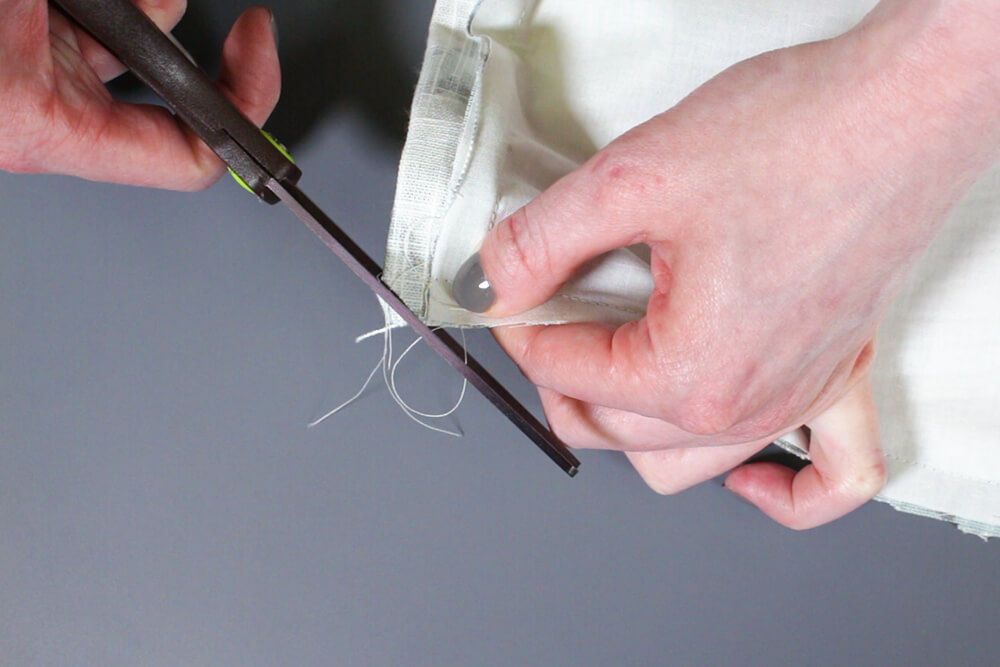
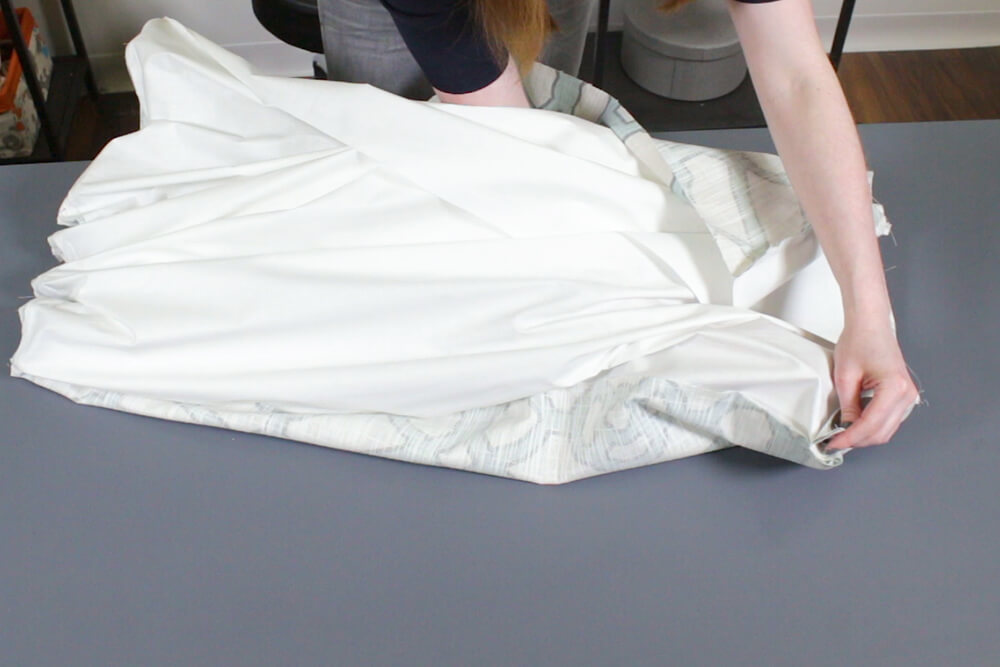
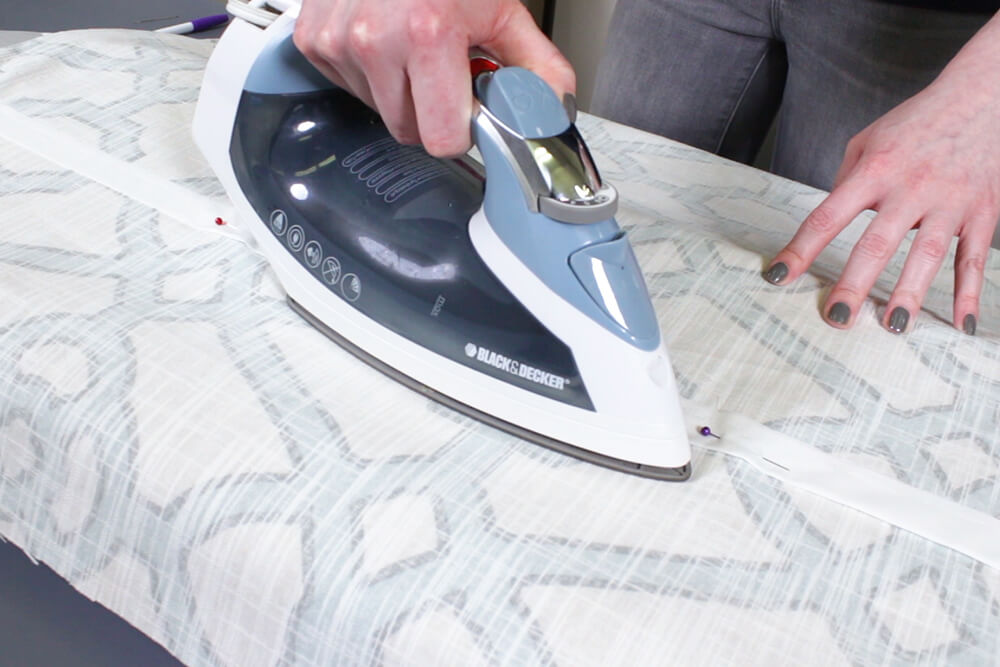
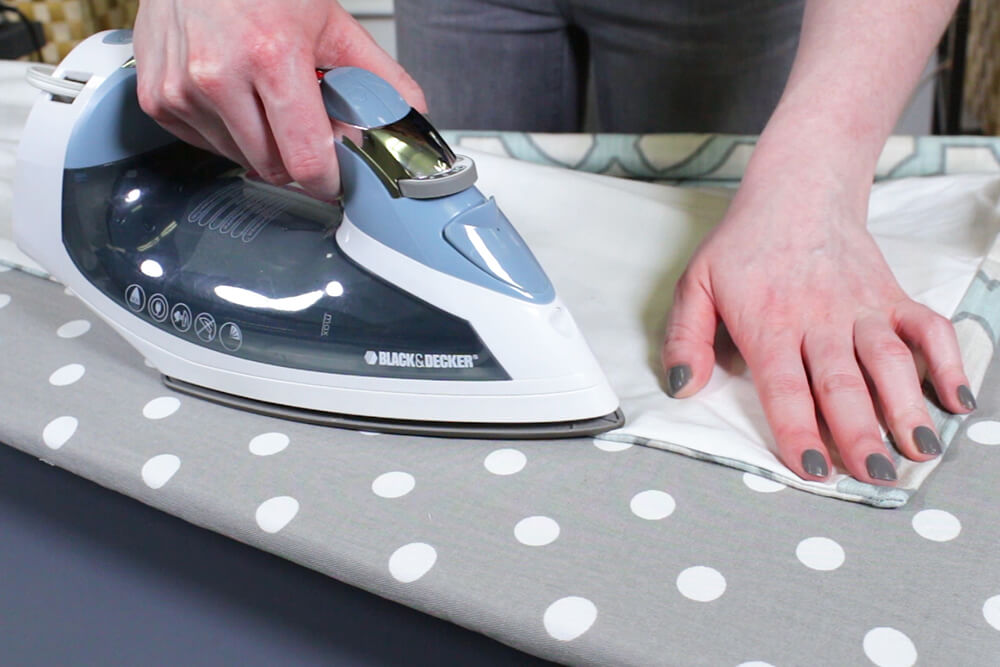
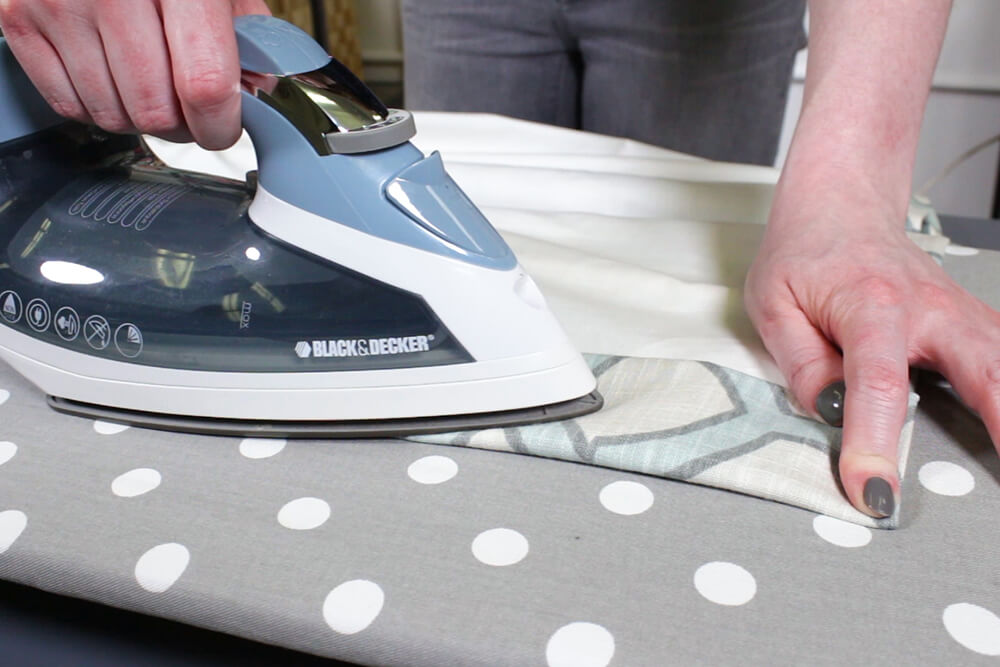
Poke out the corners and iron the edges.
Giving the side seams a good iron will hold the fabric in place, so there’s no need to topstitch!
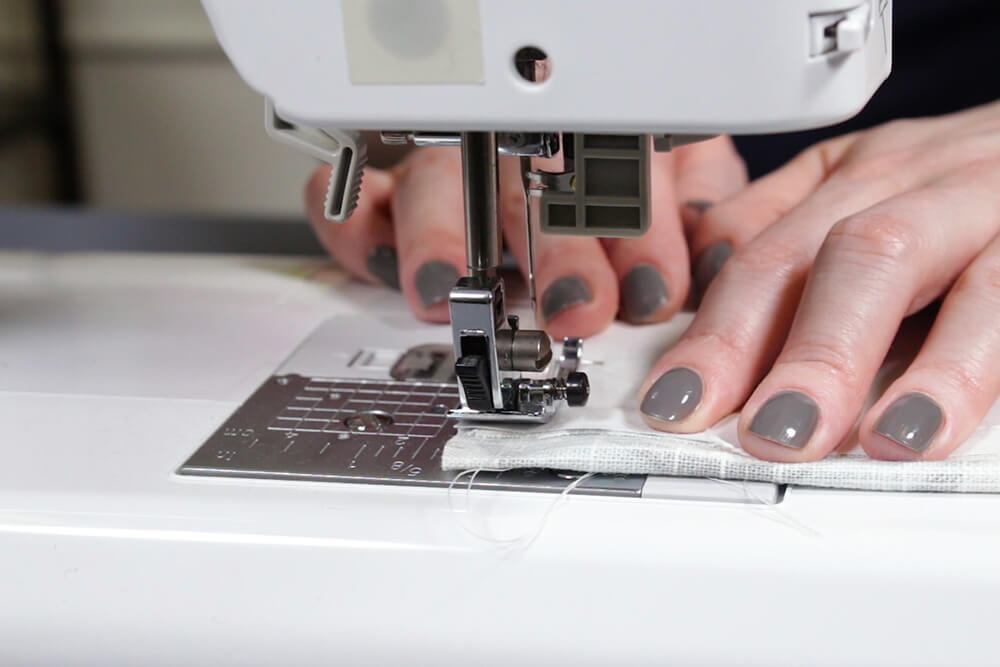
Step 5: Hem the bottom
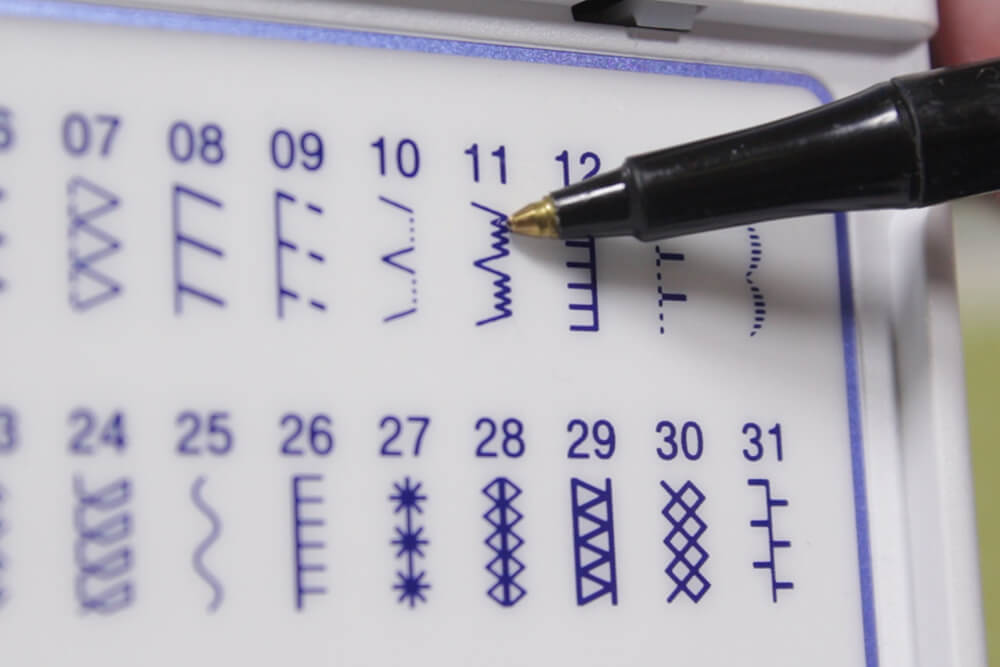
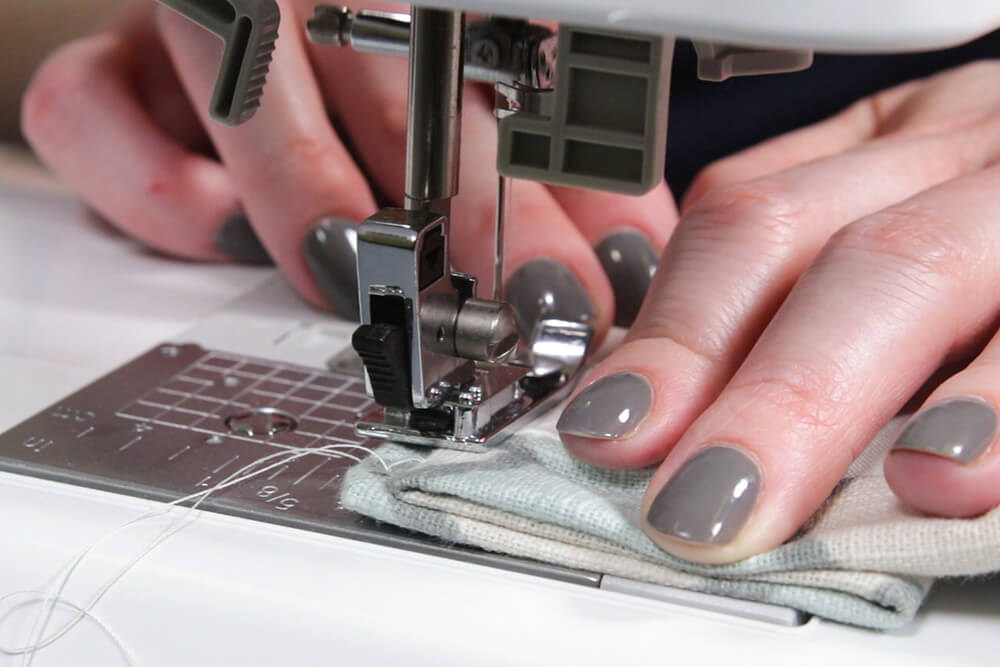
Fold the bottom up 2 ½” and iron. You can sew across with a regular straight stitch, but if you don’t want the thread to be visible on the front, use the blind hem stitch on your machine if available. Pin so that the sharp ends are facing down and the other end is overhanging the edge. Fold the hem under so the end of the fabric is showing about ¼”.
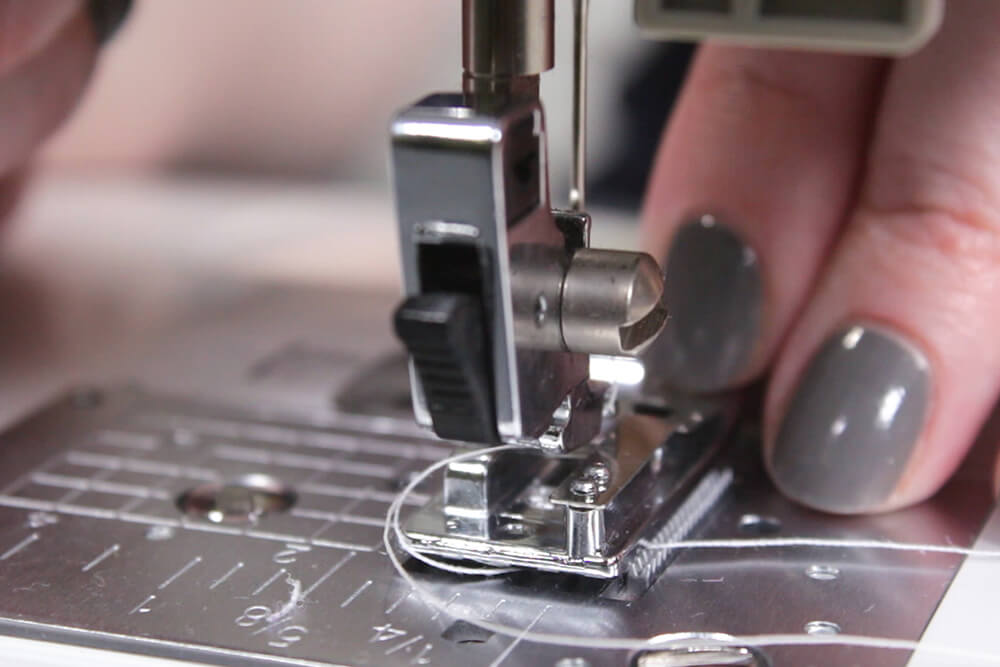
Attach the blind hem foot, which has an extra dividing piece to guide the fabric. Position the fabric so the fold is against the left side of the guide. Find the blind hem stitch on your machine. There may be several variations. I’m using #11 on this machine.
When you start sewing, it will stitch on the right side for a number of stitches and then jump over to the left side for one stitch. This way most of the stitches will be hidden on the back and the few that are on the front won’t be noticeable as long as the thread matches.

Step 6: Sew on the rings & insert the dowel
Next I’m going to sew on the rings that will guide the cord. There will be a ring near the ends of each dowel. You’ll need to leave enough room on the edges so the last cord can go through the pulley and cord lock, if you’re using them.

If the shade is wider, you may need more rings per dowel.
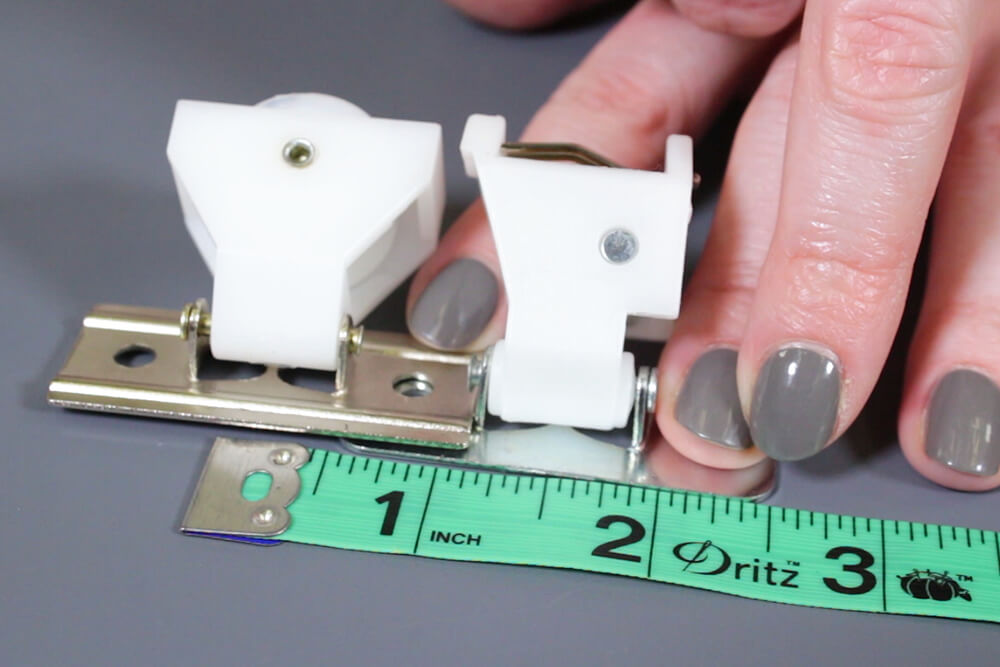
Put the pulley and cord lock together so they share a screw hole. Measure from the where the cord will come up through the pulley to the end of the cord lock base. This is 2 ½” for me, so mark this distance from the edge of the shade on both sides.
For most width shades, you’ll also need a ring in the center, so mark that. Repeat this for all the dowels.
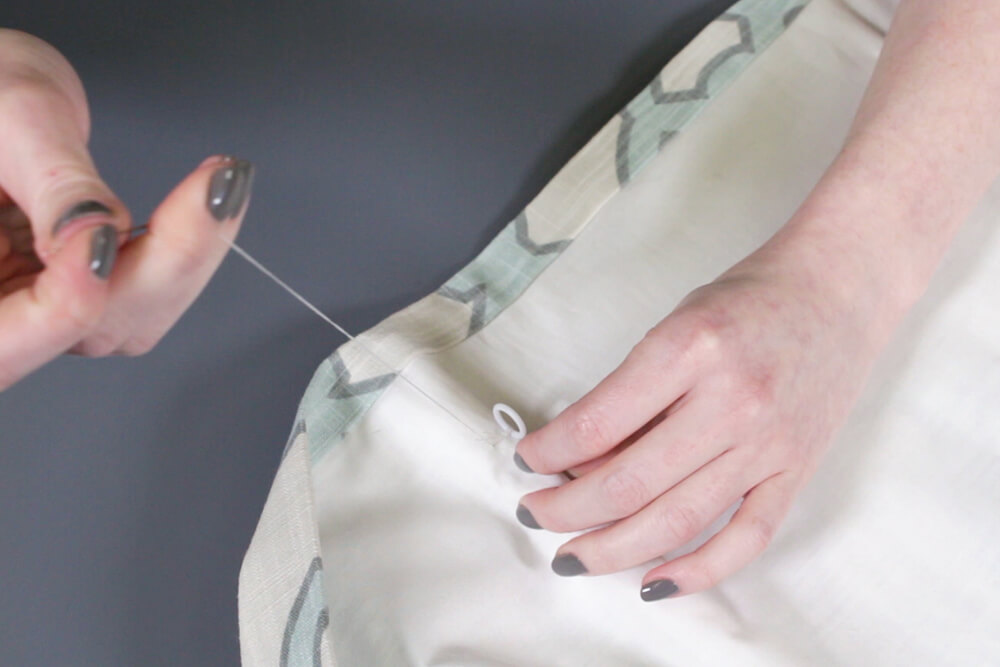
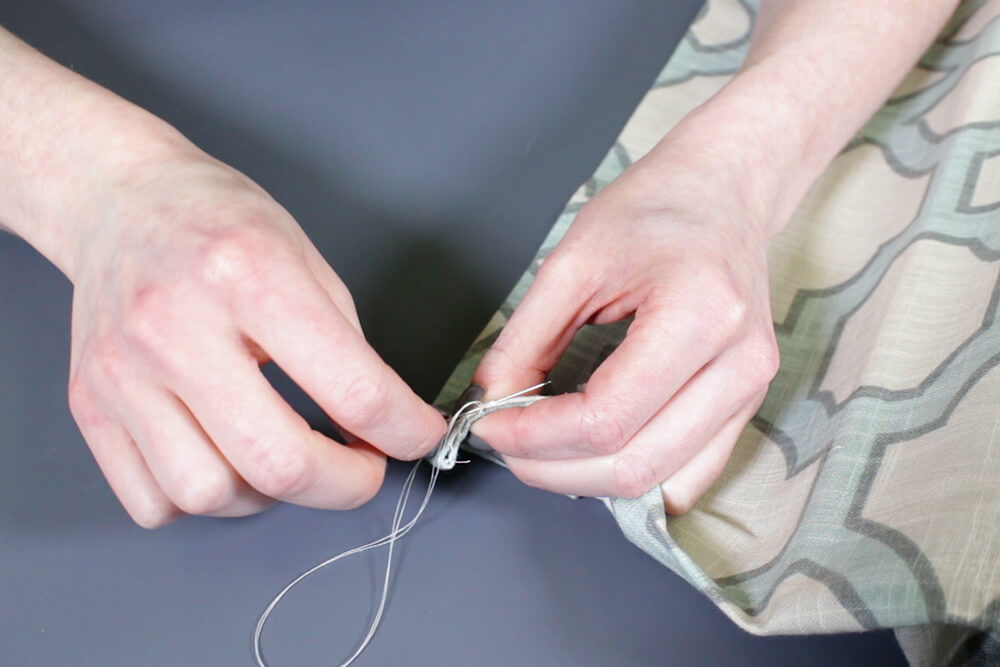
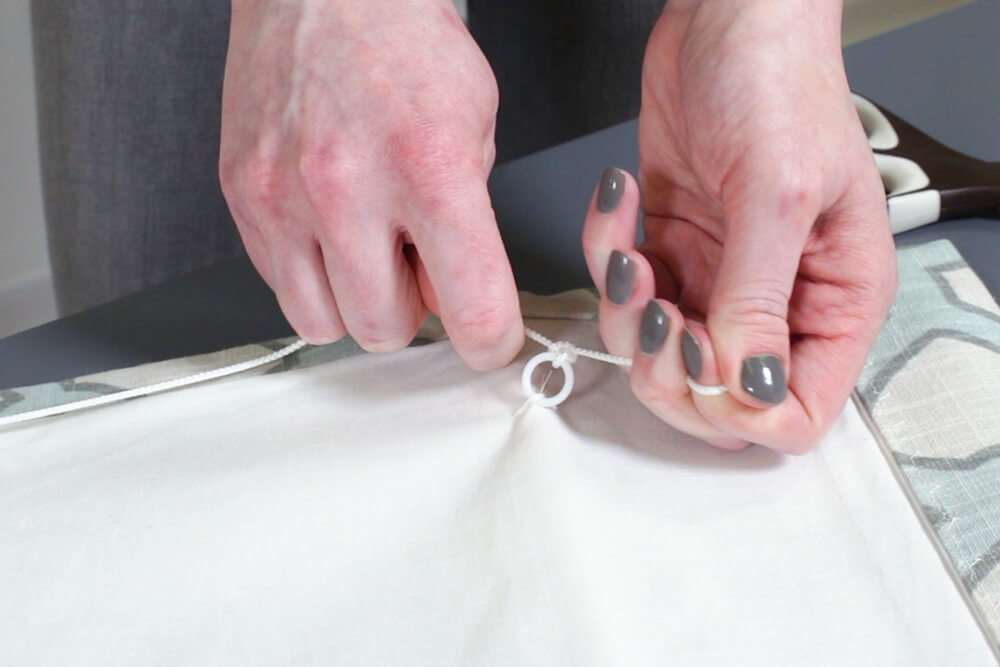
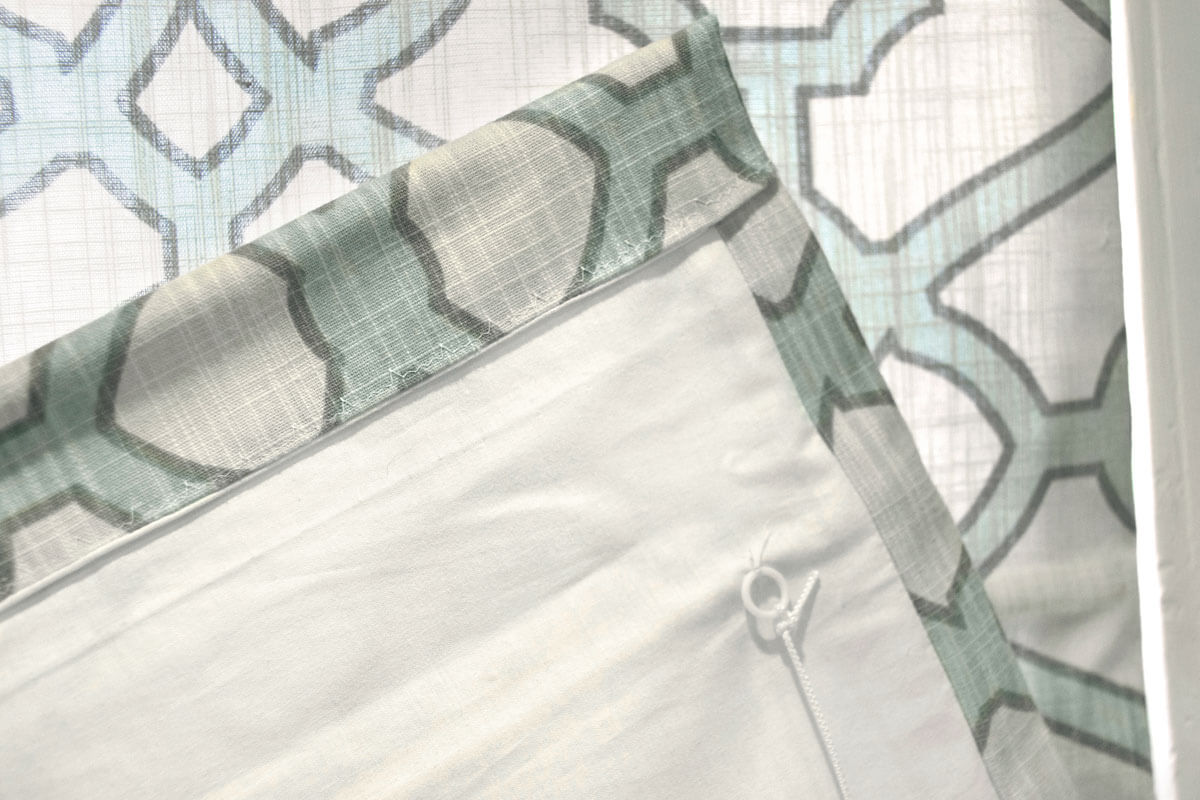
Thread a hand stitching needle and go through the lining fabric and ring a couple of times.
Then you’ll want to attach the ring to the dowel and drapery fabric, not just the lining. Bring the needle out through the front of the drapery fabric and back in on the other side of the dowel, then through the ring. Make the stitches on the front as small as you can.
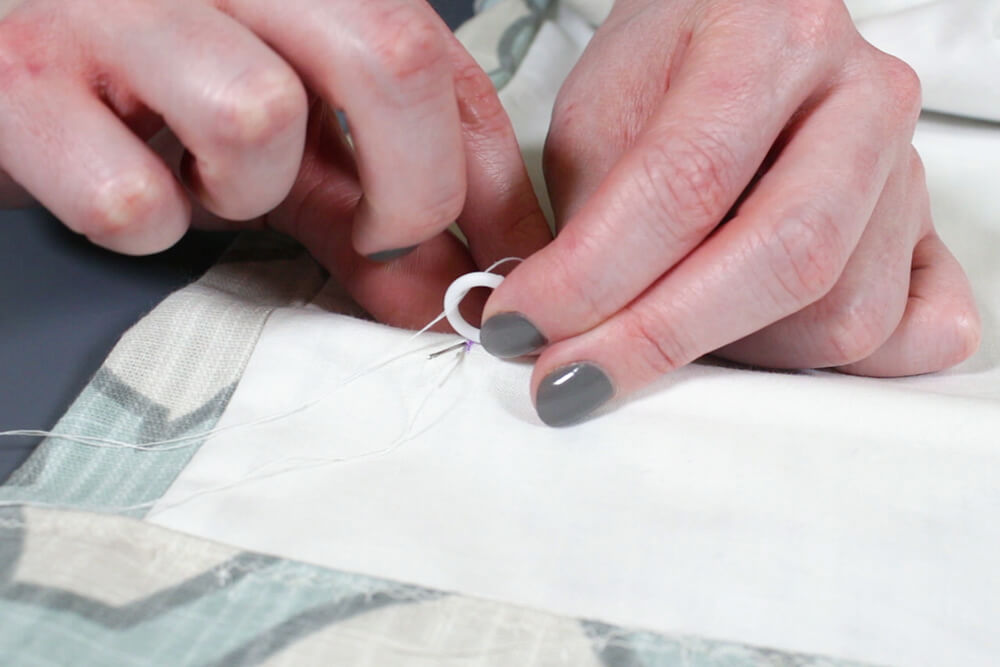
Go around the dowel like this once more. Tie it off and repeat for the rest of the rings.
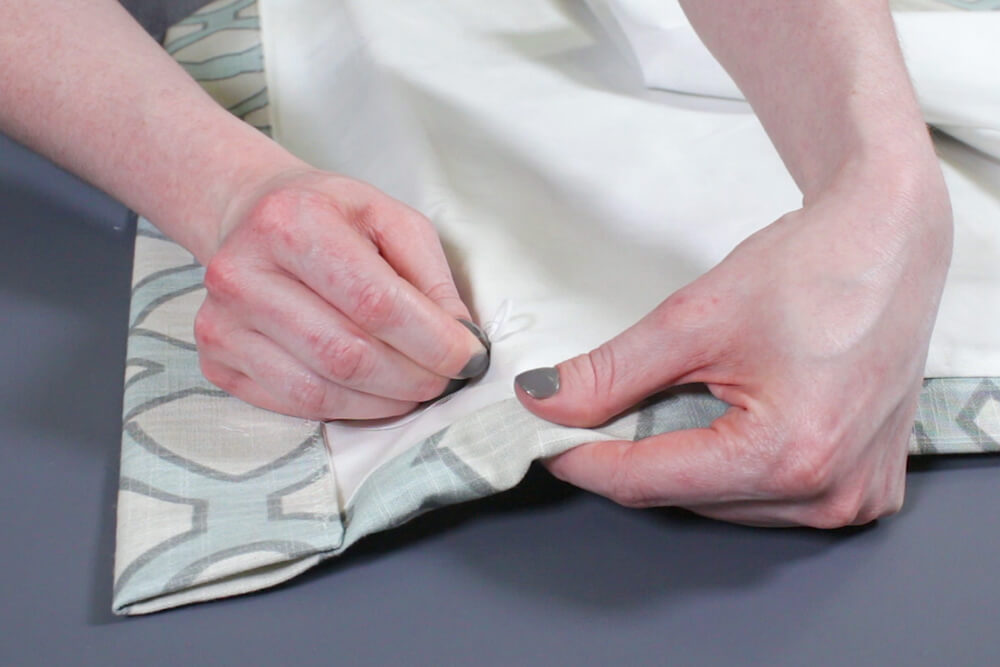
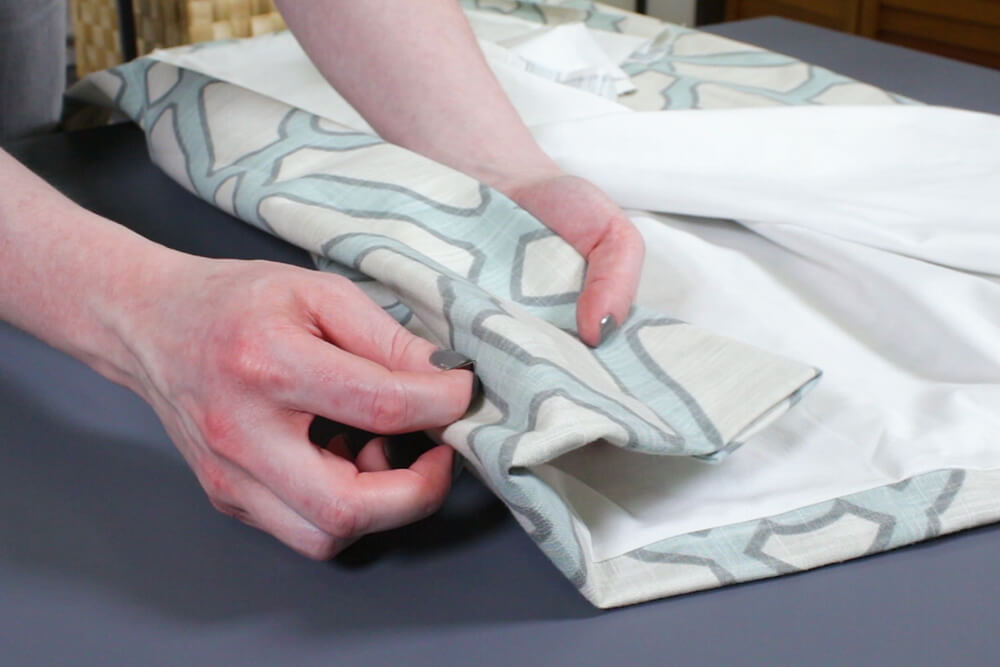
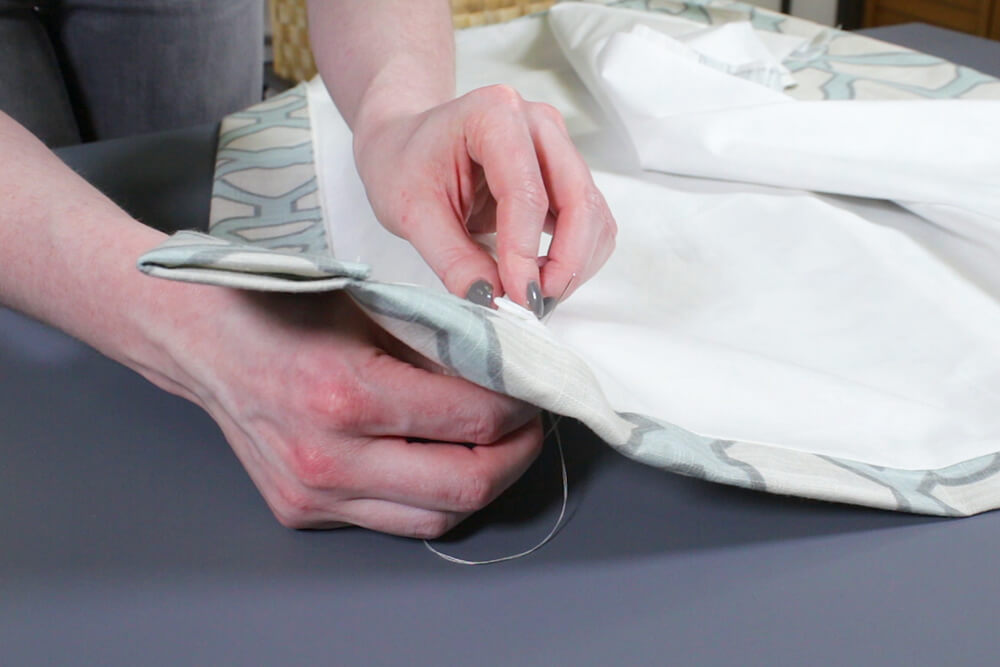
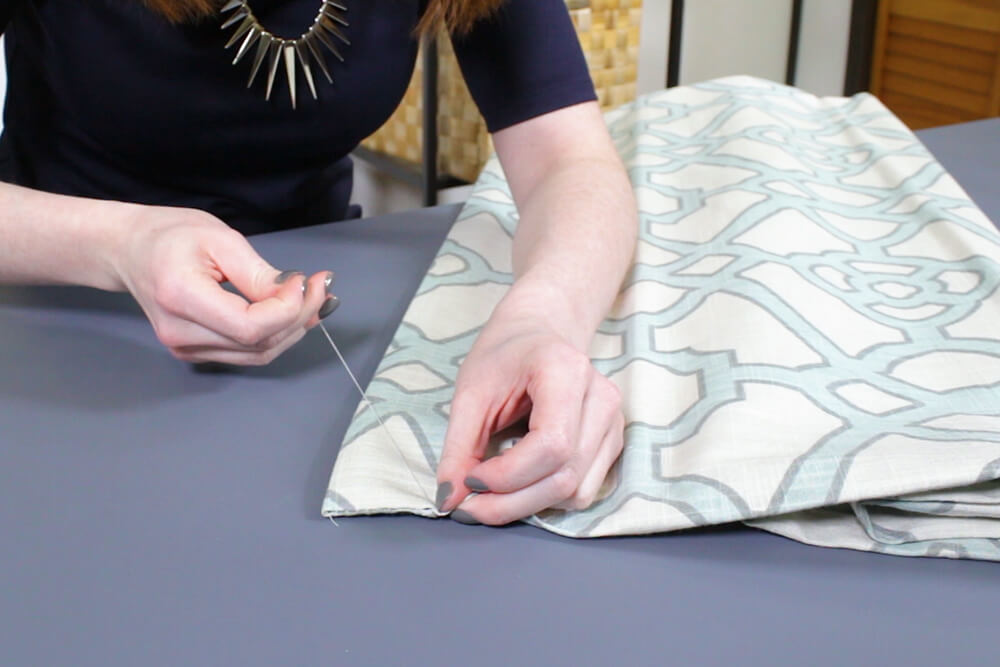
Sew the sides of the hem either by machine or, preferably, by hand with an invisible stitch. (See our Invisible Stitch Tutorial to learn how.)
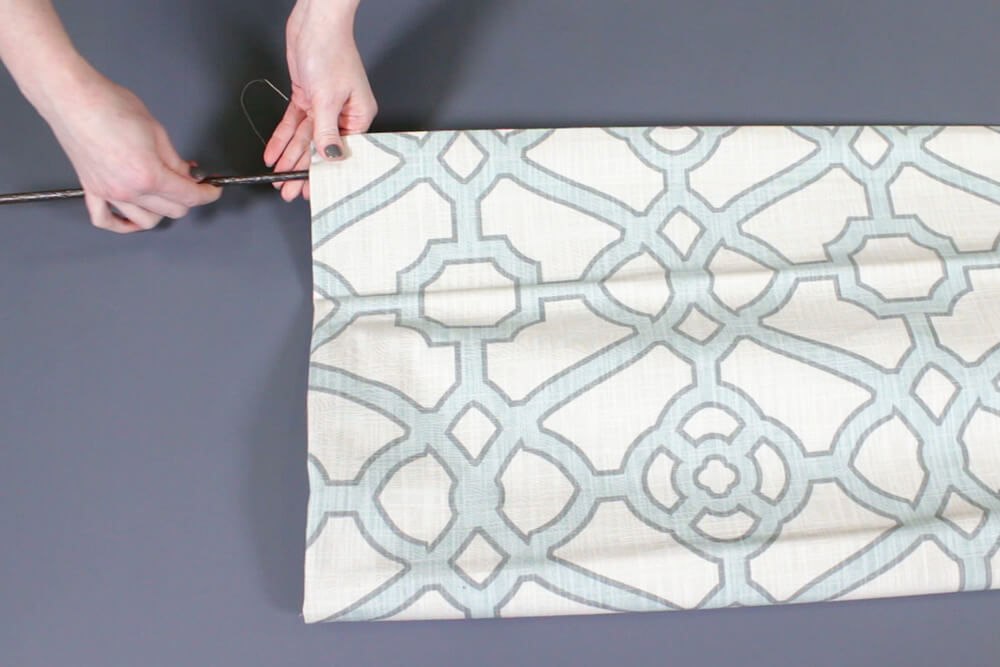
Leave a small opening at the top of one of the sides. Slide the metal rod or heavier piece of wood through the gap and finish stitching.
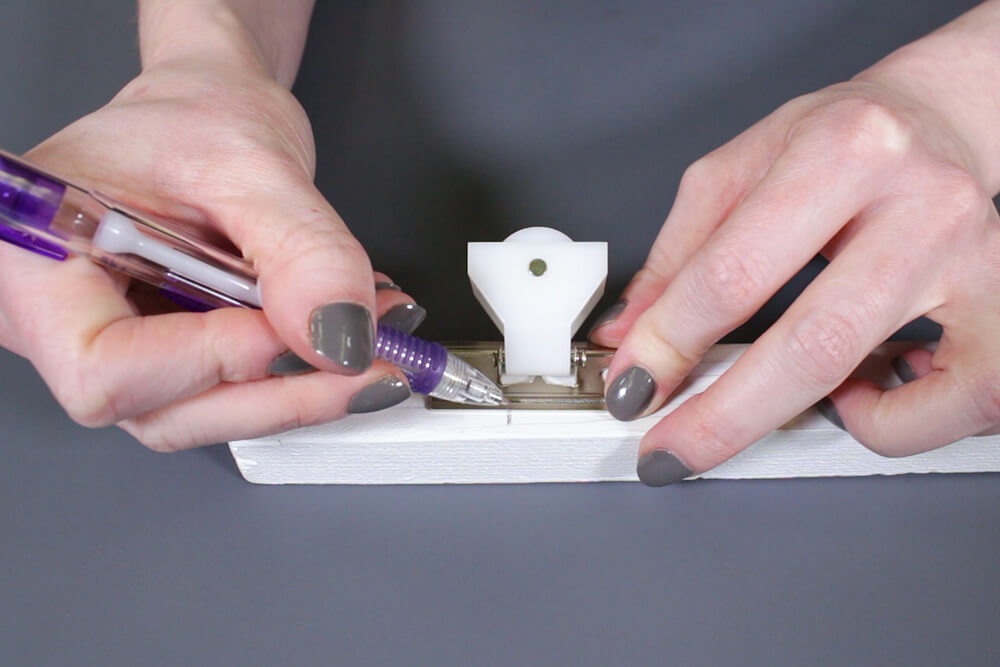
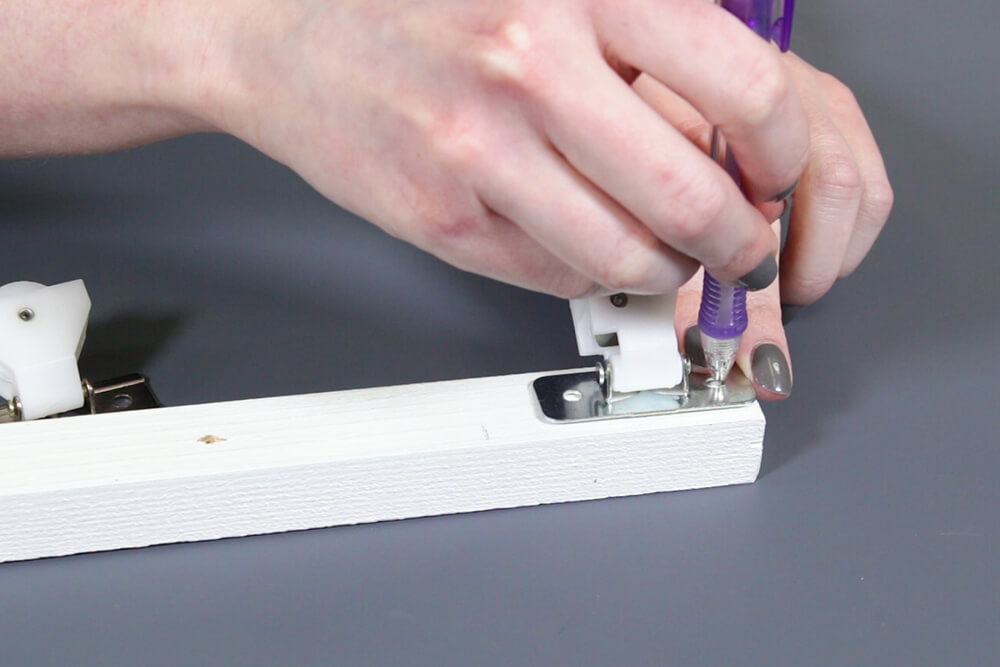
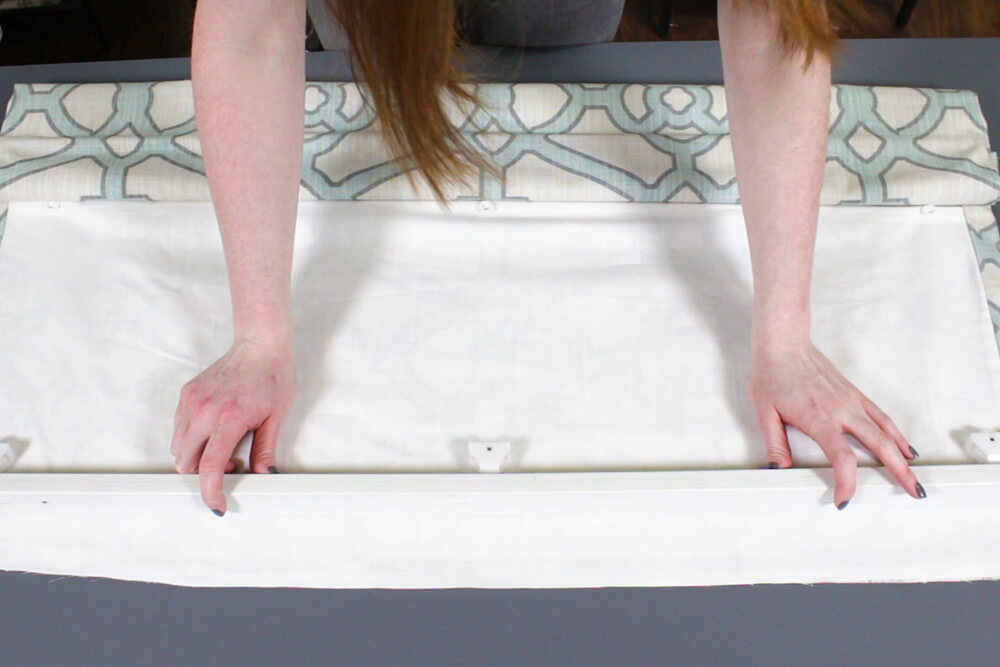
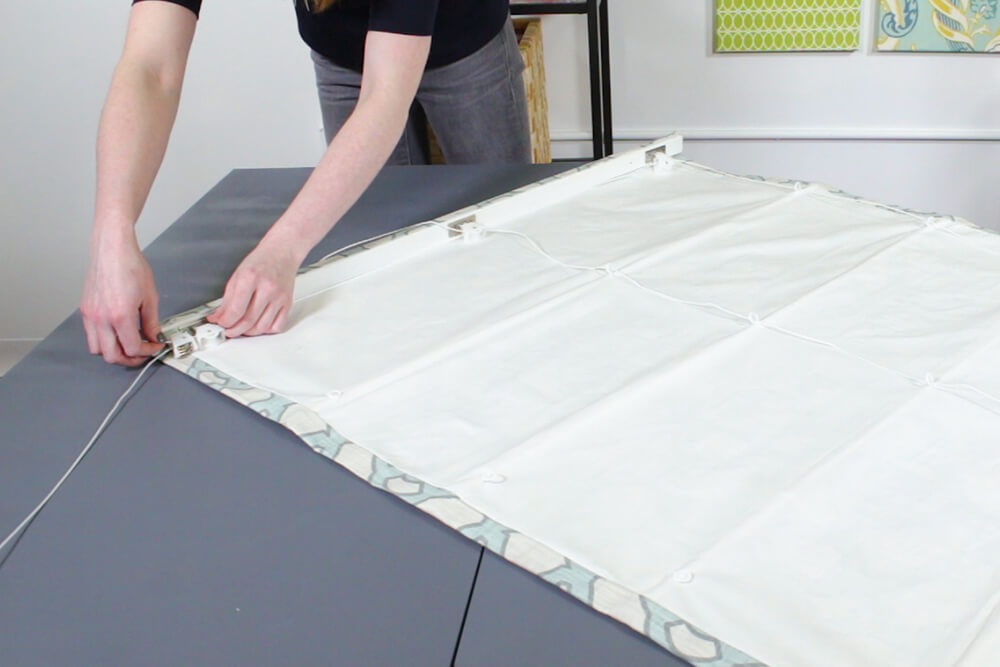
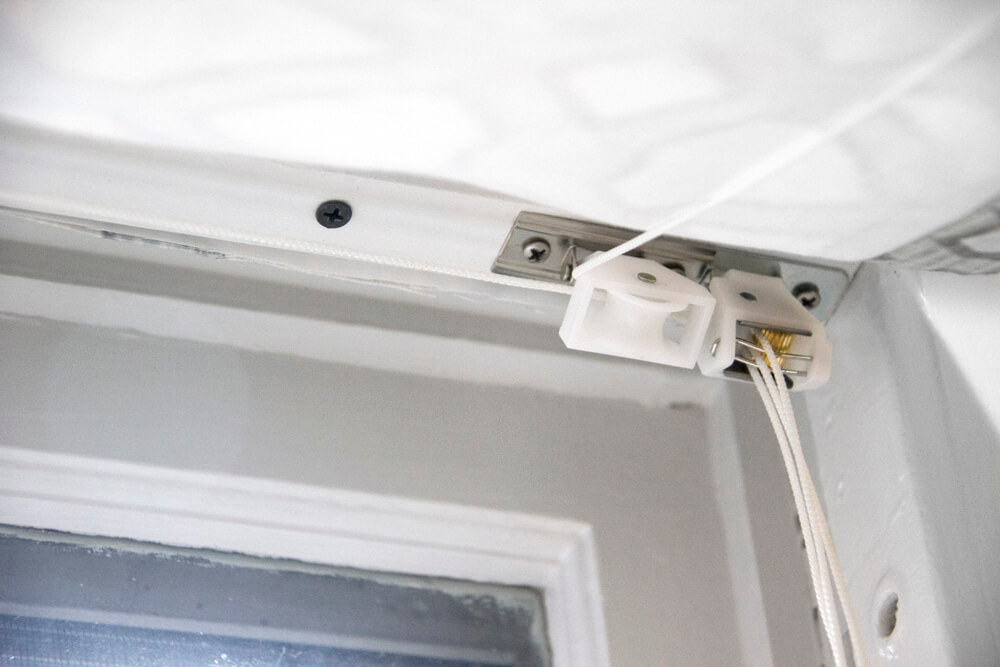
Step 7: Attach the board
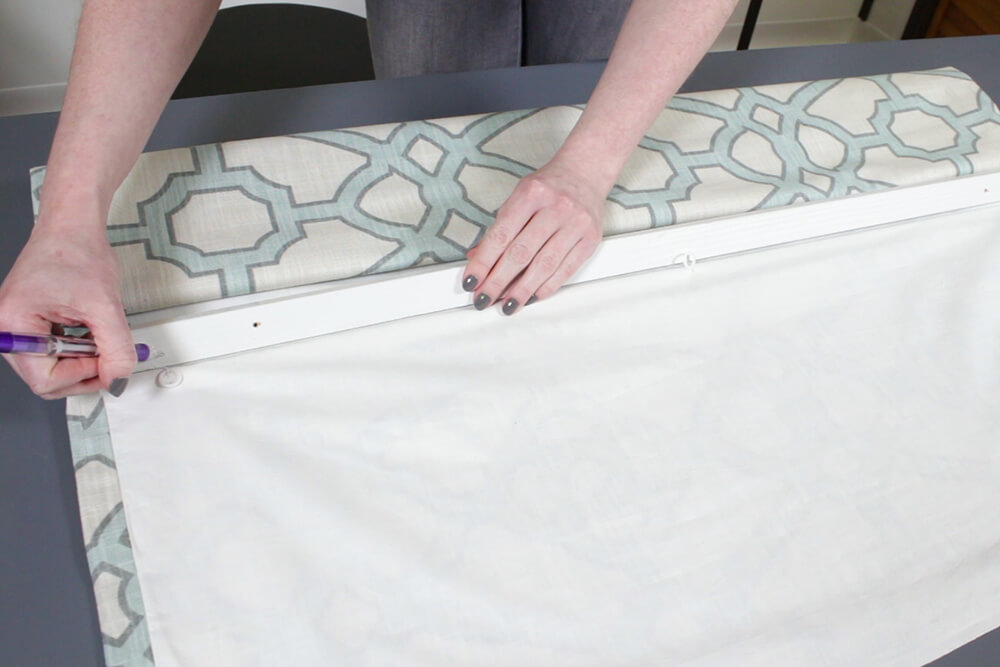
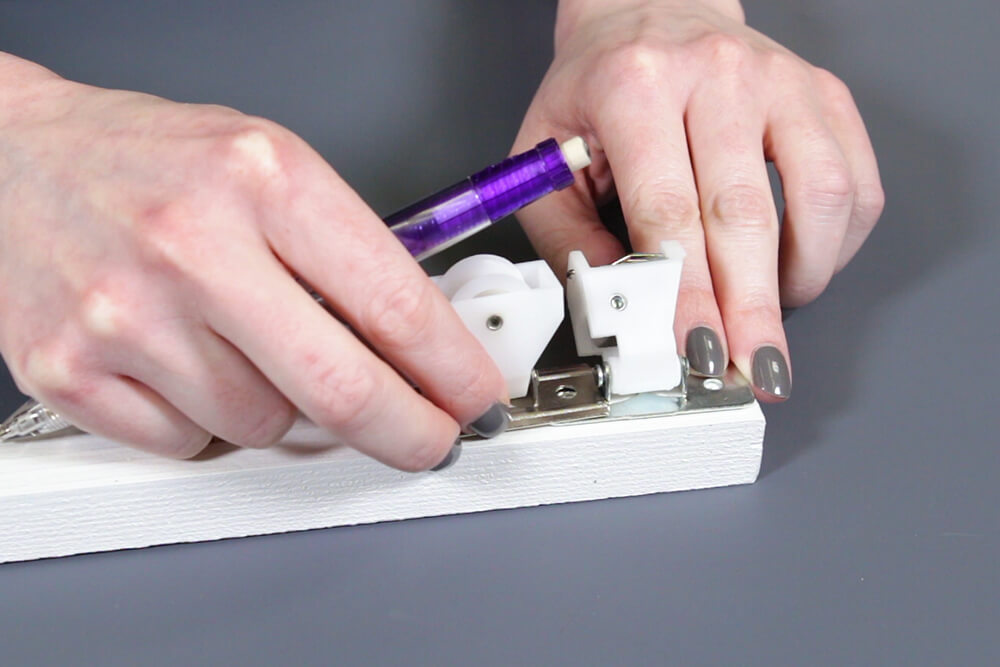
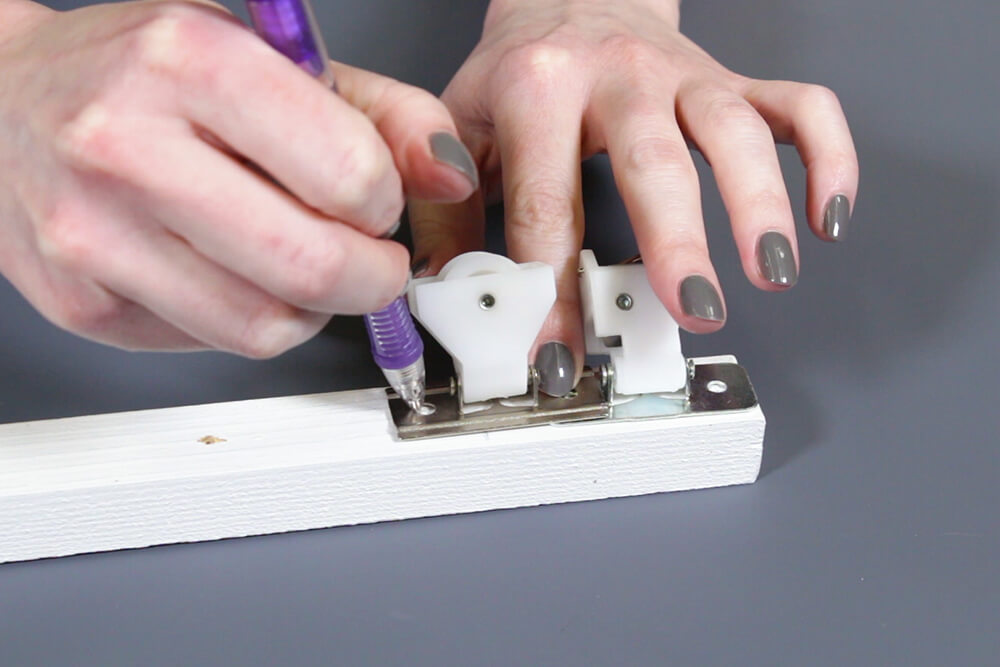
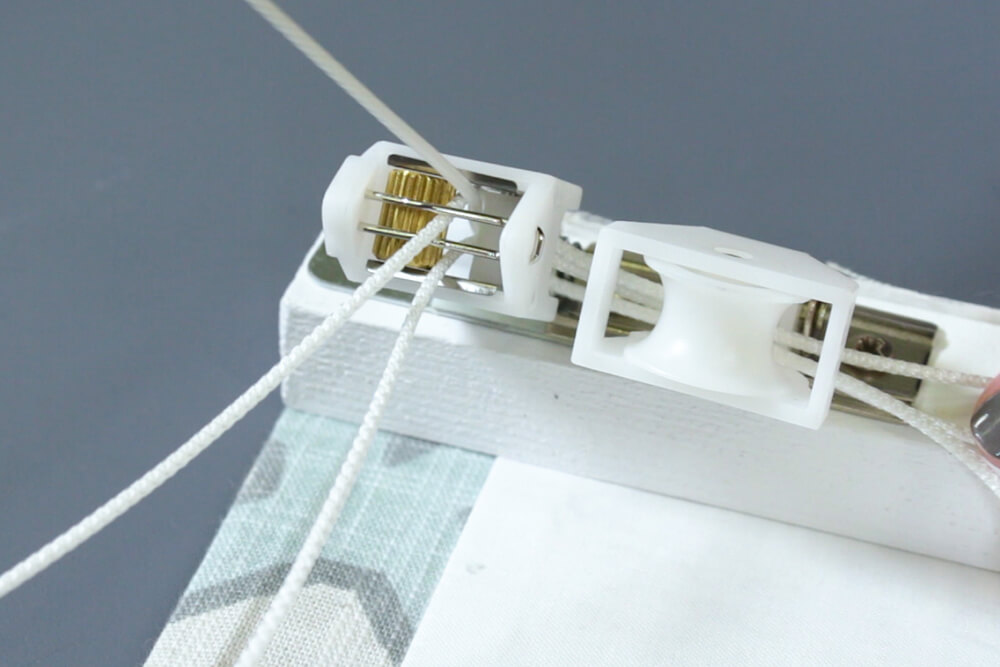
Next, attach the mechanisms to the bottom of the board. Place the board near the top dowel and mark where the rings are. Position the first pulley so the cord will come through where the mark is, which is a little off the center of the pulley. Mark where the screws will go and repeat for the middle pulley.
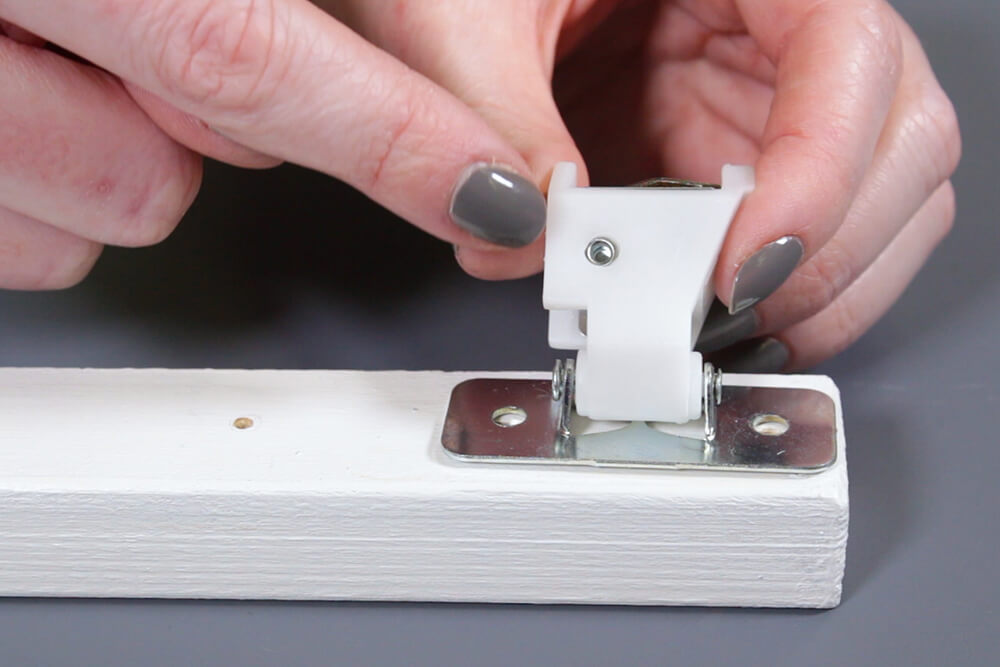
Place the cord lock at the end of the board. Make sure it’s facing the right direction. On this lock, the straight side should be facing in. Mark the holes, then place the final pulley so it’s overlapping the cord lock and mark.
Alternatively, you could use eye screws instead of pulleys and a cord cleat instead of a cord lock.
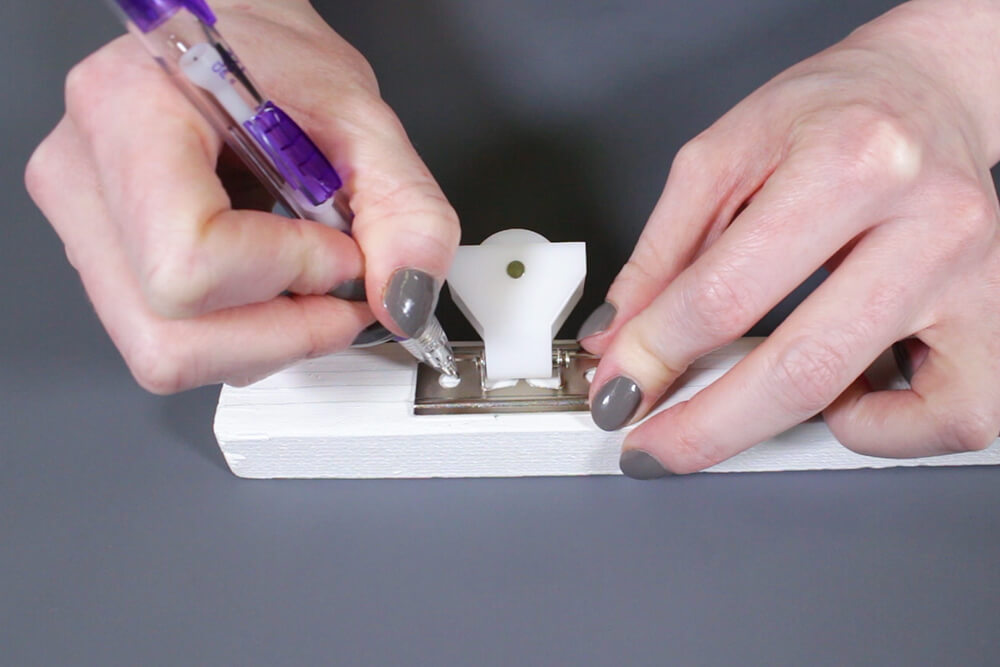
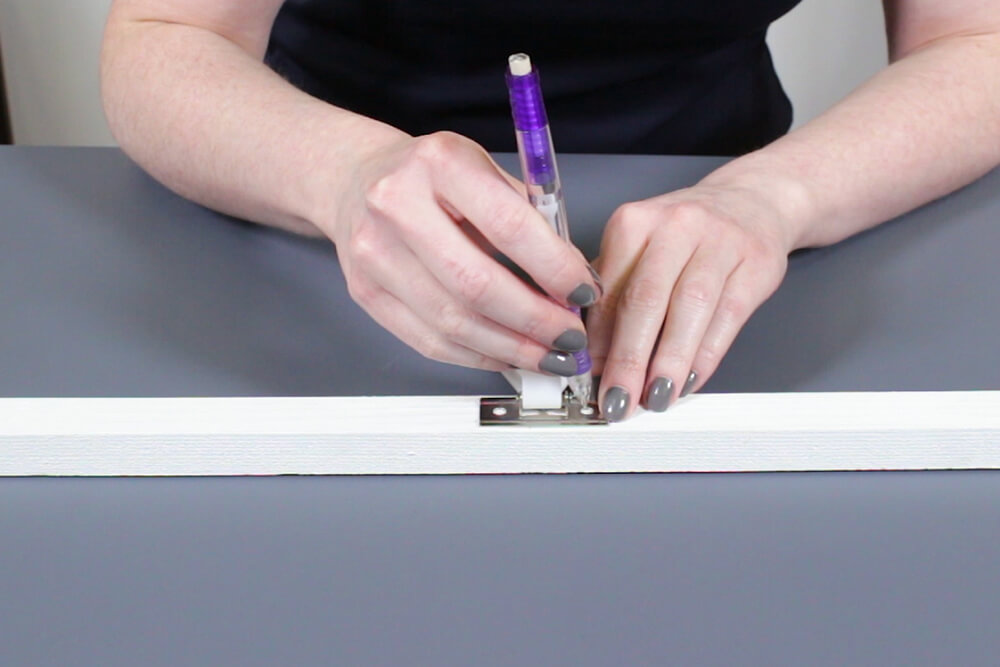
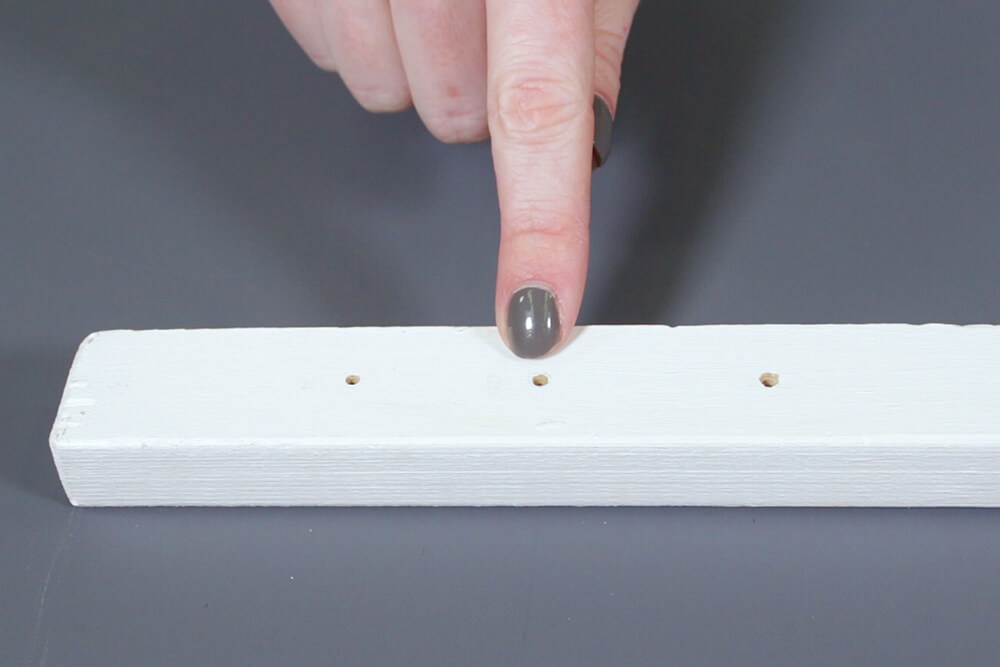
Drill pilot holes at each of the marks. Also drill all the way through the board in at least 2 places. This is where you will attach it to the window later.
Screw all the pulleys and the cord lock to the board.

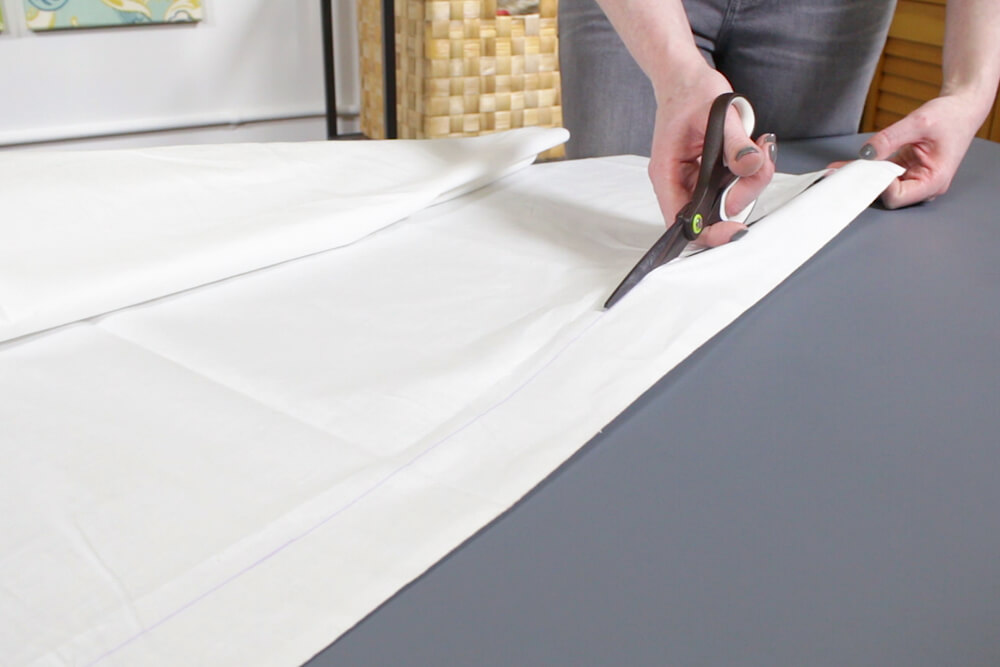
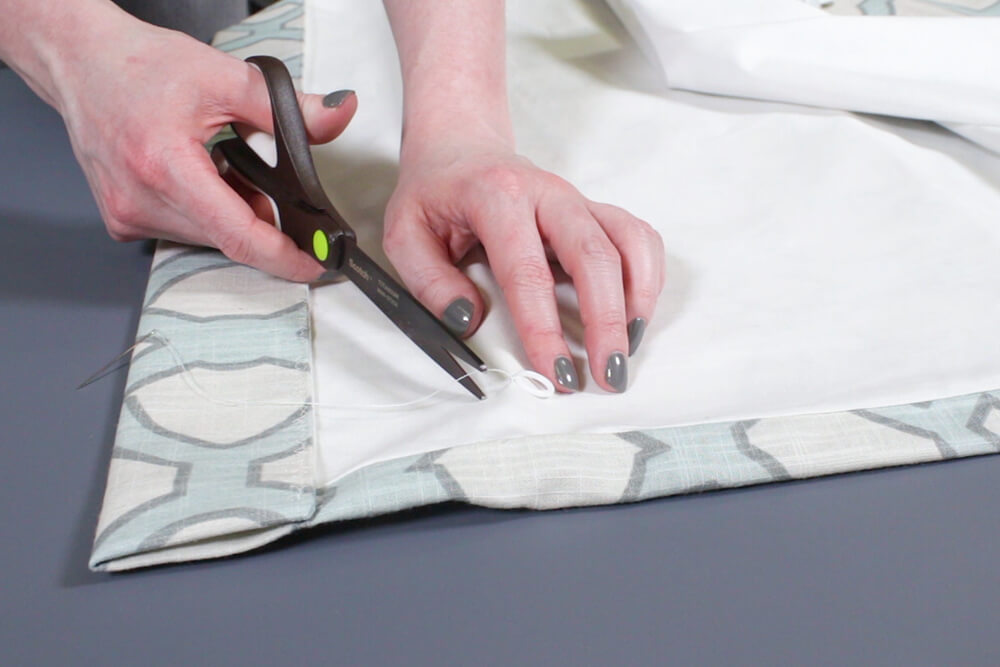
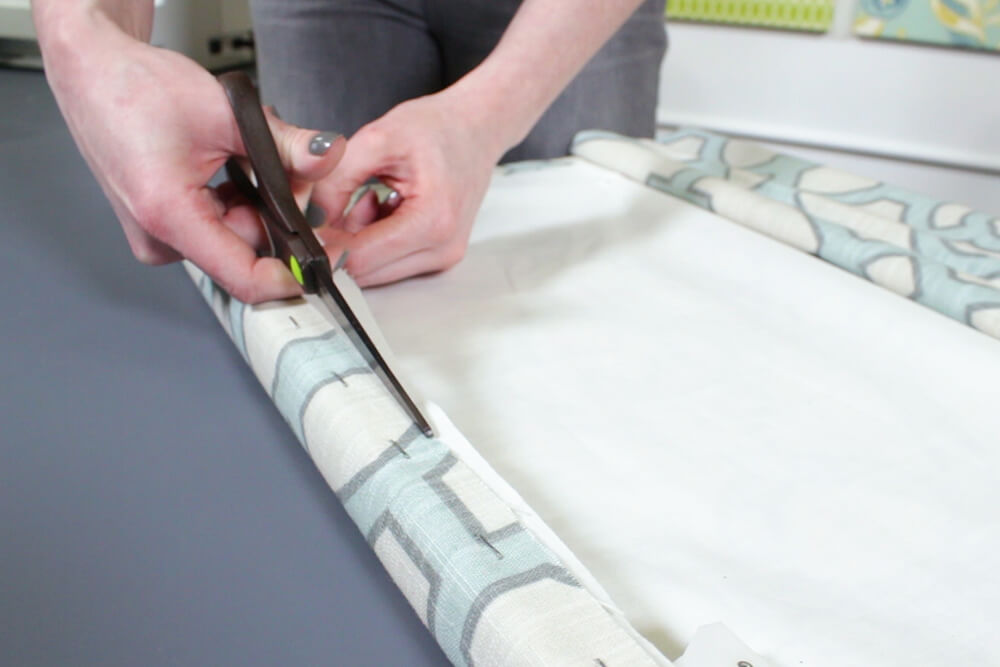
Measure up from the bottom of the shade and mark the height of the window. Line up the top of the board with the marks. Wrap the fabric around to the back and staple it to the board.
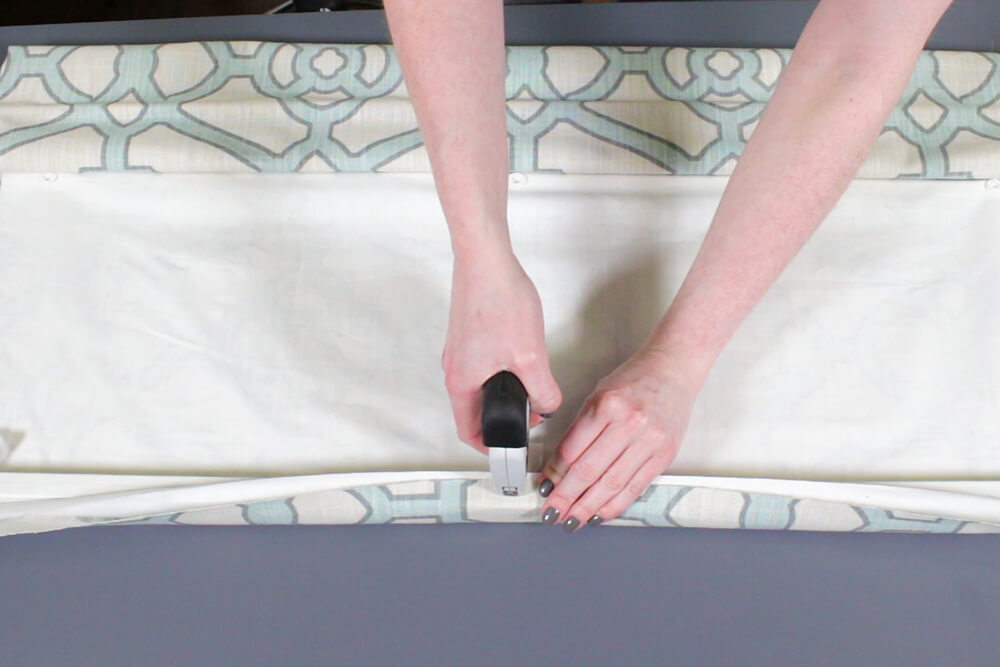
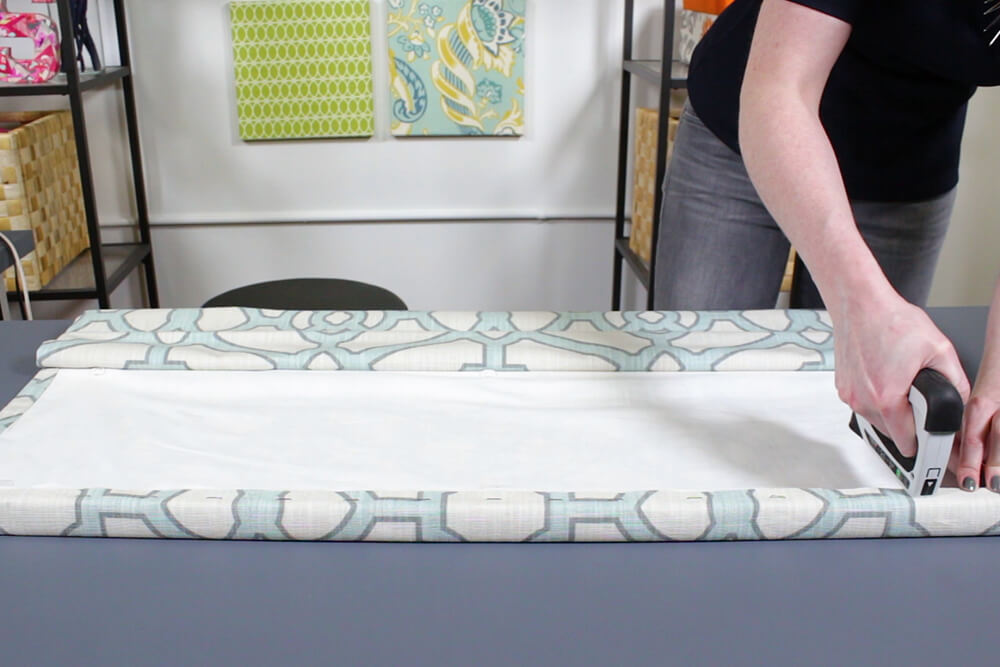
Cut off any extra fabric and hammer any staples that didn’t go in all the way.

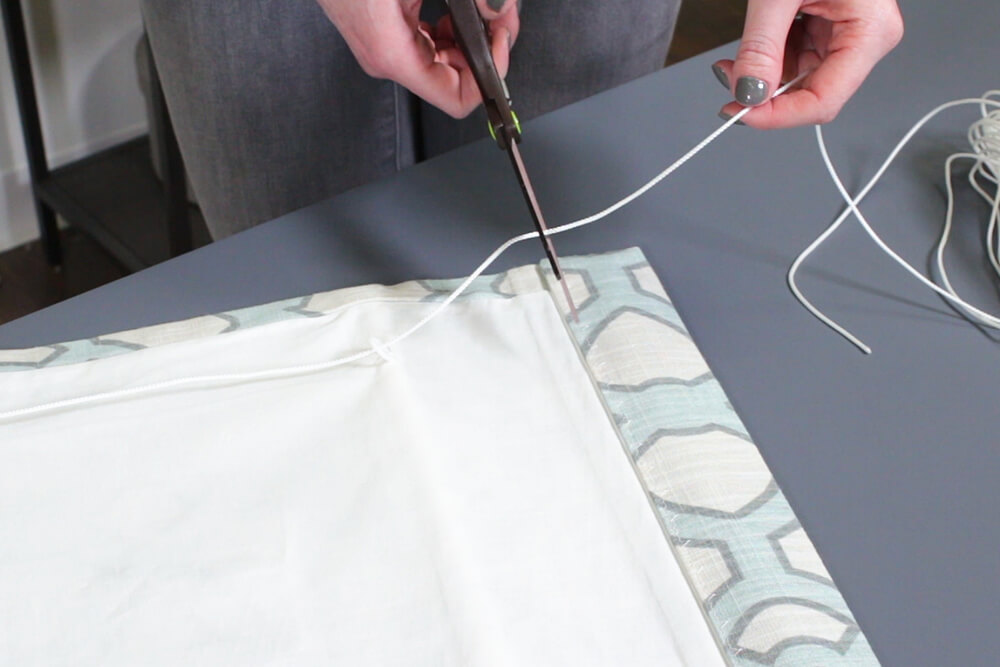
Step 8: Thread the cord
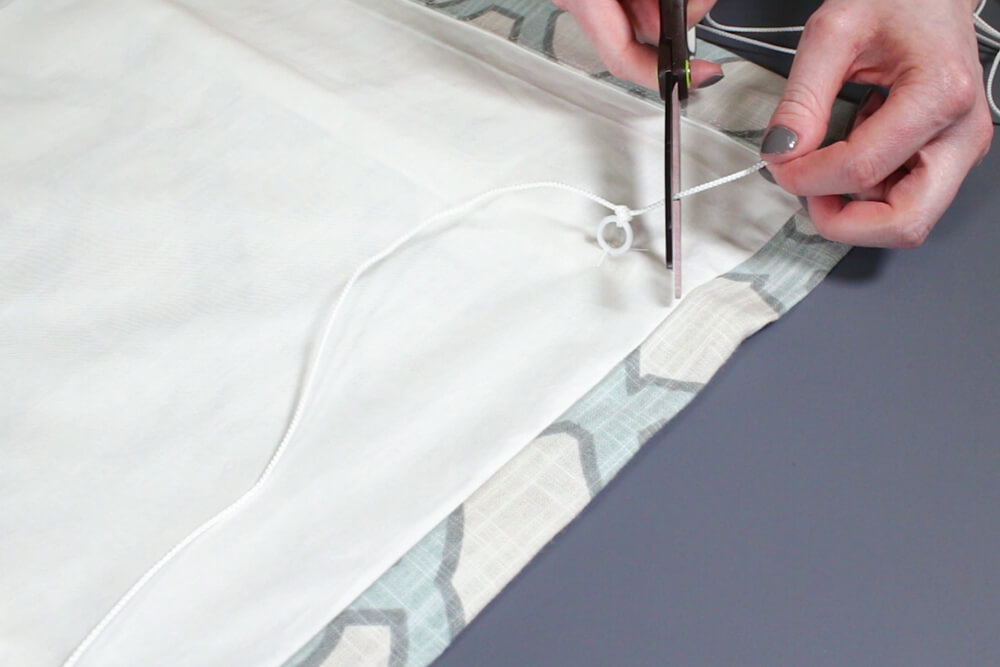
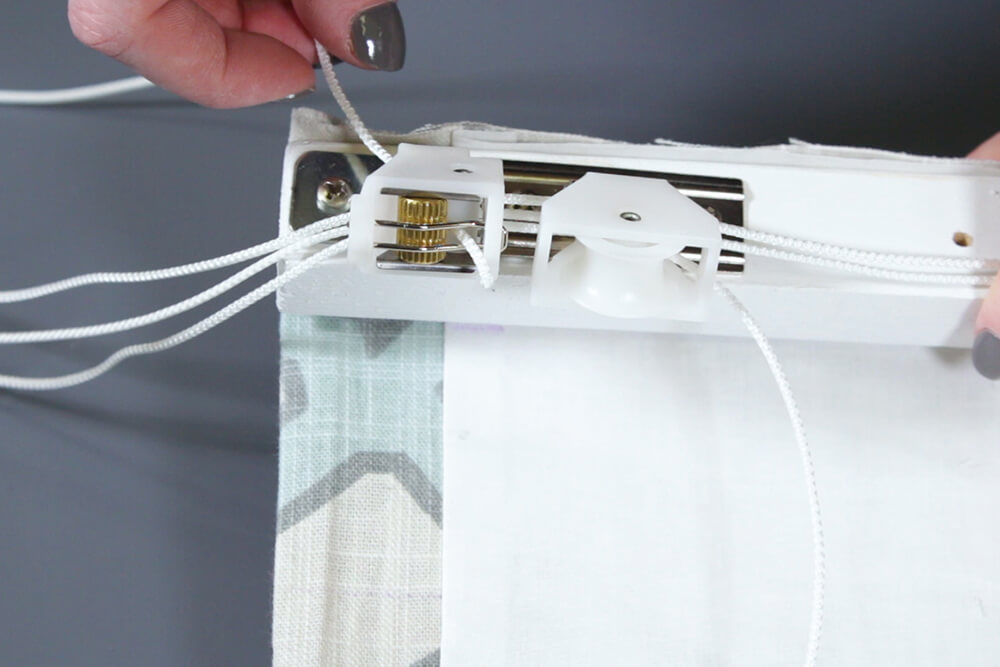
Starting at the bottom of the shade at the opposite end from the cord lock, string the cord up through the rings and across through the pulleys. Pull enough cord through so there’s a couple of extra feet after the cord lock. Cut and tie the cord to the bottom ring.
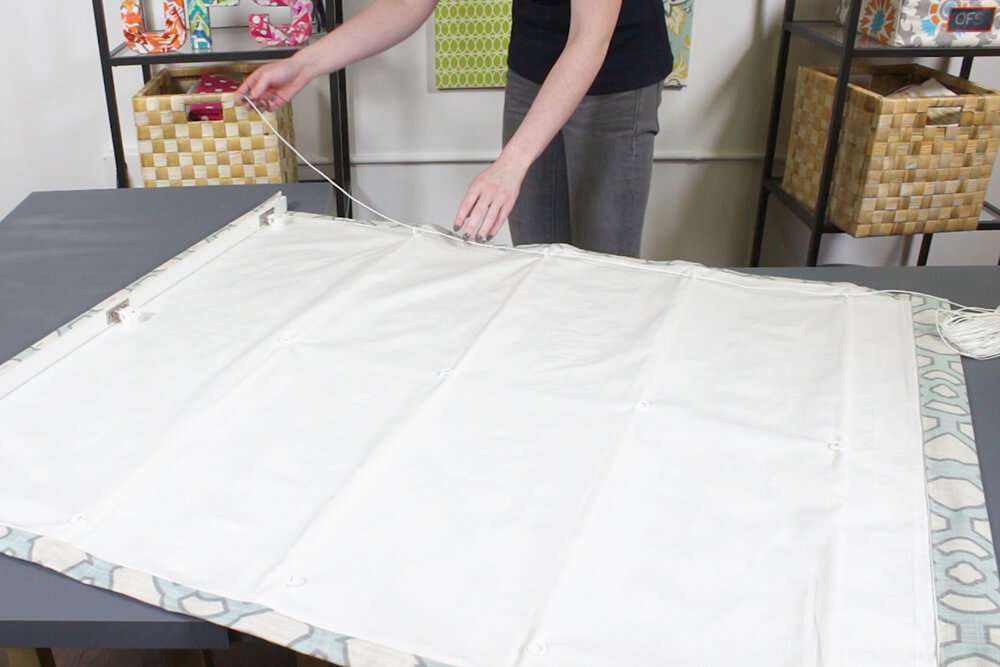
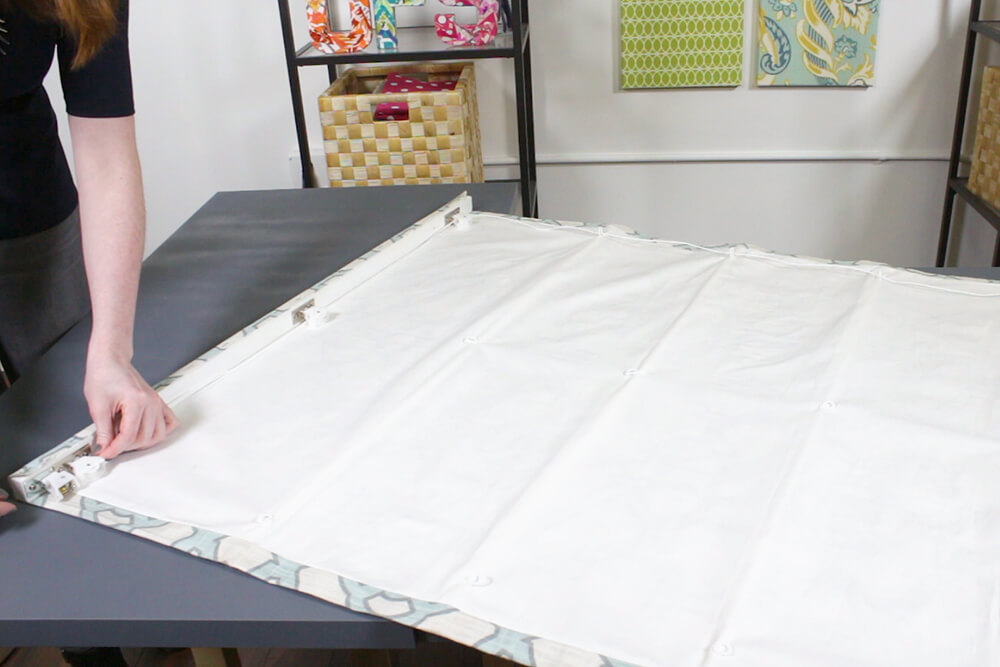
Repeat for the middle rings and the rings at the other side. Now there’s 2 cords running through the 2nd pulley and 3 through the pulley next to the cord lock.
If you’re using eye screws instead, thread the cord the same way, just through the eye screws instead of the pulleys.
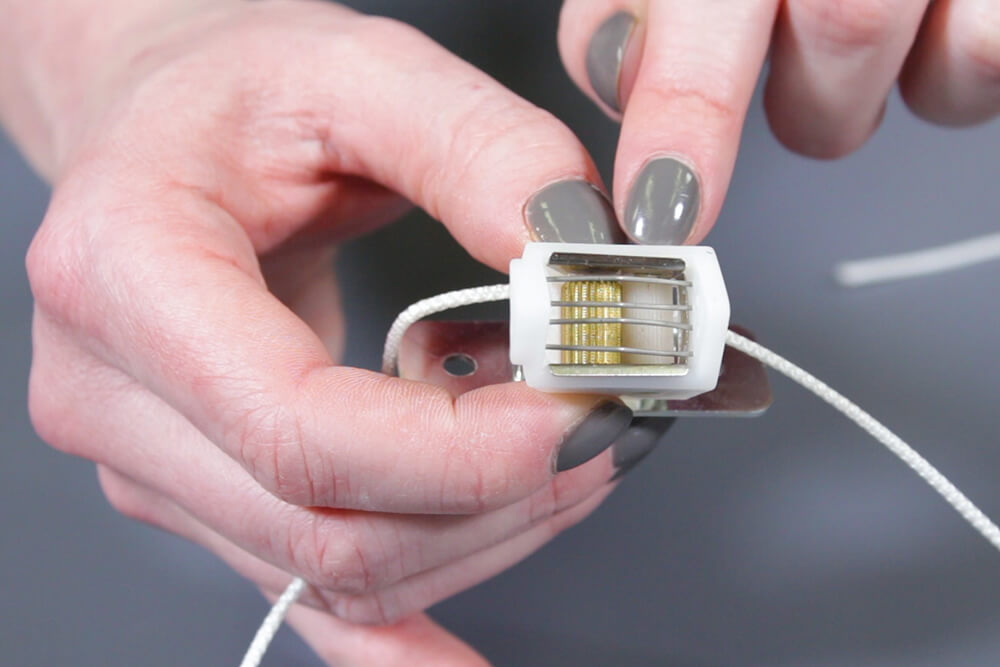
On the cord lock, the cords will go between the attached roller and the loose roller. Tilt the cord lock so the loose roller is away from the other, creating a gap.
Thread one cord through the gap and through one of the slots at the bottom. Do the same for the other cords so they each go through a different slot.
If you have more than 3 cords, we have more sizes here.
If you’re not using a cord lock, you’ll need to attach a cord cleat to the side of the window to tie the cords to.
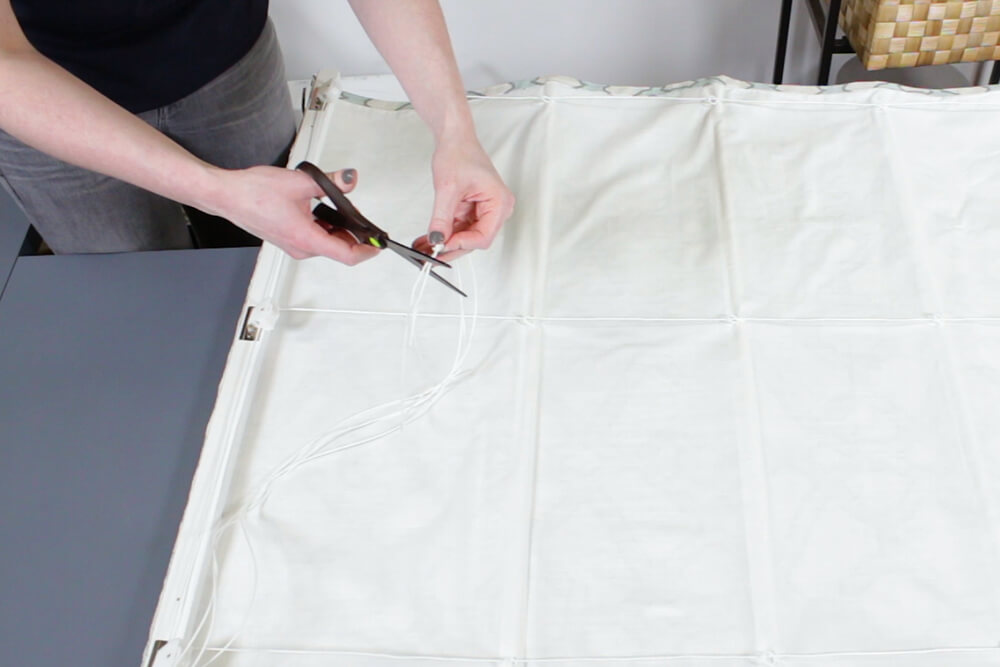
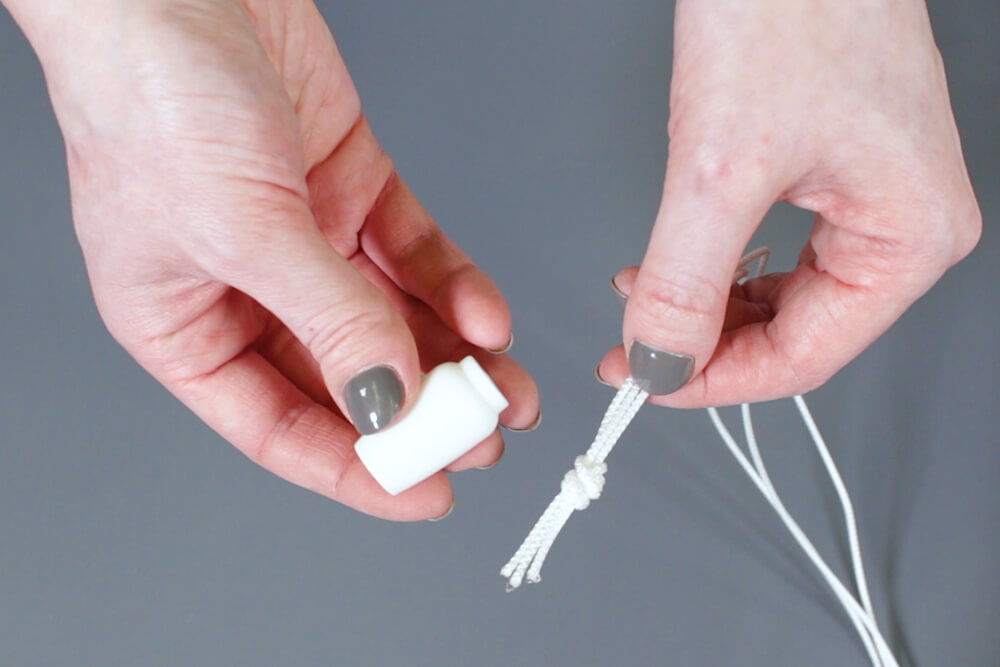
Trim the cord to a length that you will be able to comfortably reach once installed. You can either knot the ends together or use a pull end. You can also use a cord condenser to combine the 3 cords into 1.
Hold the board under the top of the window frame. Screw up into the window frame (using the holes drilled earlier). The cord lock and pulleys should be hanging down.
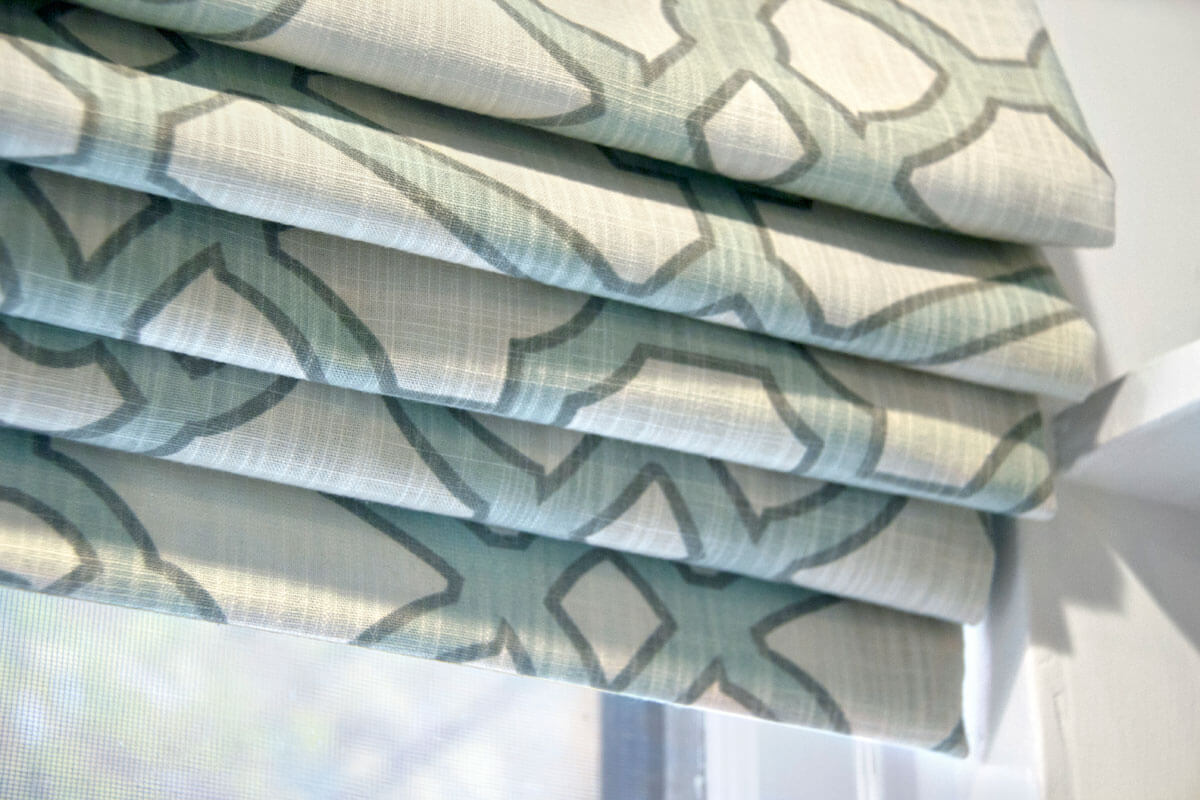
You may have to train the fabric to create neat folds the first couple of times you raise it. If you leave the shade folded in the up position for about 24 hours, the shade should “remember” how to fold after that, and you’ll have a professional looking custom Roman shade!
Ready to make a custom roman shade for your home? Browse our selection of drapery fabric!