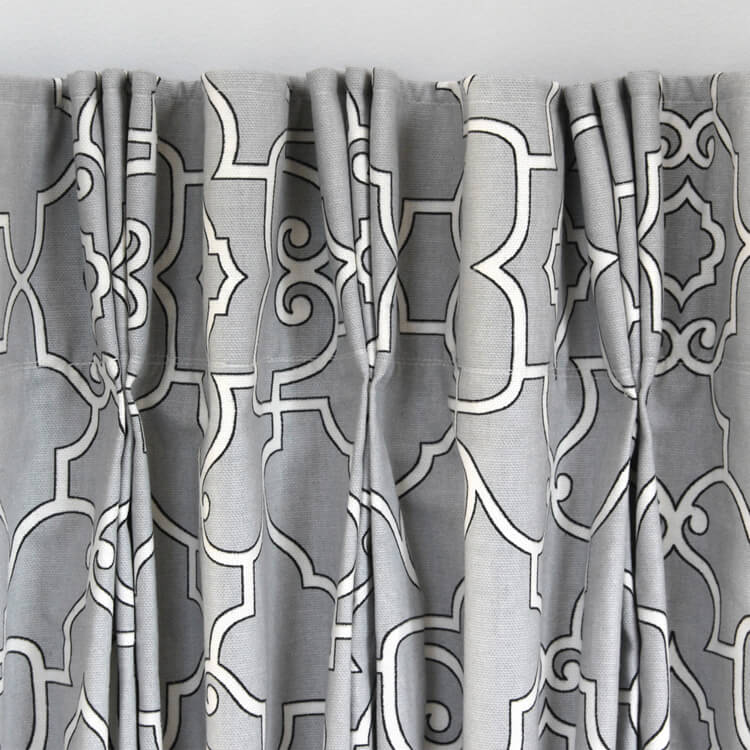
How to Make Pinch Pleat Curtains with Pleater Tape
- By Clara
- Beginner
- 2 hours
If you want a traditional look for your curtains, pinch pleats, also known as French pleats, are a great option. These triple pleat curtains may look intimidating, but using pleater tape and hooks makes this project simple for sewers of any level.
You can also easily add a drapery lining to these curtains. Cut the lining the same size as the finished curtain and tuck it under the hems and sides before sewing. For more information on drapery lining, see How to Pick Drapery Lining.
If you want to learn how to make other styles of drapes see our Curtains and Window Treatments DIY Tutorials.
Want to get the printable PDF instructions?
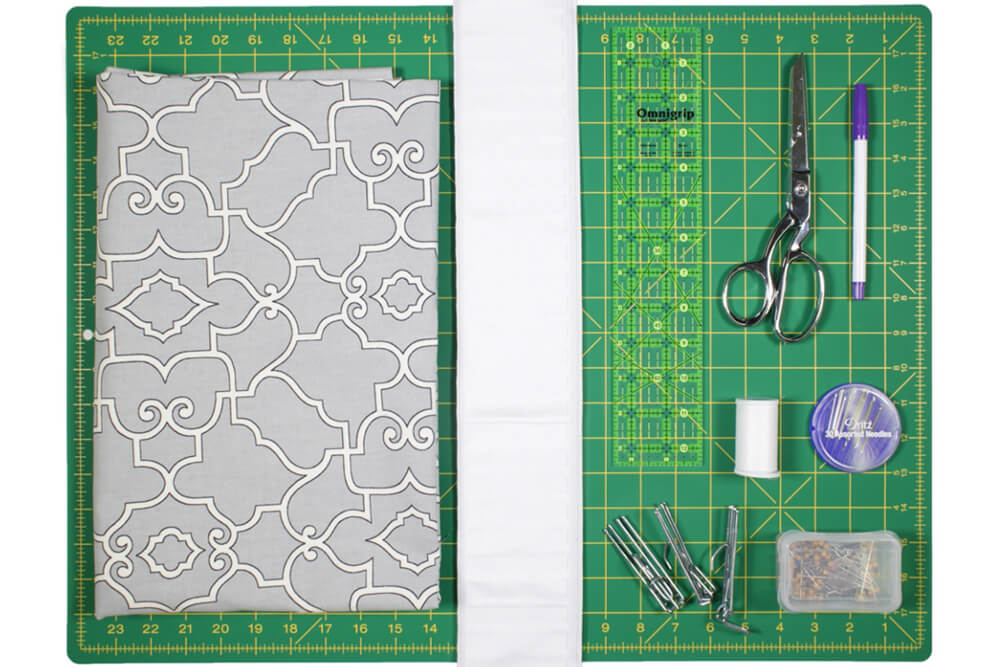
Materials
Related Products


Video
Instructions
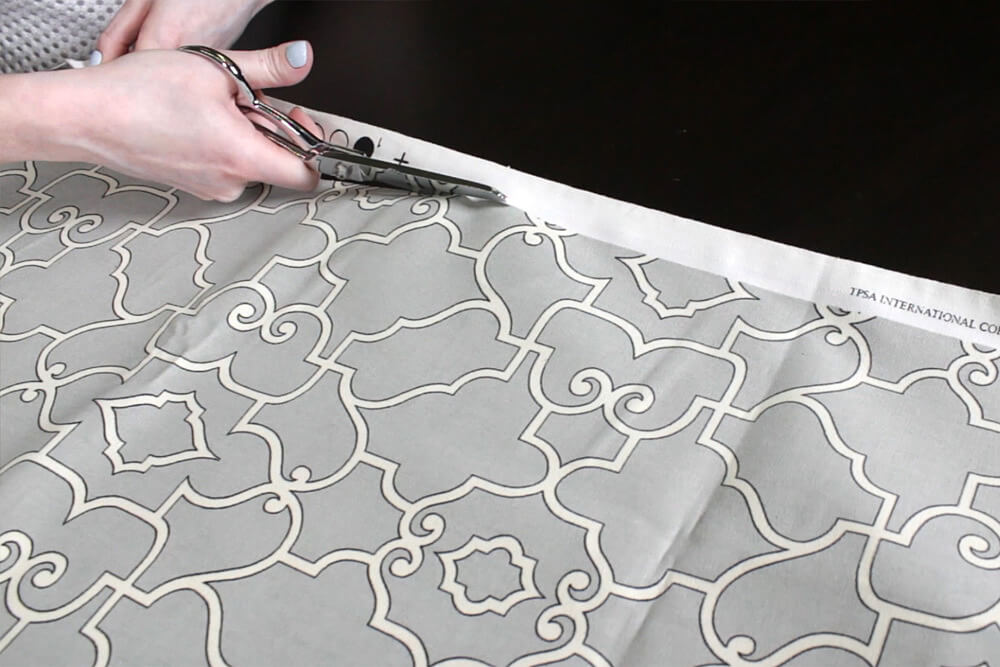
Step 1: Measure & cut
When determining the width to cut the fabric for your curtain panel, you have to take into account the amount of fabric the pleats will take up and the amount of space in between the pleats. I would suggest figuring this out with just the tape and hooks before cutting your fabric.
You can get pleater tapes with varying amounts of space between the pockets that you put the hooks into. The pockets on the 4″ Multi Pleat Pleater Tape are about ¾” apart. This gives you more options for customizing the look of the pleats. I’m using the 4″ Best Pleat Pleater Tape, which has pockets about 2” apart.
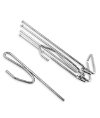
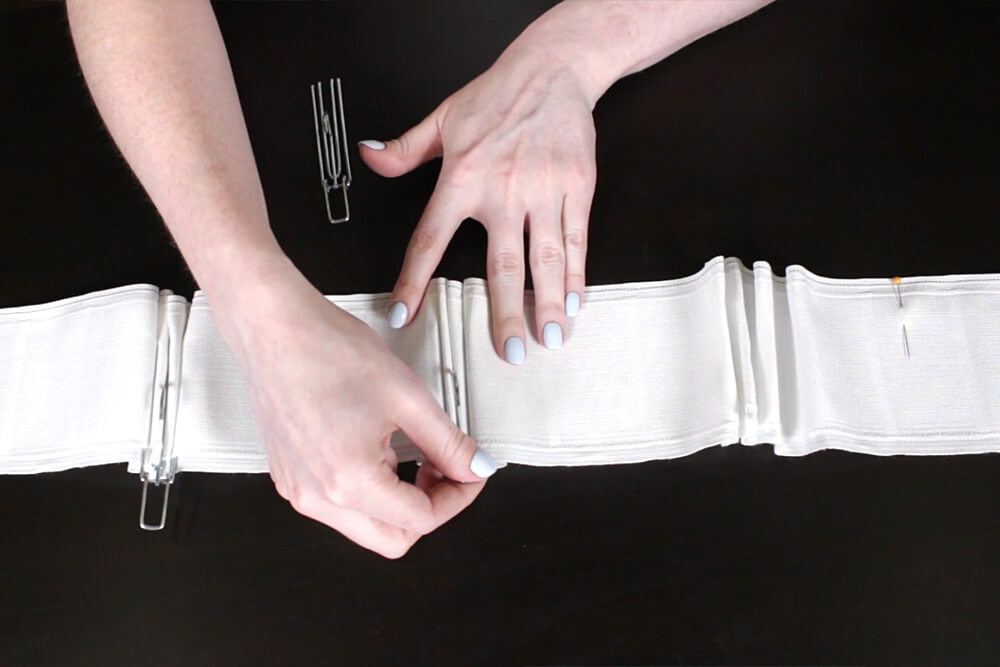
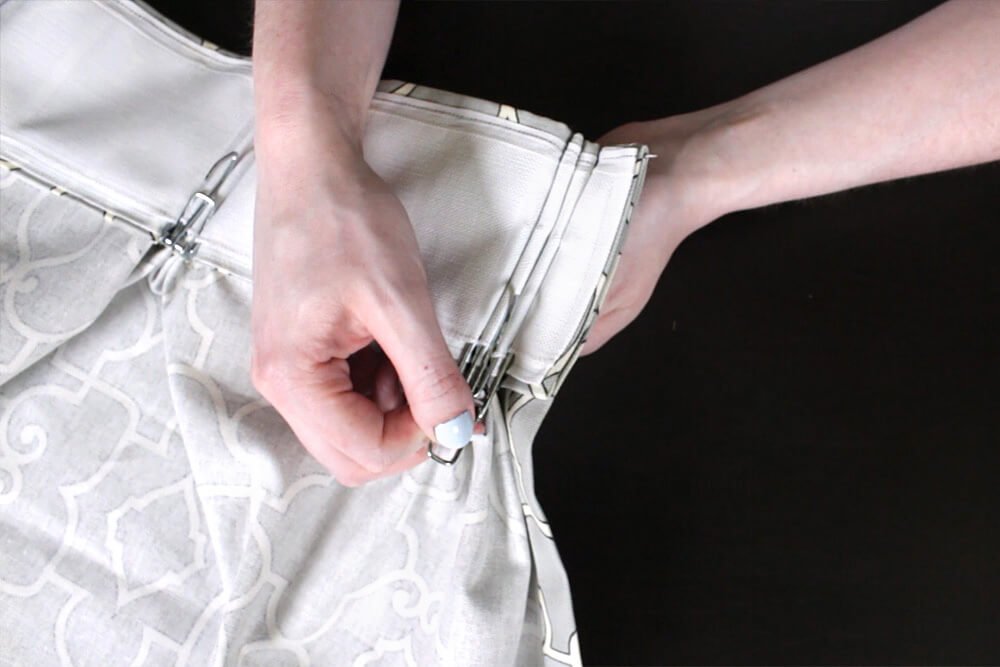
To attach the pleater hook, insert each prong into separate pockets. You can also skip pockets to make the pleats deeper.
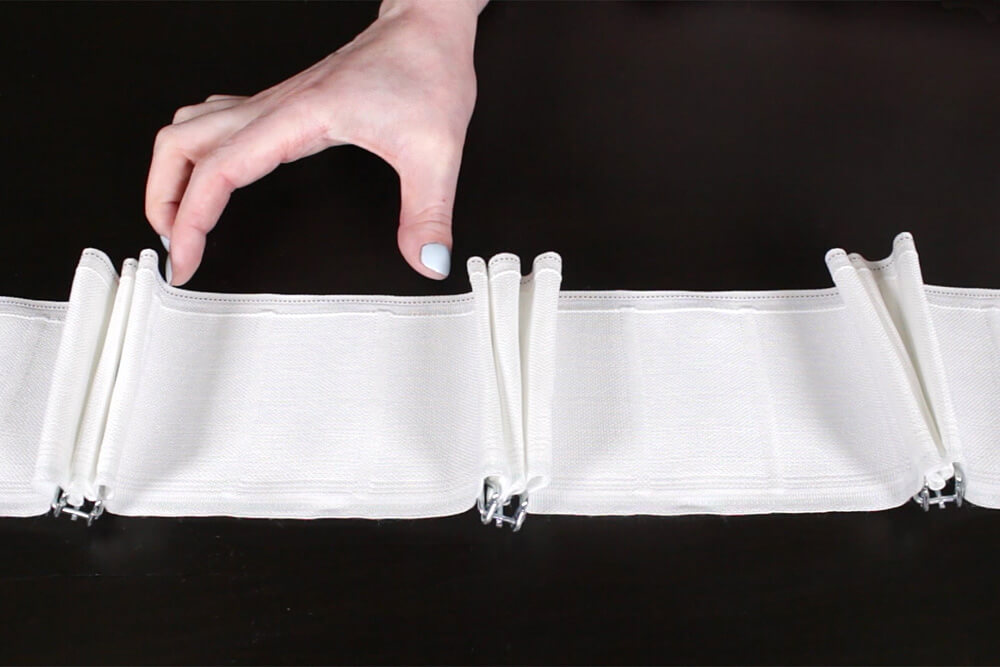
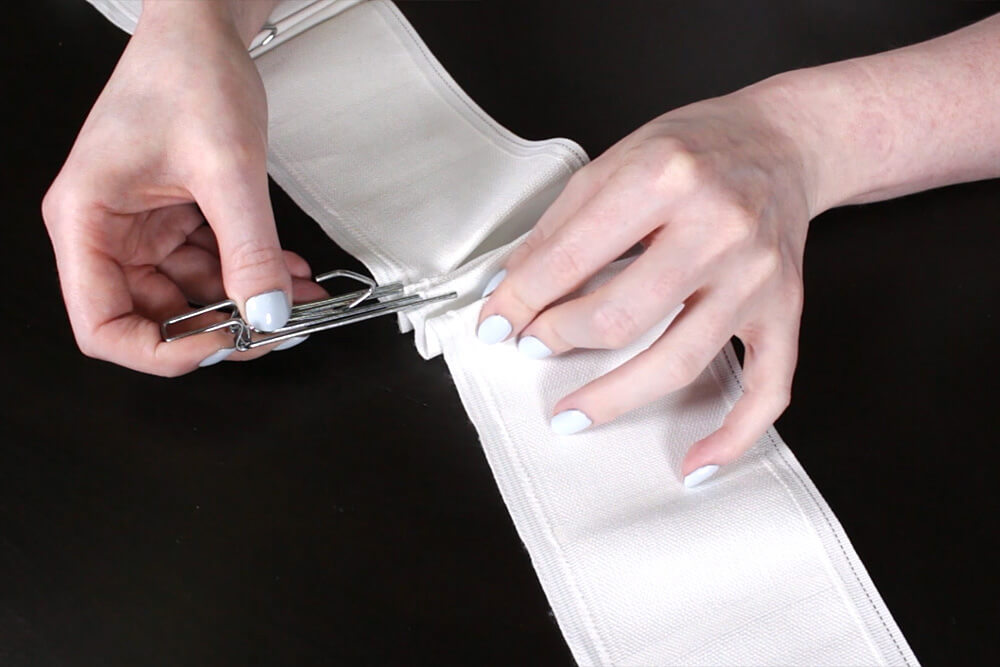
This curtain panel will have 5 sets of pleats and 5 ½” in between with a couple of inches on each end. With the pleats it’s about 28” wide. Mark where you want the tape to end with a pin and take out the hooks. Measure how wide the tape is without the pleats.
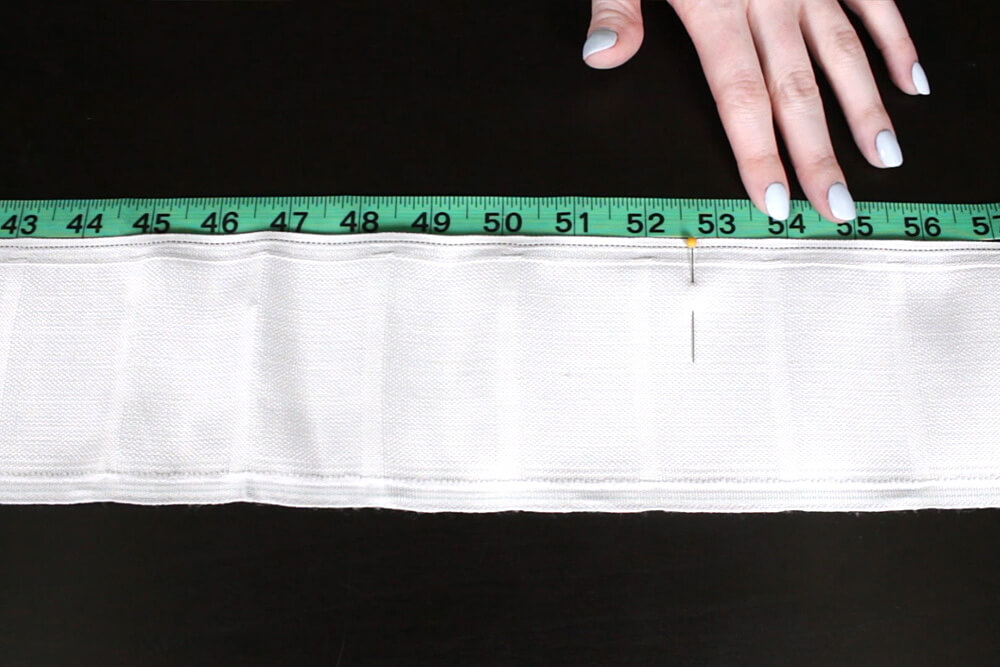
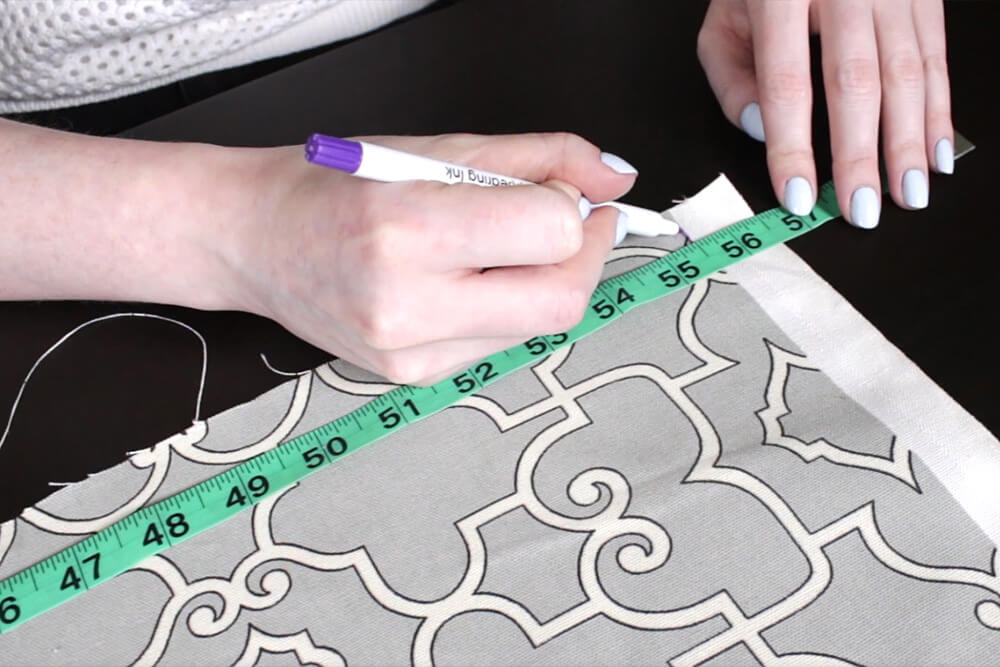
To determine the width to cut your fabric, take this measurement and add 3″ to account for the side seams. Cut your fabric to this width.
Panel width = pleat tape width + 3″
If you want to add a lining, cut it to the same width as the tape and the finished height of the curtain.
For the height, take how long you want the curtain to be and add 9 ½” for the hems and cut.
Panel height = finished height + 9 ½”
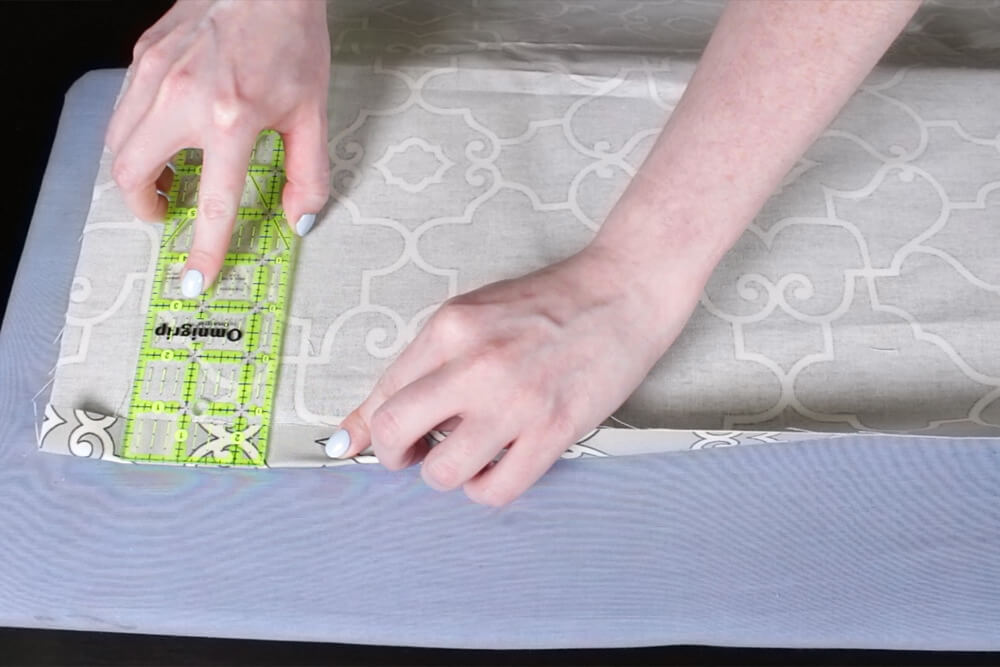
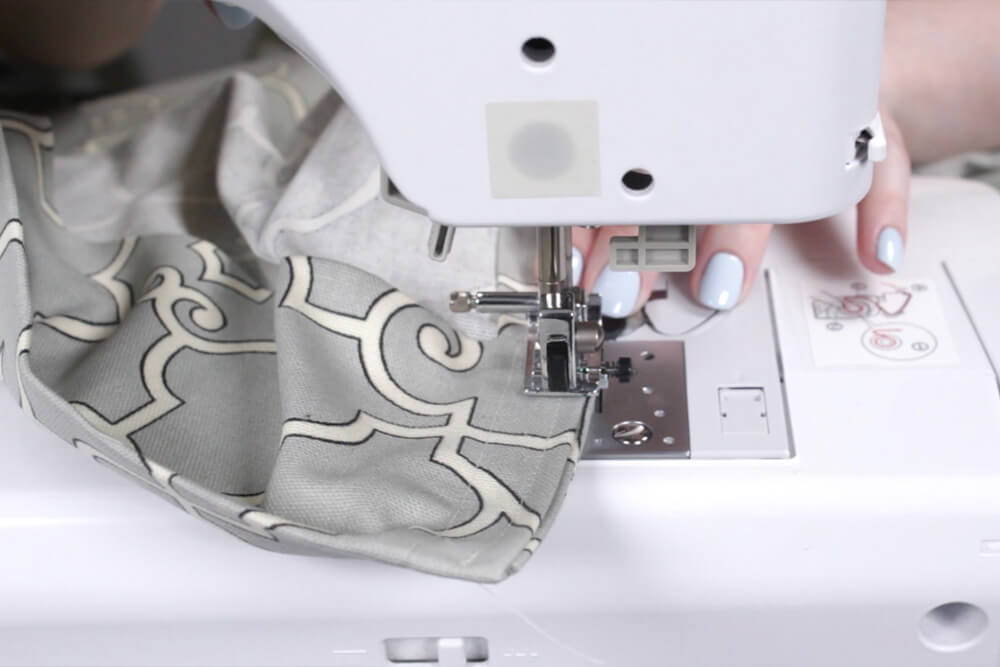
Step 2: Sew the sides of the panel
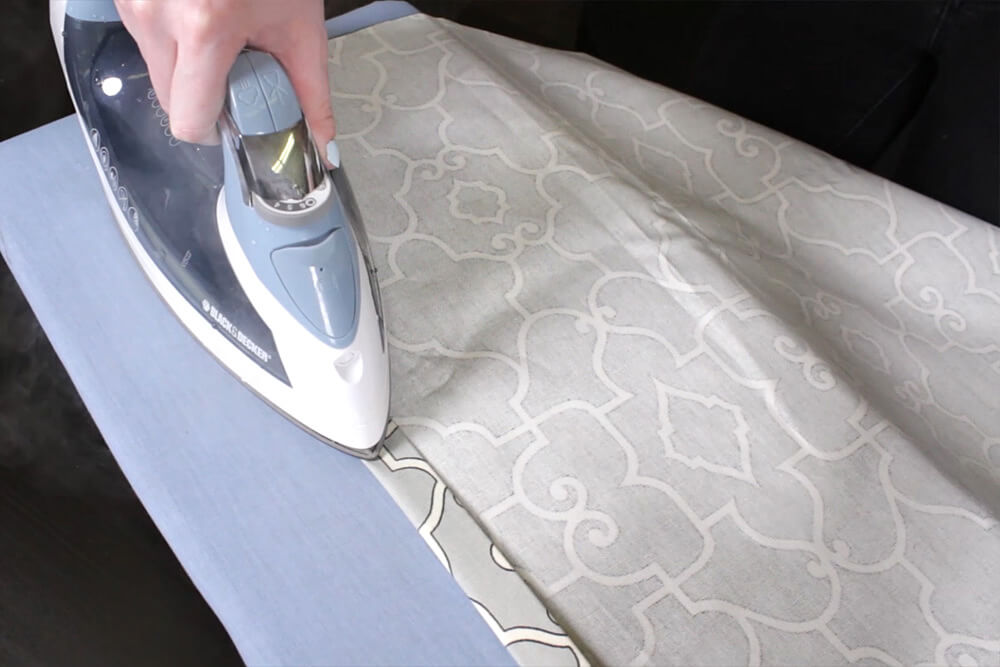
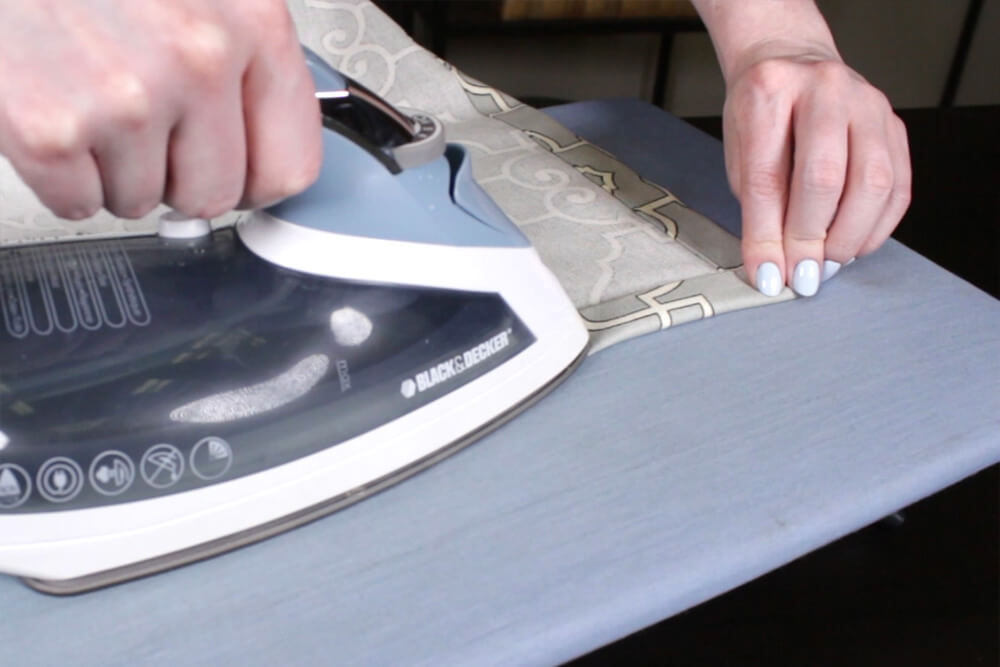
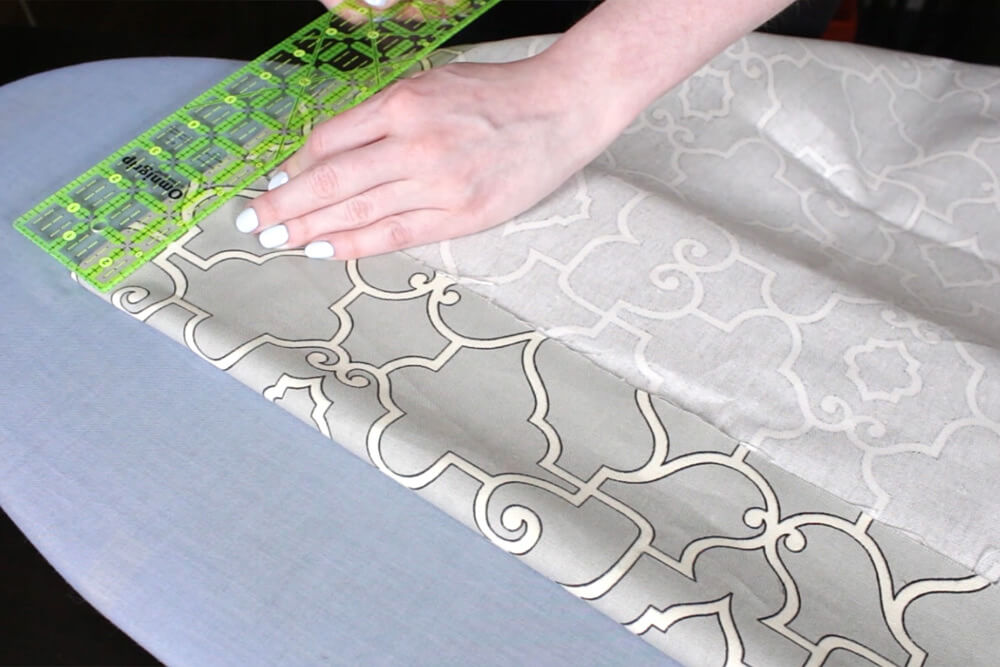
First I’m going to hem the 2 sides of the panel. Fold the edge over ¾” and press. Then fold it over another ¾” and iron it again.
If you’re adding lining, slip it under each side and pin before sewing.
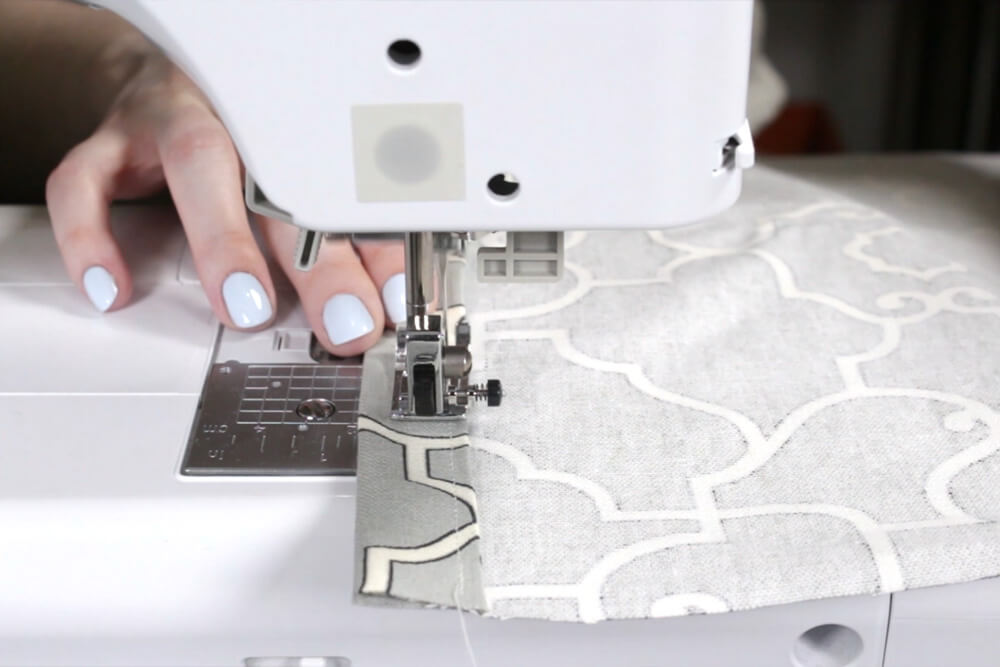
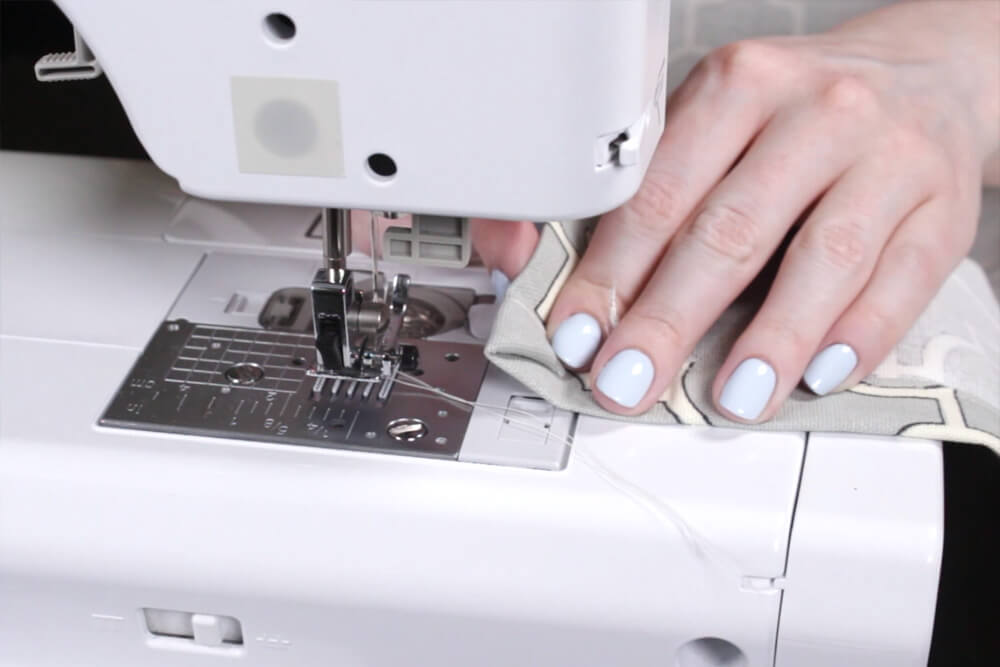
Sew down the length of the panel with a 5/8” seam allowance. Back stitch at the beginning and end to secure the stitches. Repeat this for the other side of the panel.
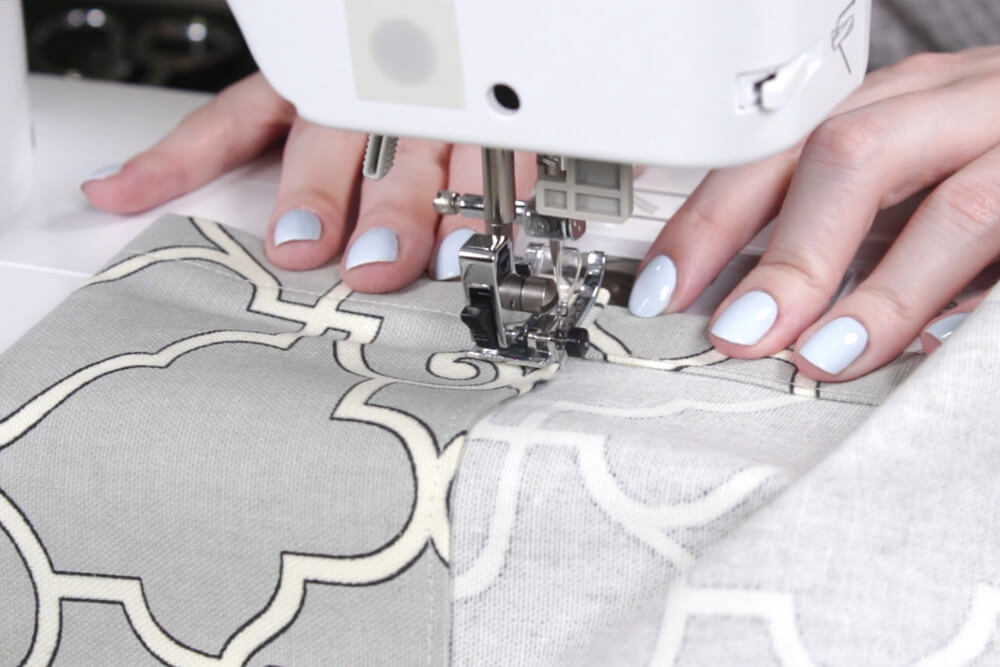
Step 3: Sew the top & bottom
For this curtain, the bottom hem is going to be the same as the sides, so repeat the same thing. If you want to make a larger hem, just account for that in your height measurements.
When sewing the bottom corners, tuck under the corners.
Or you can sew the bottom hem last if you want to hang the panel first to better judge how much to hem.
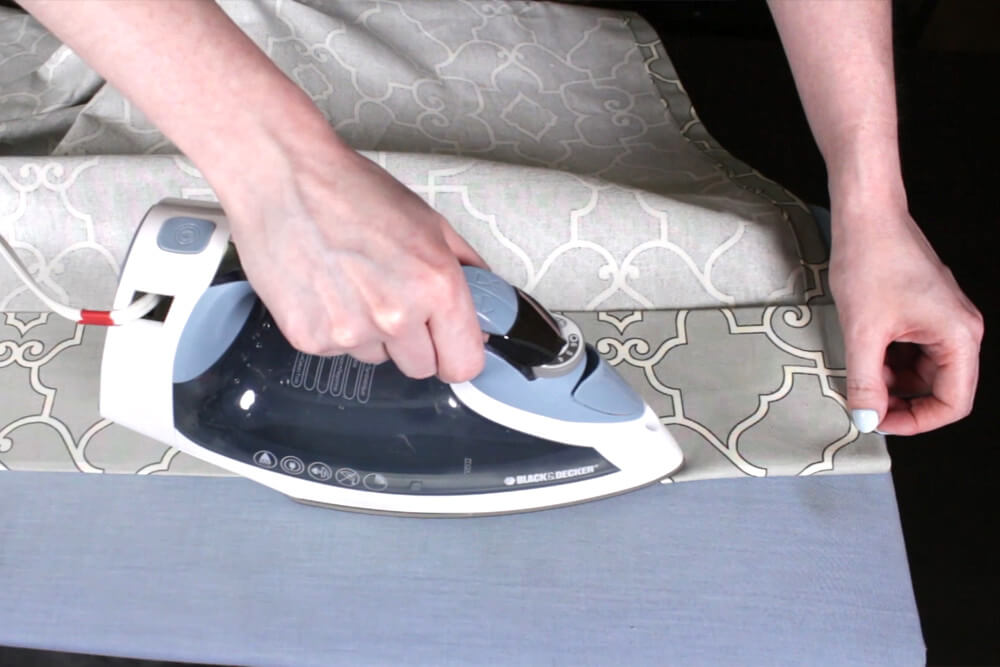
For the top, fold the fabric 4” and iron. Then fold another 4” and press again.
Sew with a ¼” seam allowance along the sides and across. Back stitch at the beginning and end.
Or to avoid extra stitches, you can hold off on sewing this part until you pin the tape on.
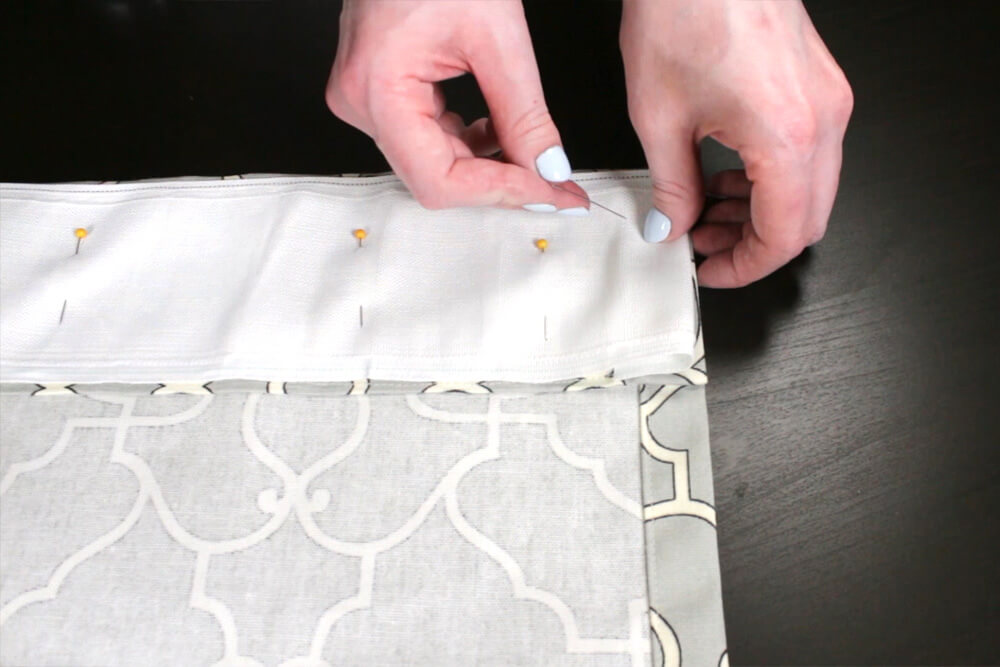
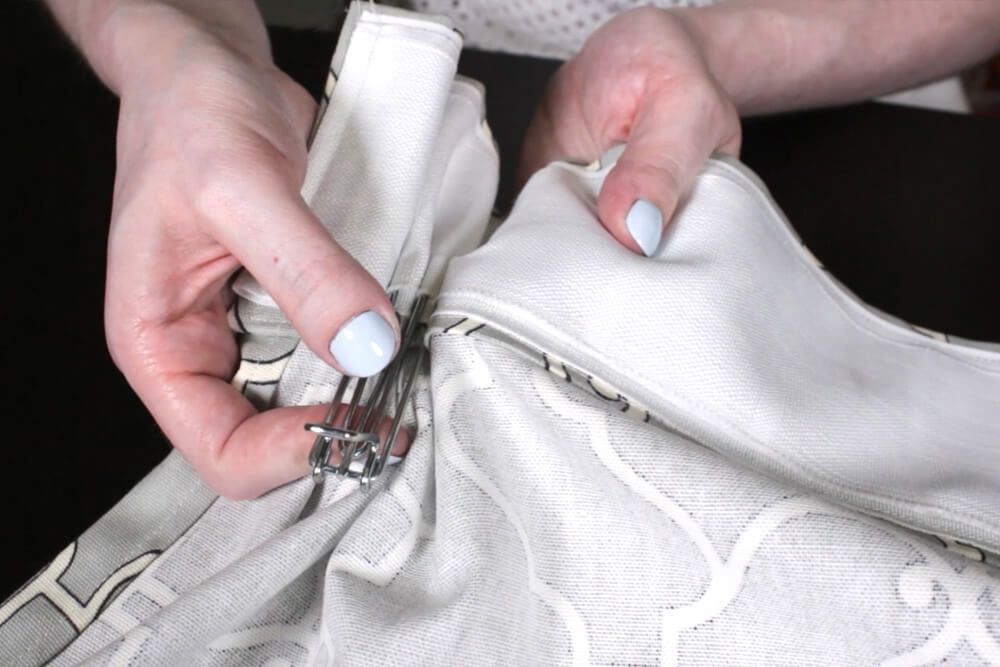
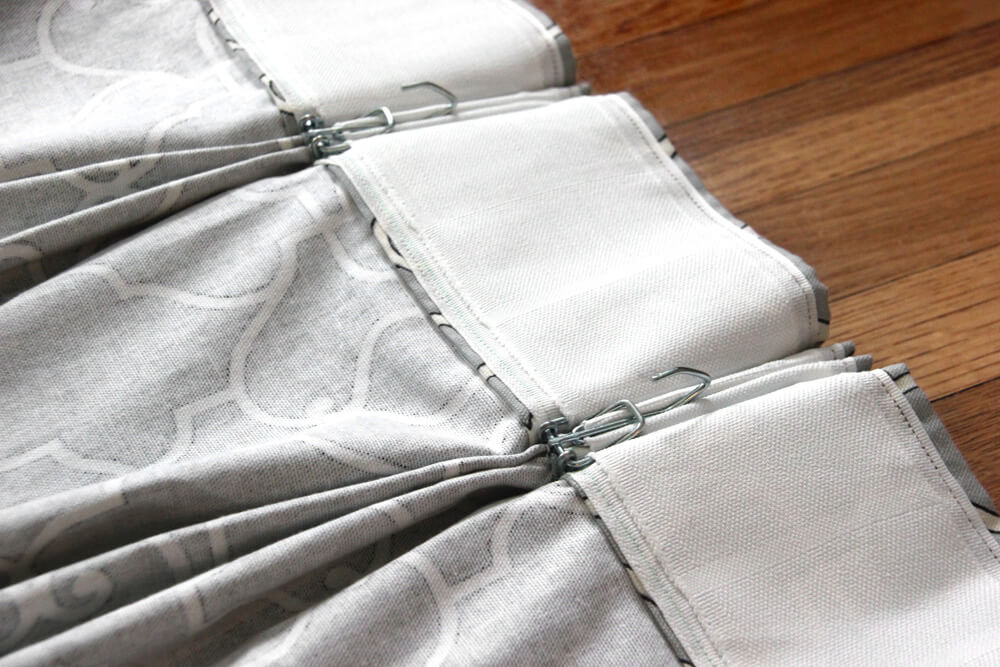
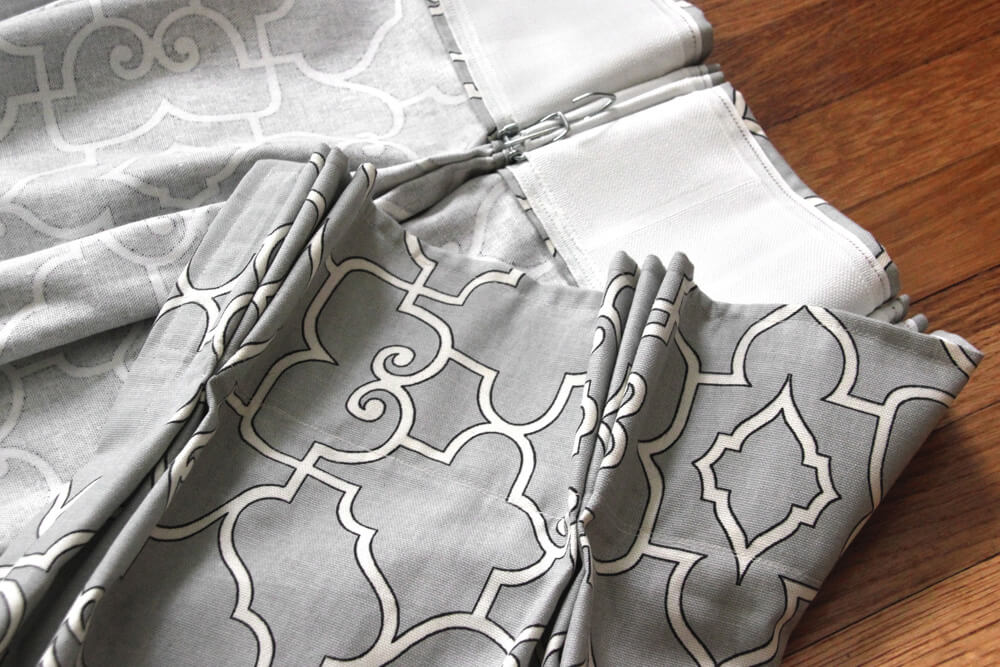
Step 4: Attach the pleater tape & hooks
Lay the pleater tape on the back of the top, fold under the ends, and pin. Make sure the pockets are on the bottom of the tape and facing out. Take note of the different color threads and sew around the edges of the tape on those lines.

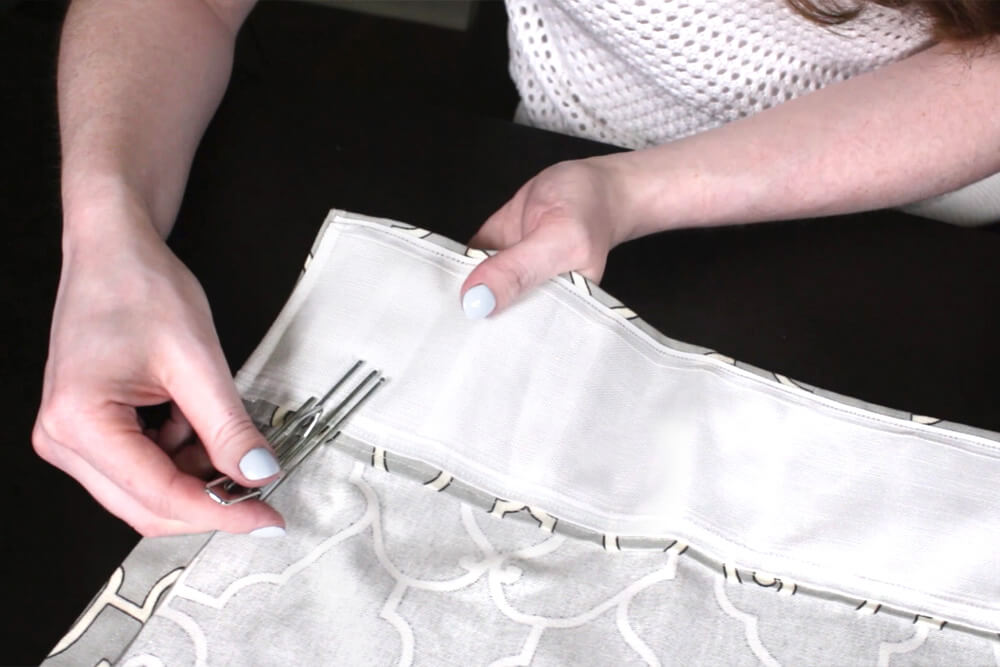
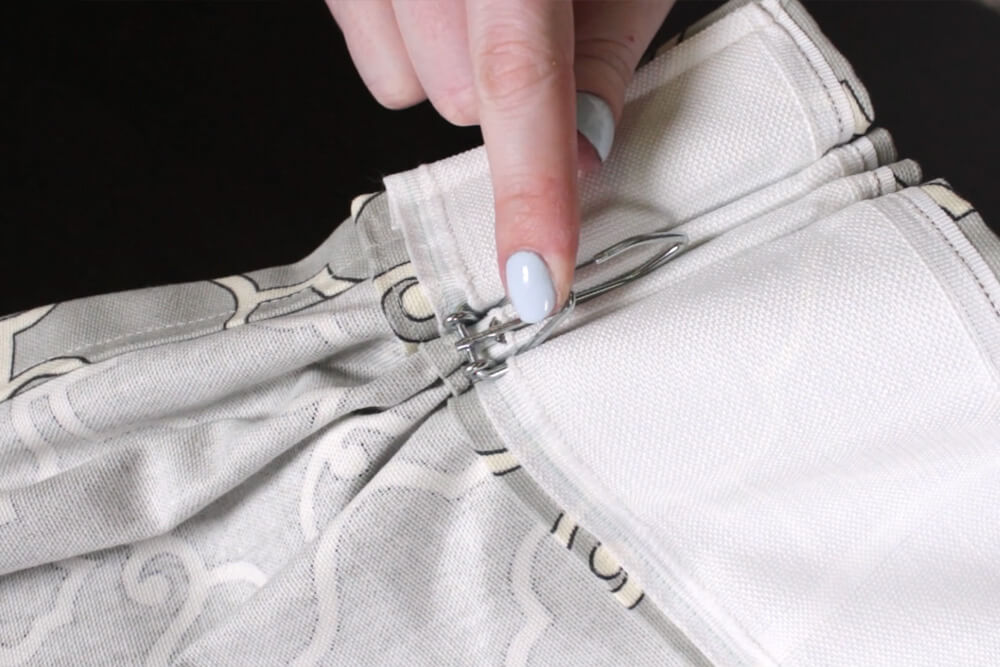
Take a hook and insert the ends of the prongs into the pockets. Push the hook all the way in and secure it with the bottom piece. Repeat for the rest of the pleats.
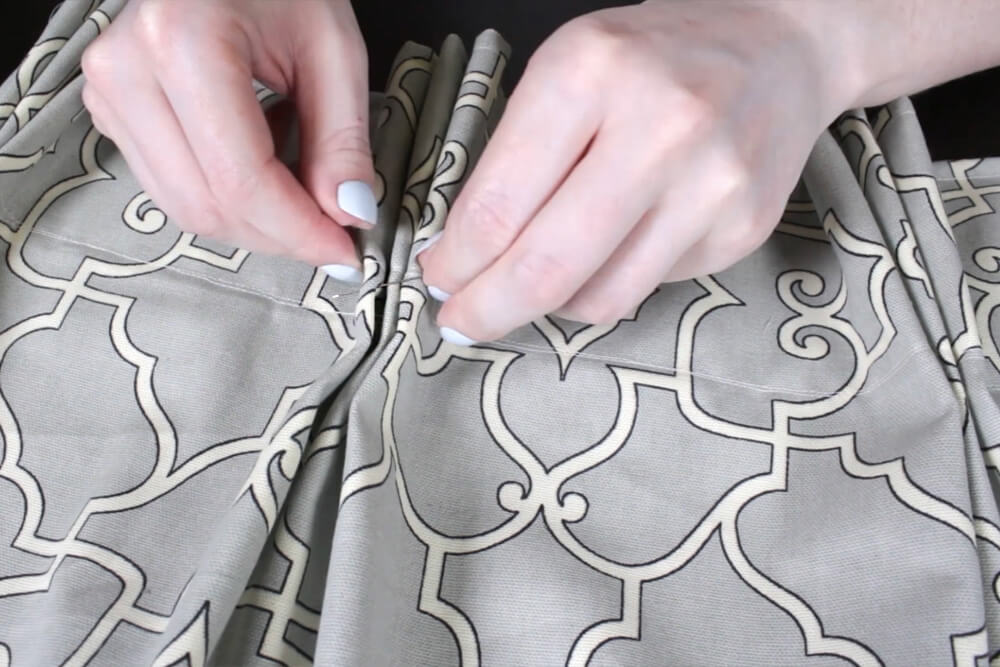
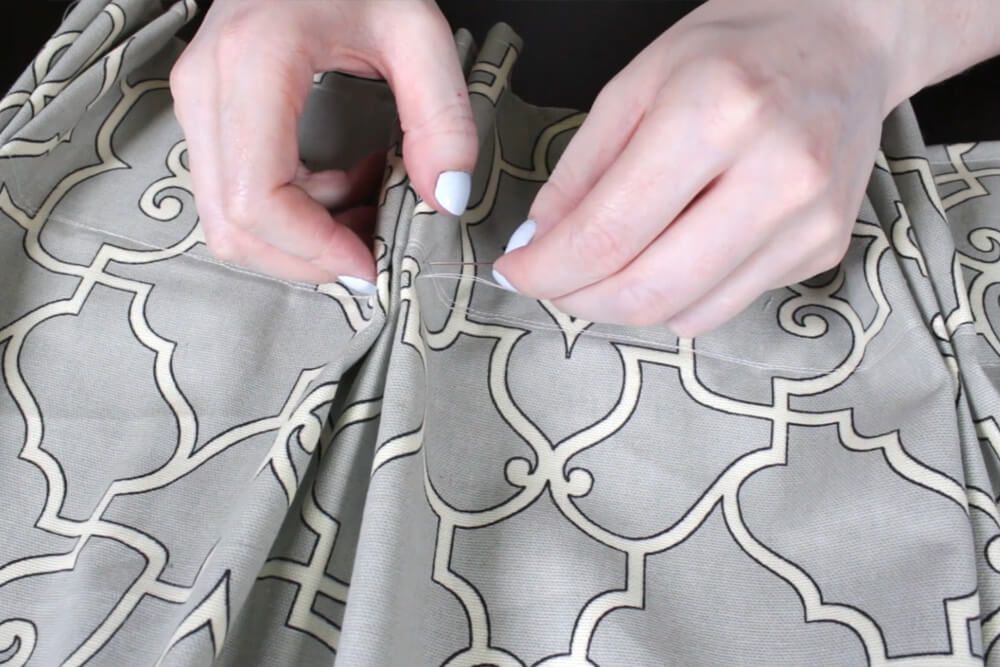
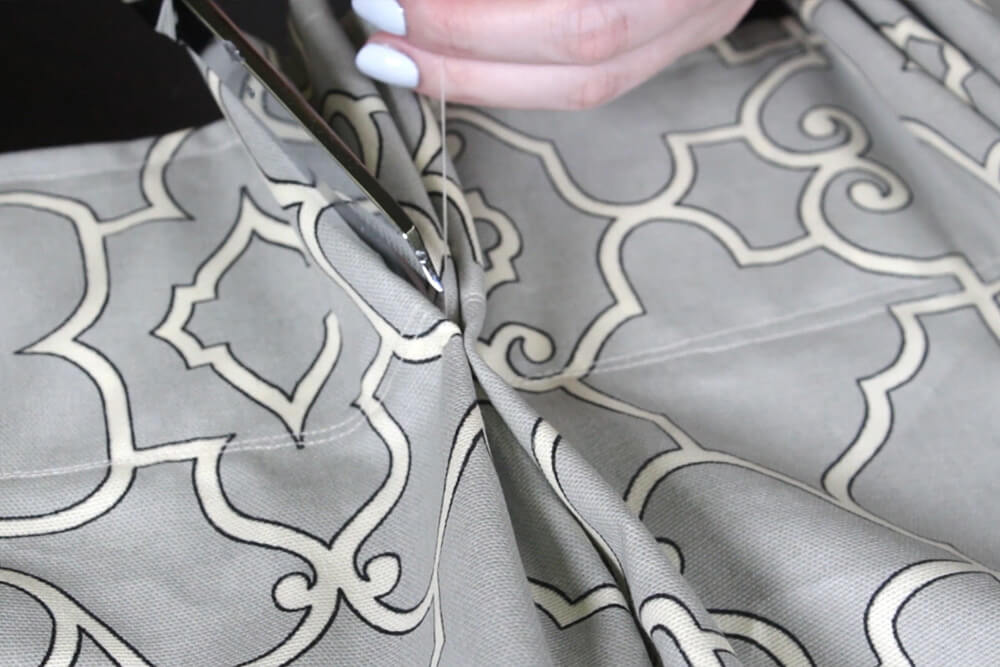
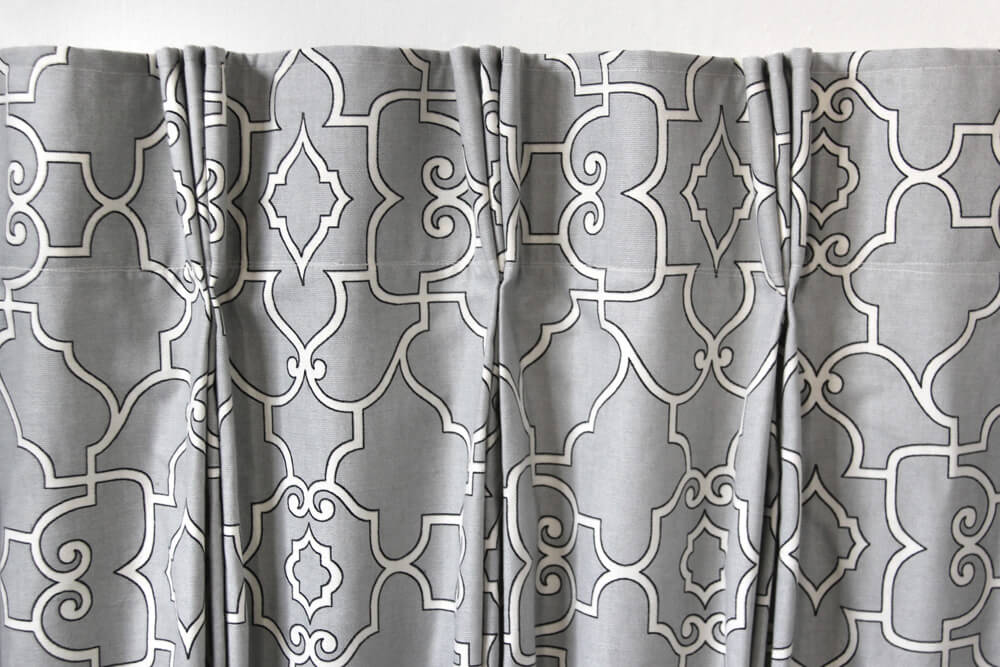
Step 5: Tack the pleats (optional)
French pleats are often pinched at the base to give them a cleaner look. If you like this look, hand sew the pleats together. Start from the inside of one of the pleats so the knot is hidden. Go in and out of the sides of the pleats a couple of times to tack them together. Knot the end, pull the thread to the inside of one of the pleats and cut the thread.

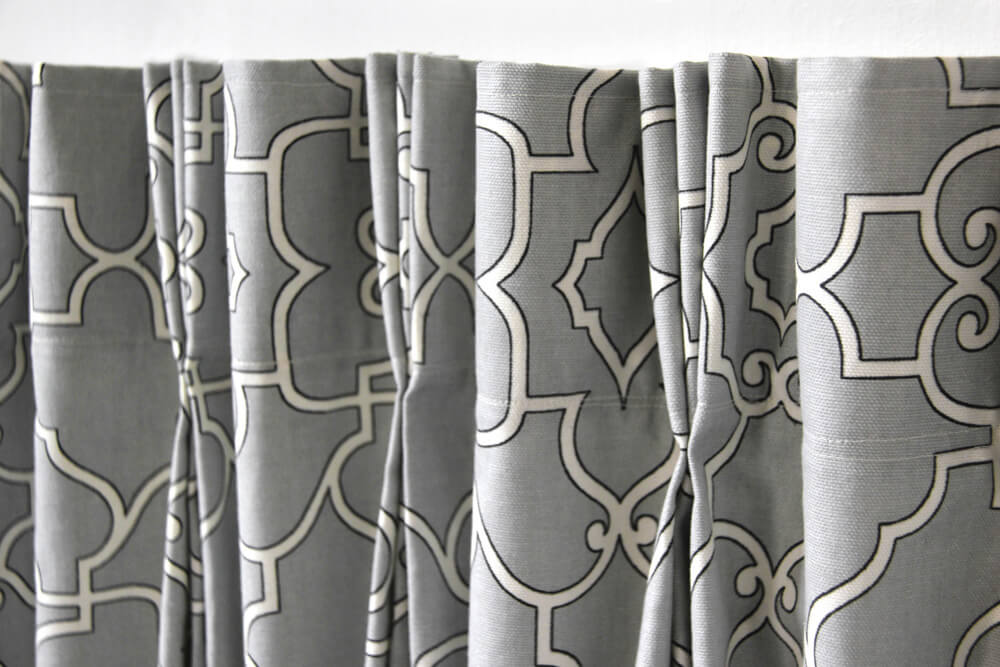
Hang the hooks on hardware like eyelet drapery rings or on a traverse rod and the curtain panel is done!
Looking for more beautiful drapery fabric? Click this link to see our selection!