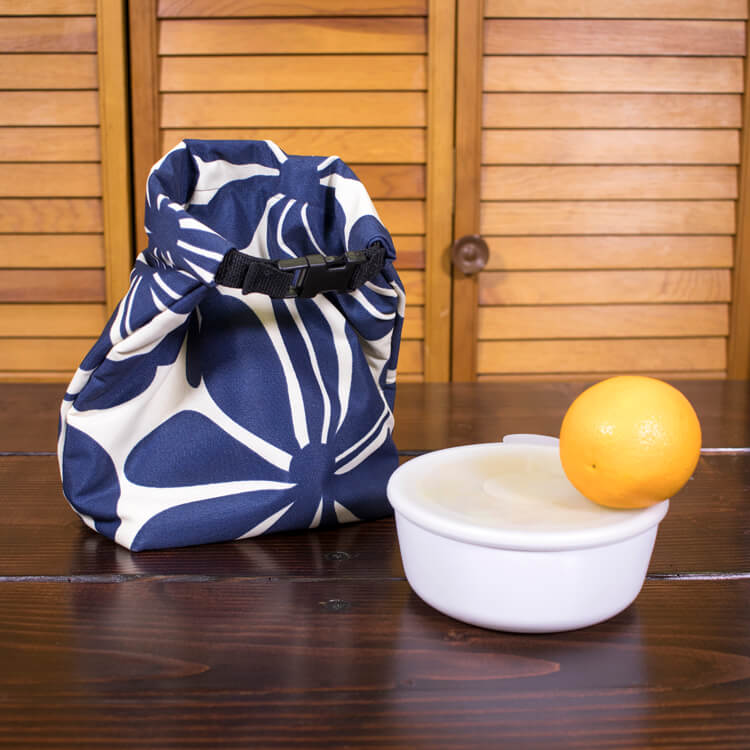
How to Make a Lunch Bag
- By Jen
- Intermediate
- 1 hour
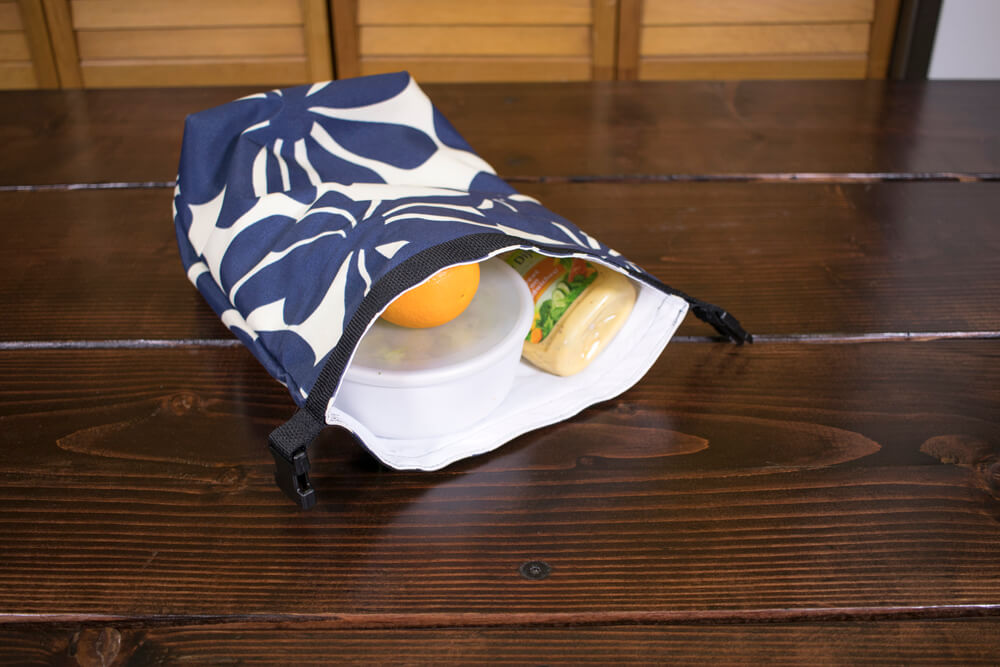
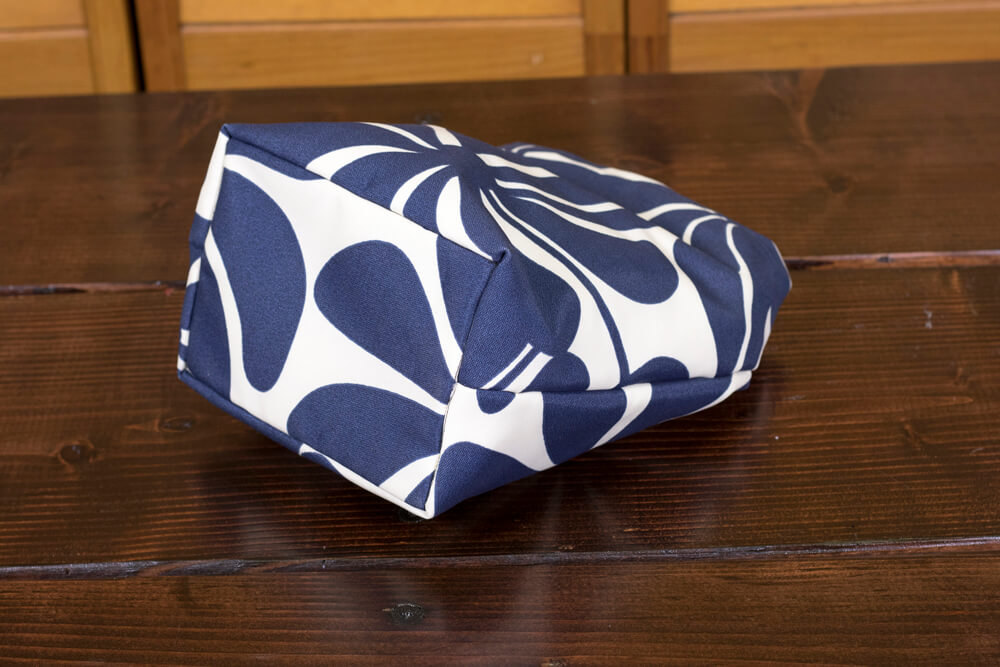
There’s all different kinds of lunch bags that you could make. The difference with this one is that it’s not only easy to make but also easy to put food in fold, snap, and go. It’s hassle free, durable, and will keep your food warm or cold with it’s thick interlining. Watch below to learn how to make your own and let us know how it turned out!
Materials
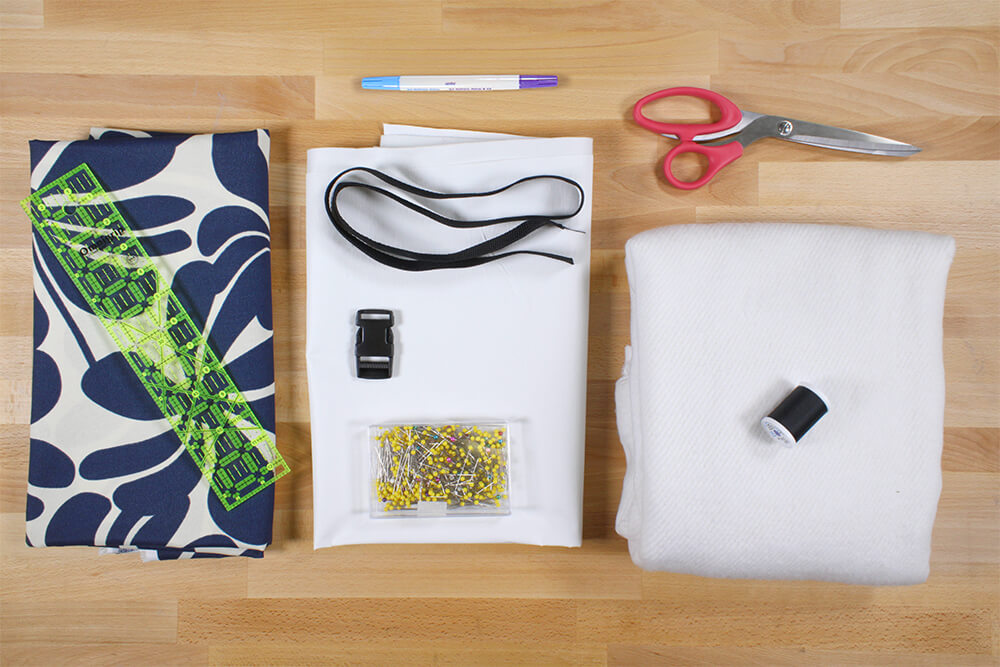
Related Products
-
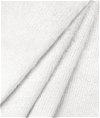
 White Flannel Backed Vinyl
-
 Ultra Sharp Premium Scissors - 10"
-
 Dual Duty XP Thread - Black, 500 Yards
-
 English Bump Cloth White Drapery Interlining
-
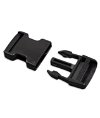 1" Black Plastic Buckle - Side Release
-
 Outdoor Twirly Deep Blue
-
 1" Black Polypropylene Webbing
-
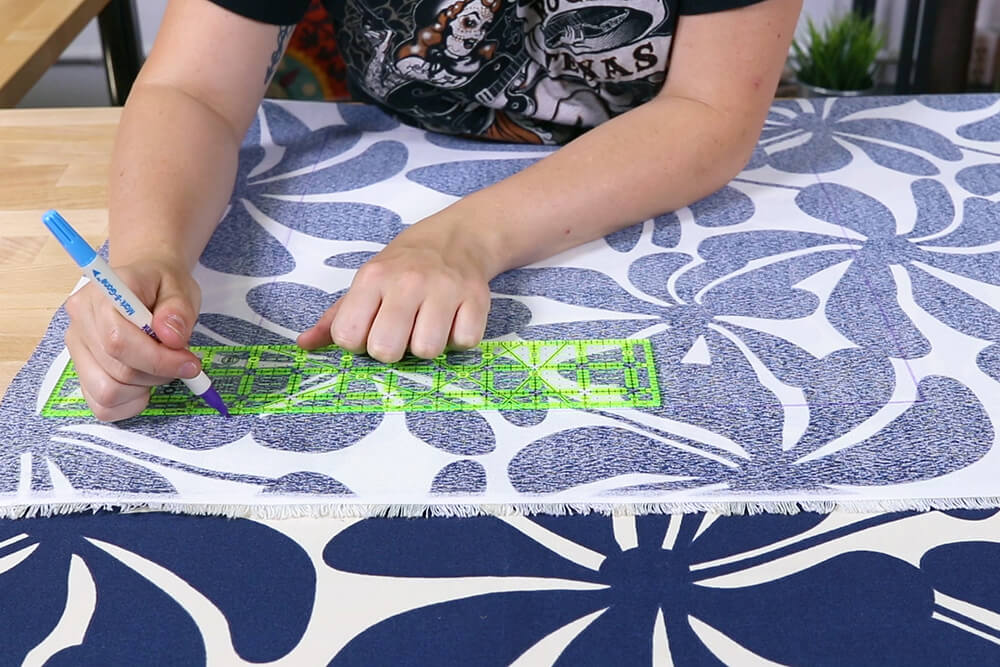
 Dual Tipped Marking Pen - Blue & Purple
-
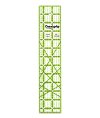 Non Slip Ruler 2-1/2 inch X 12-1/2 inch
-
 500 Quilting Pins - Size 28
Video
Instructions
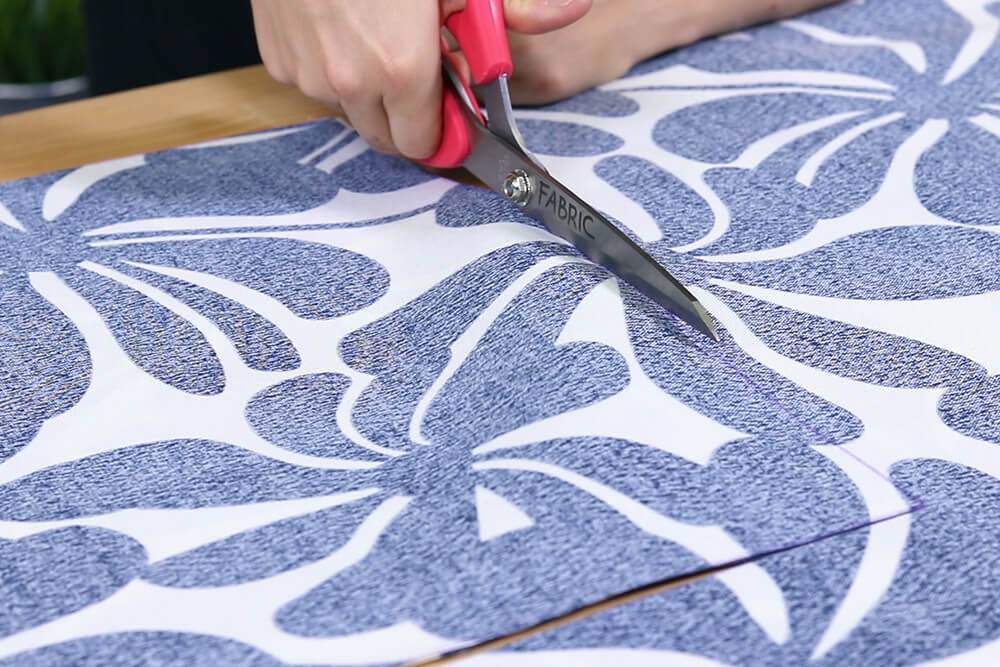
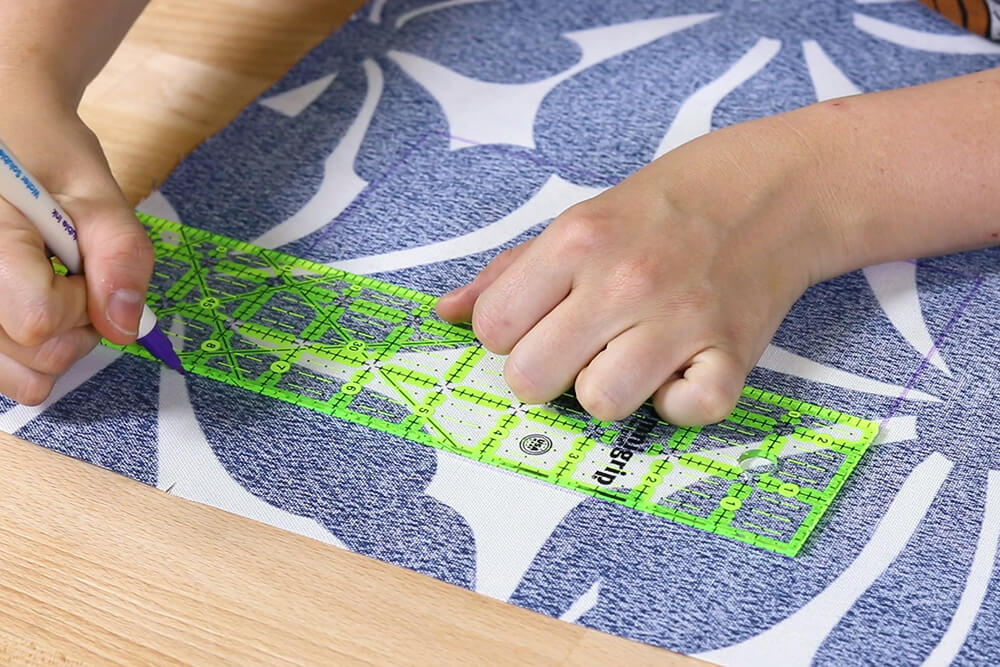
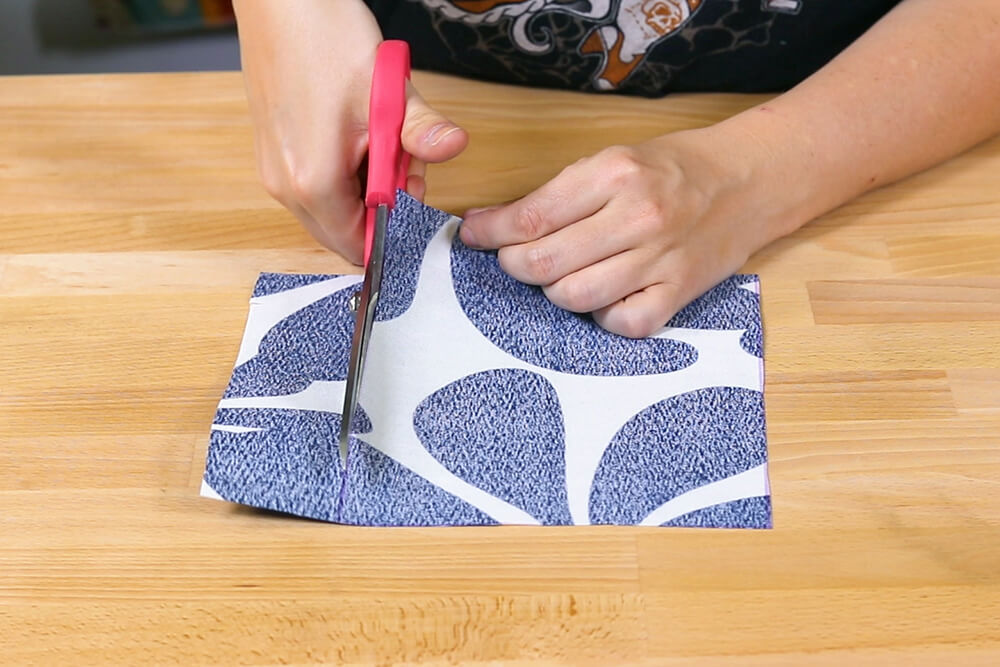
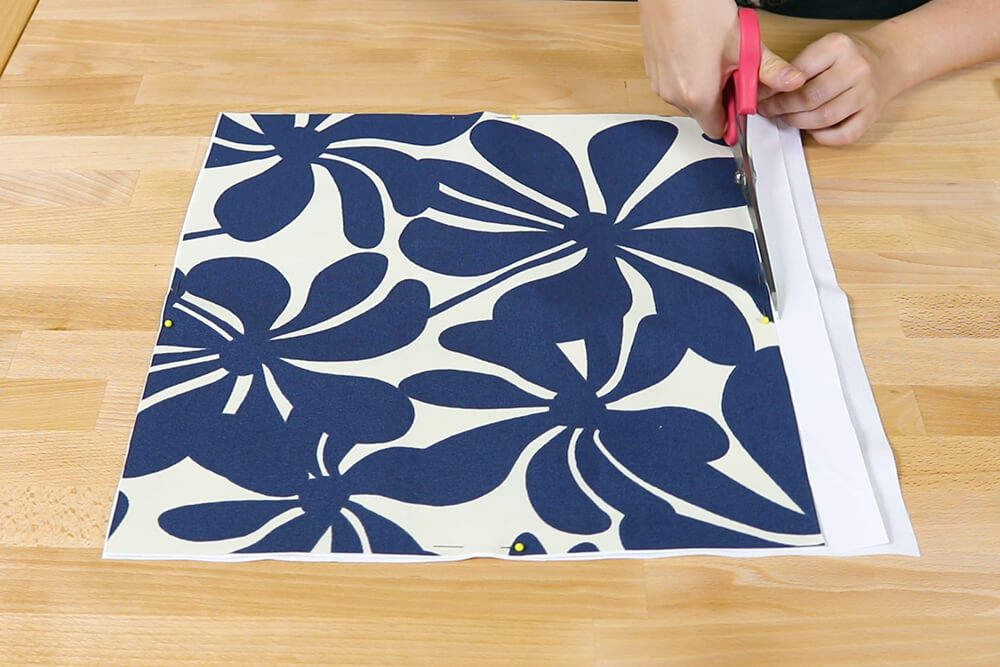
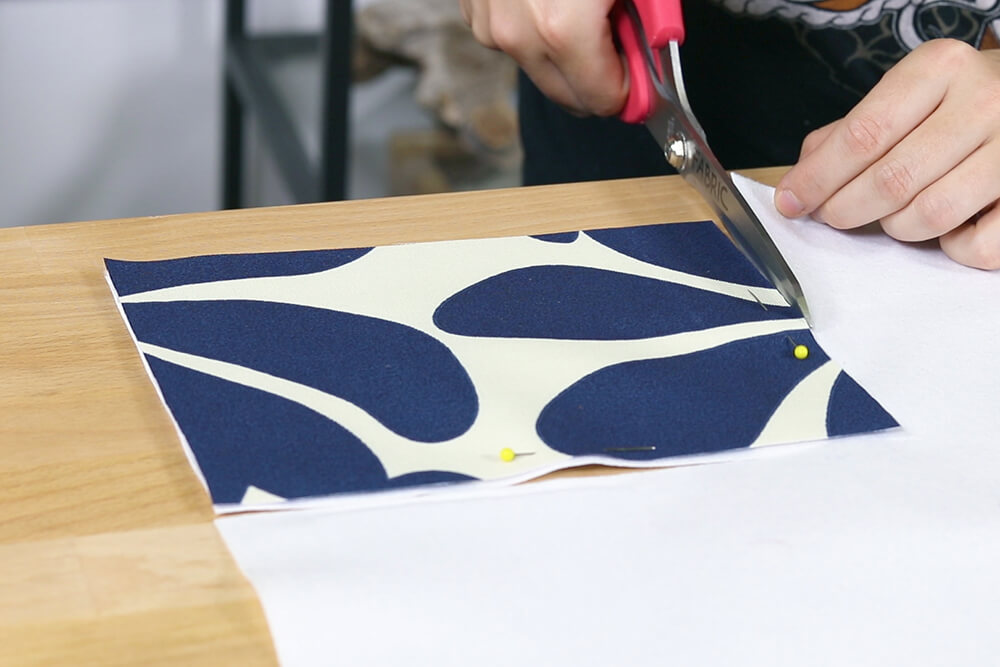
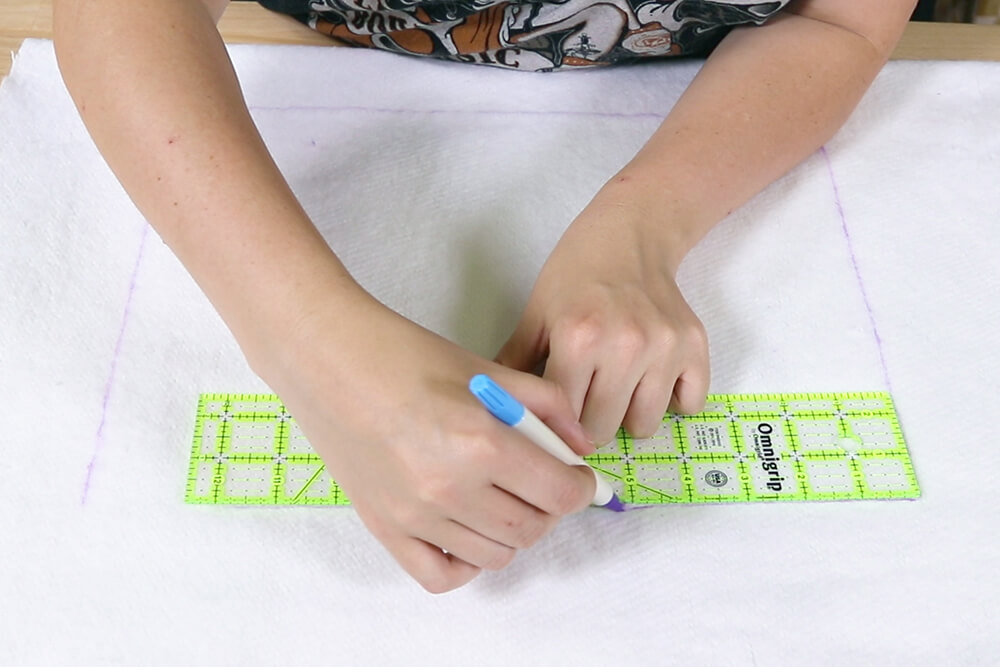
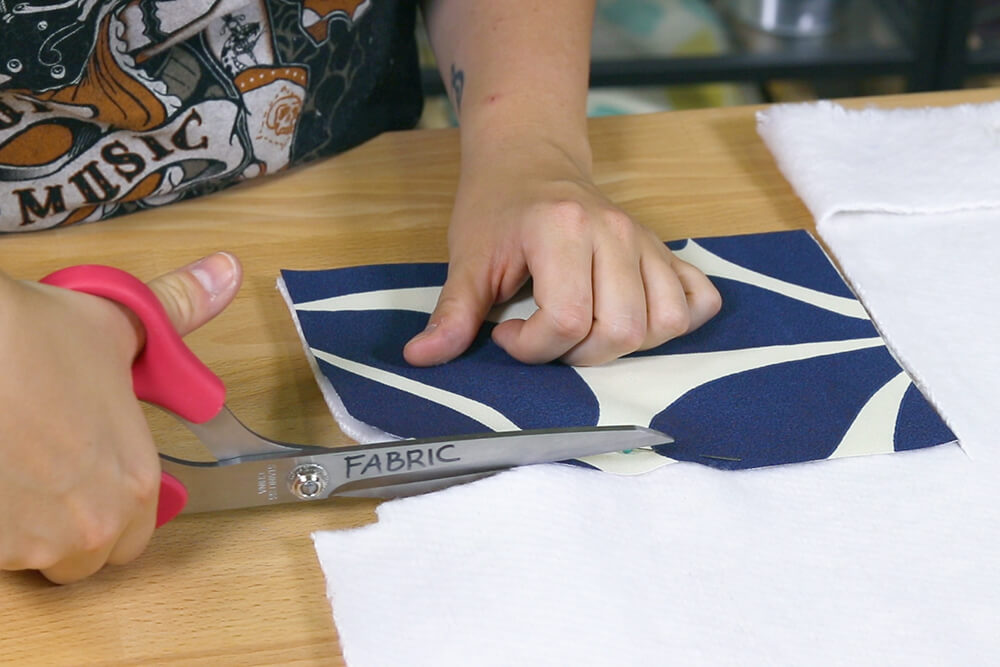
Step 1: Measure & cut the fabric
From the main fabric, measure and cut two 14″ x 15″ rectangles. Then measure and cut a 6″ x 8″ rectangle. Also measure and cut two 14″ x 15″ rectangles and one 6″ x 8″ rectangle out of the lining. I’m using the outer fabric pieces as templates. From the interlining measure and cut two 11″ x 14″ rectangles and one 6″ x 8″ rectangle.

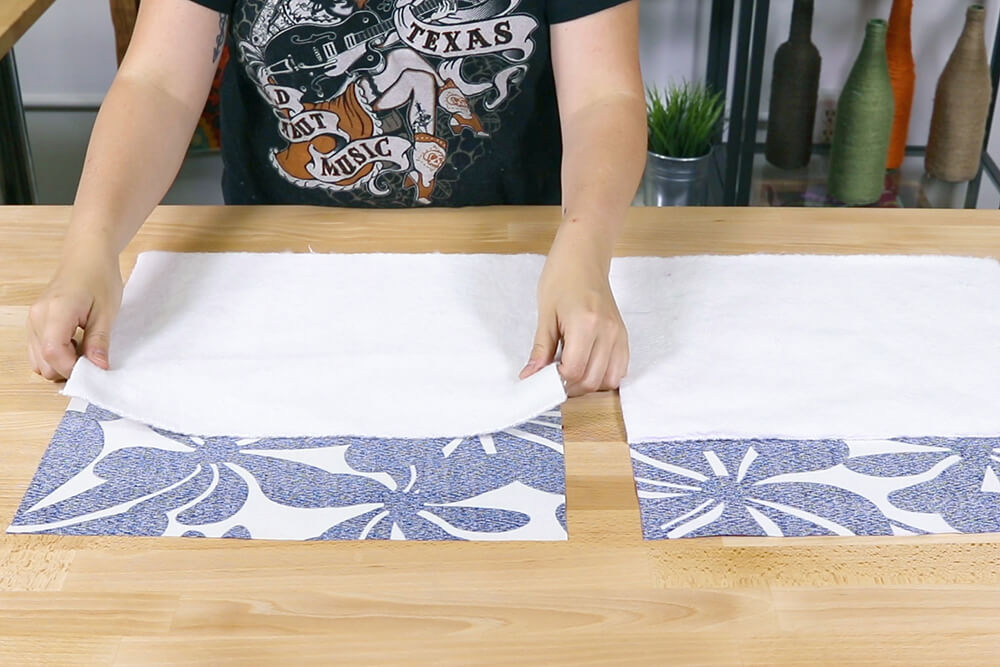
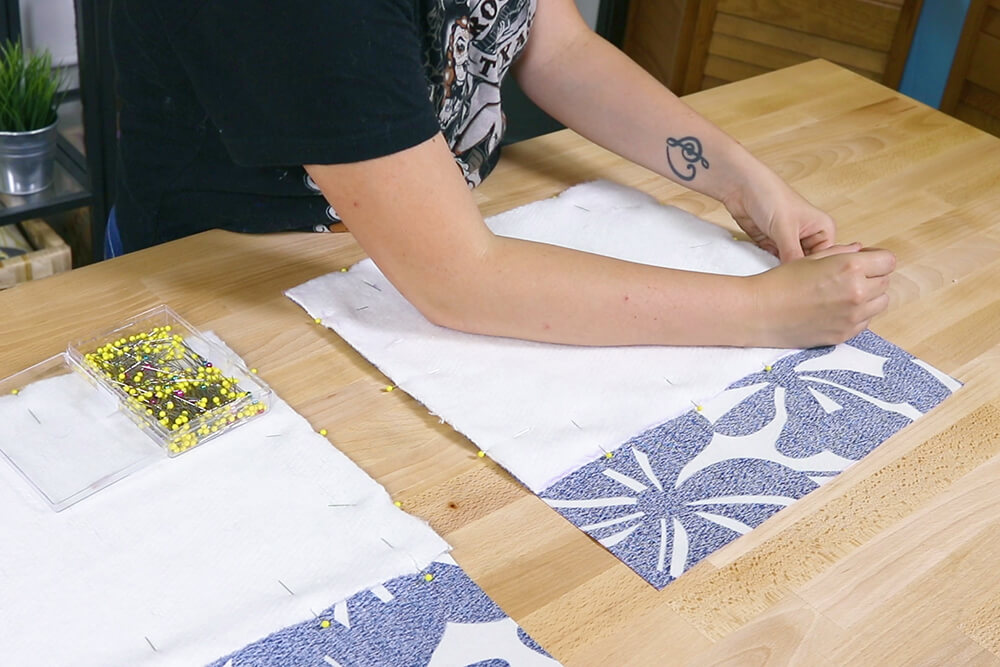
Step 2: Attach the interlining
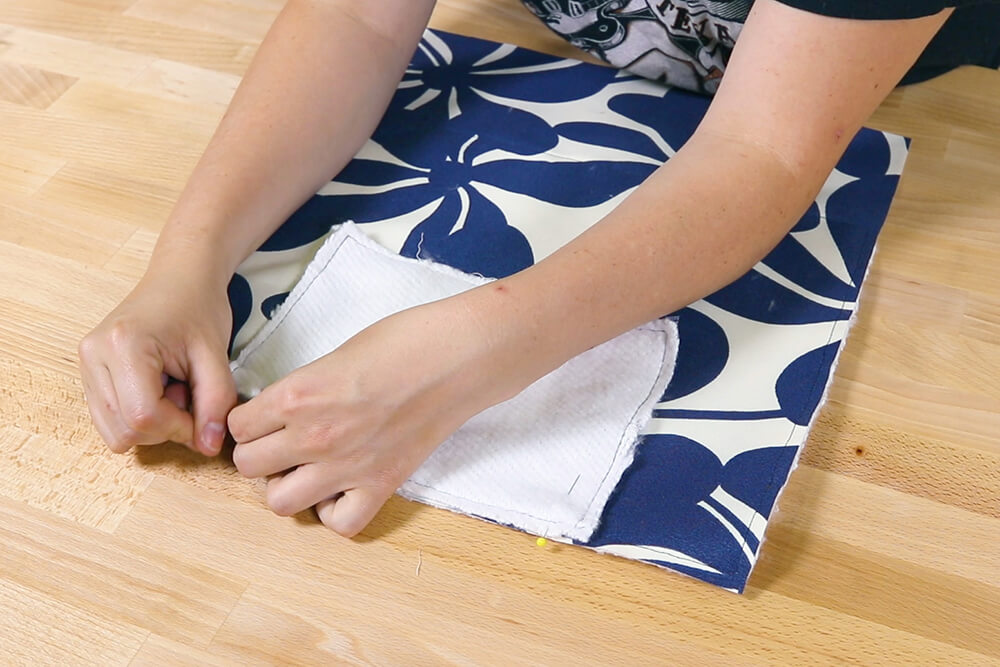
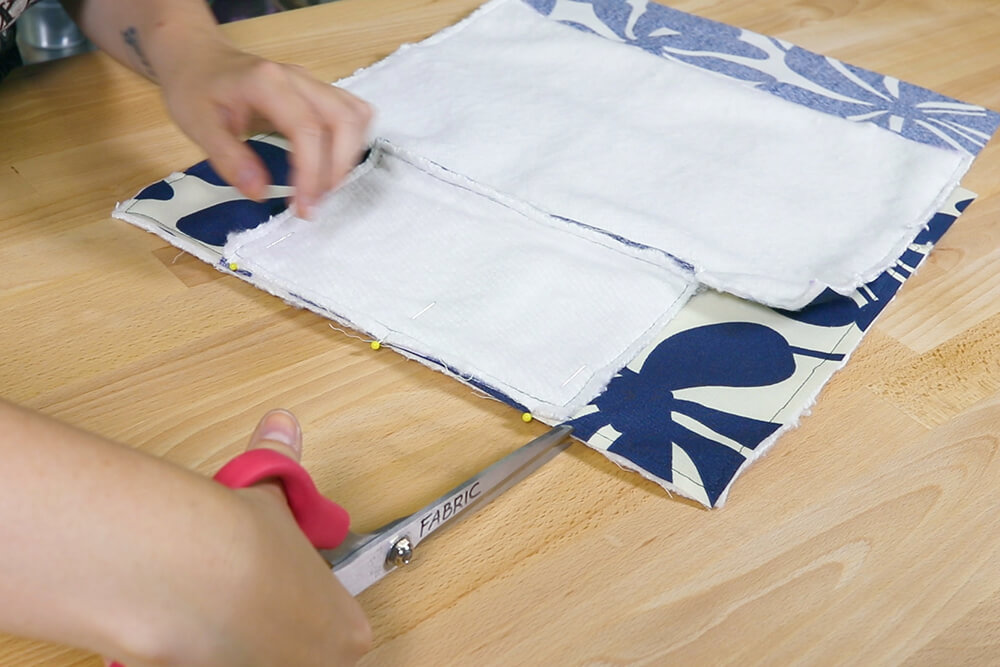
Place the 11″ x 14″ rectangles of the interlining to the wrong side of the bottom of the larger fabric pieces. Pin and stitch around the interlining on both pieces. Pin and stitch the 6″ x 8″ interlining piece to the wrong side of the 6″ x 8″ fabric piece.
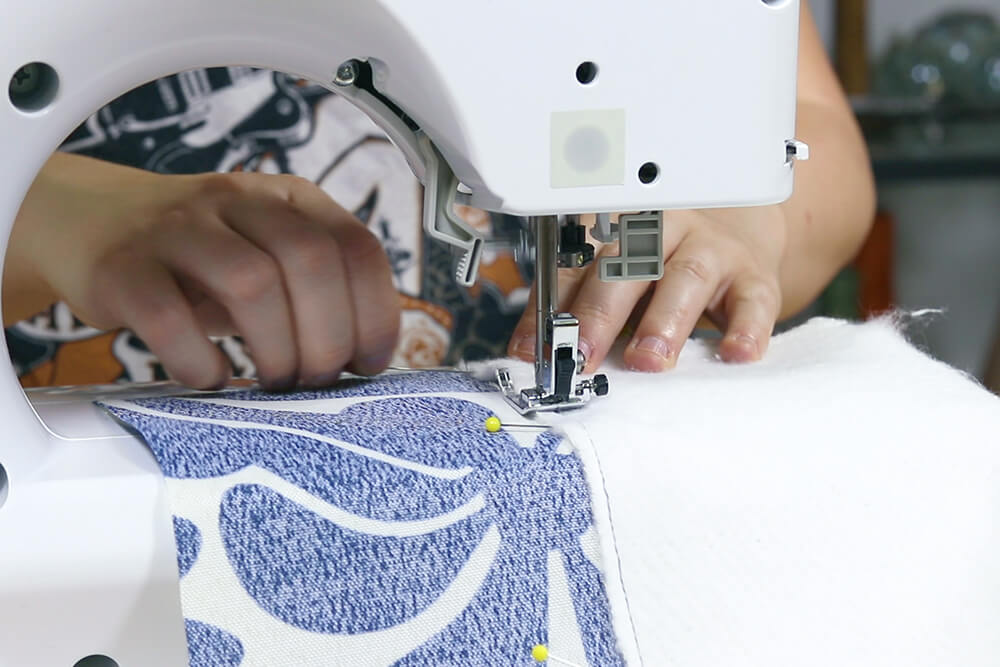
Step: 3 Sew the pieces together
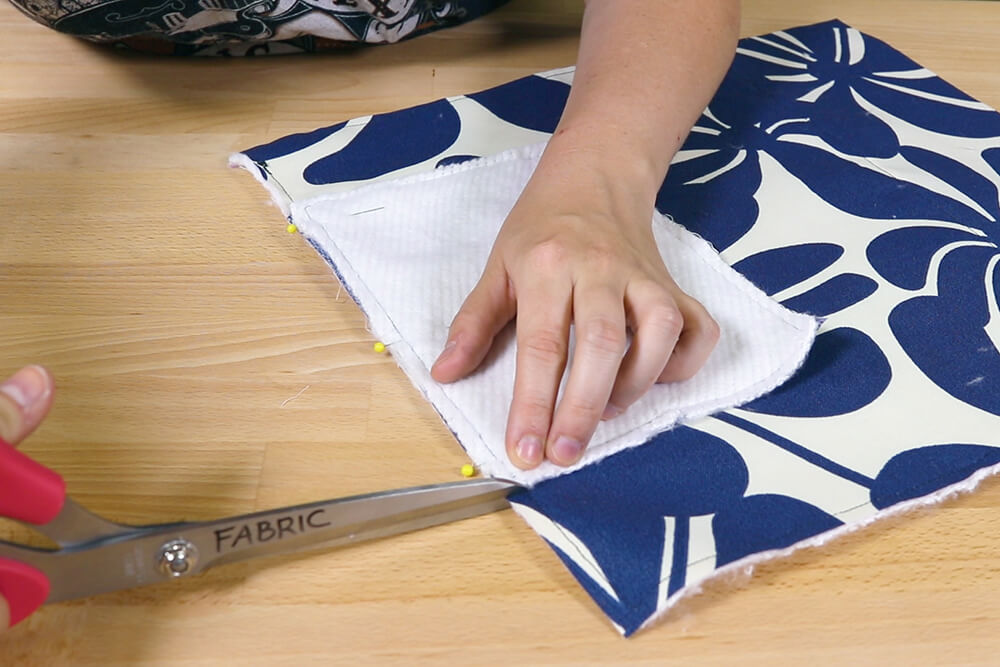
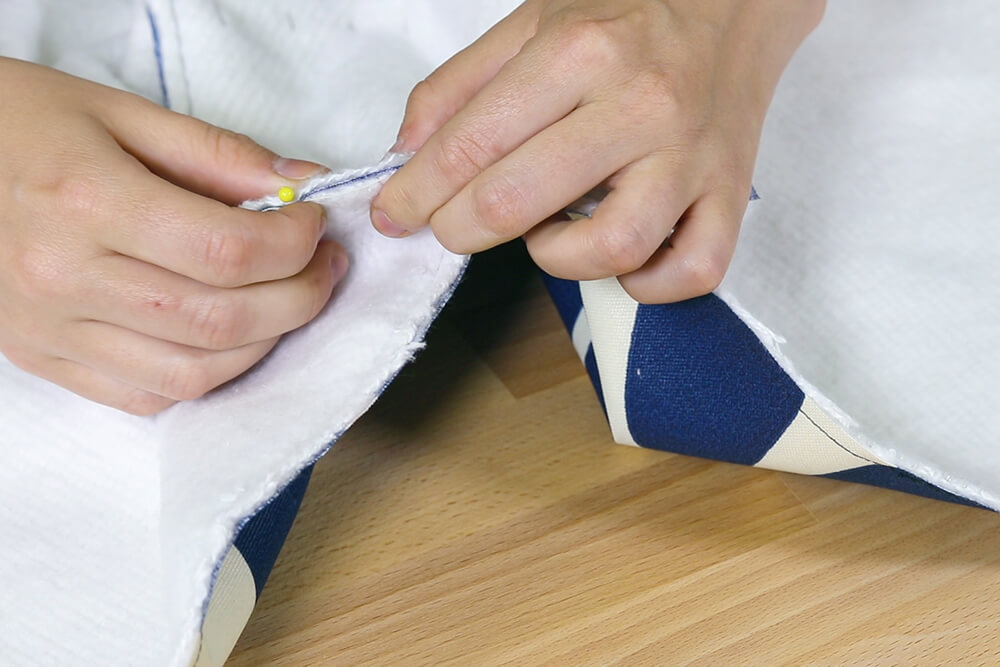
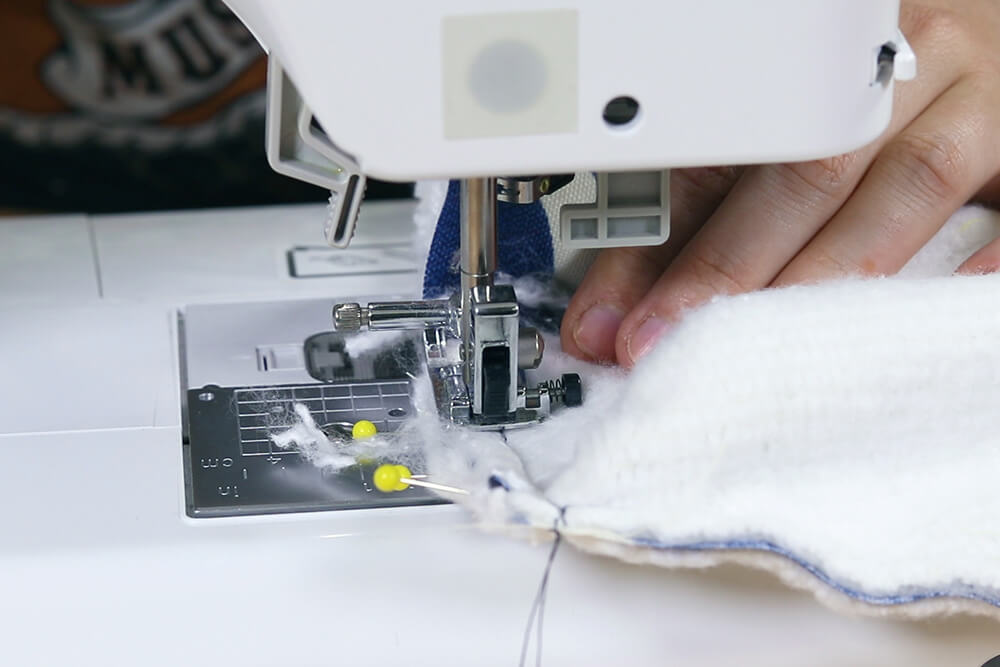
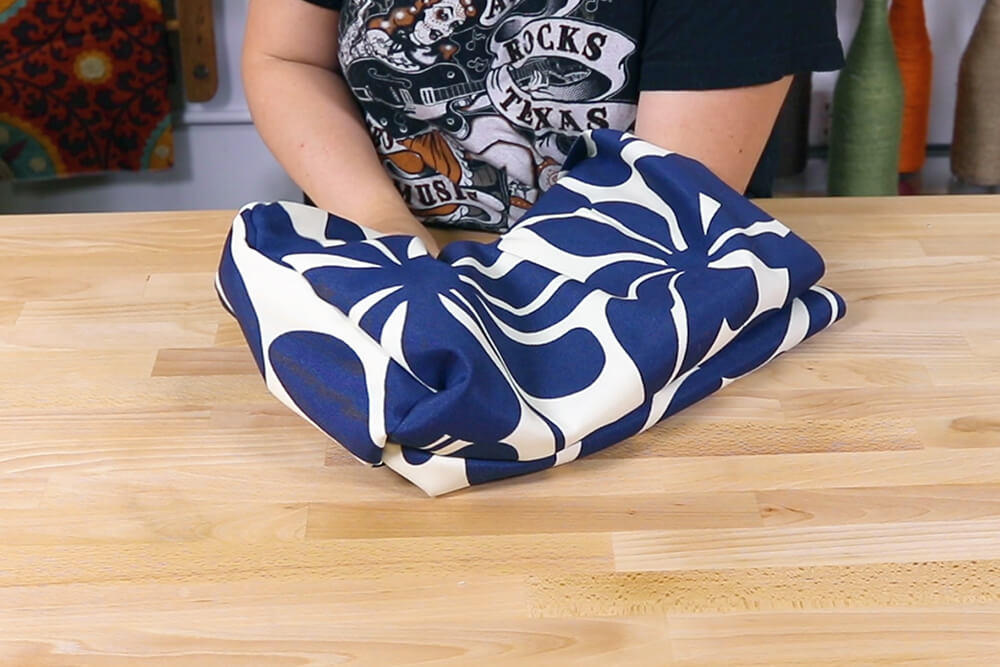
Place the 6″ x 8″ rectangle on the bottom of one of the larger pieces with the right sides facing together. Center it so that there is 3″ on each side. Pin together and make quarter inch snips on each side. Stitch with a quarter inch seam allowance along the bottom. Take the opposite end of the smaller rectangle and center it on the bottom of the right side of the other large piece. Make sure there is 3″ on each side. Pin together, snip on each side, and stitch with a quarter inch seam allowance.

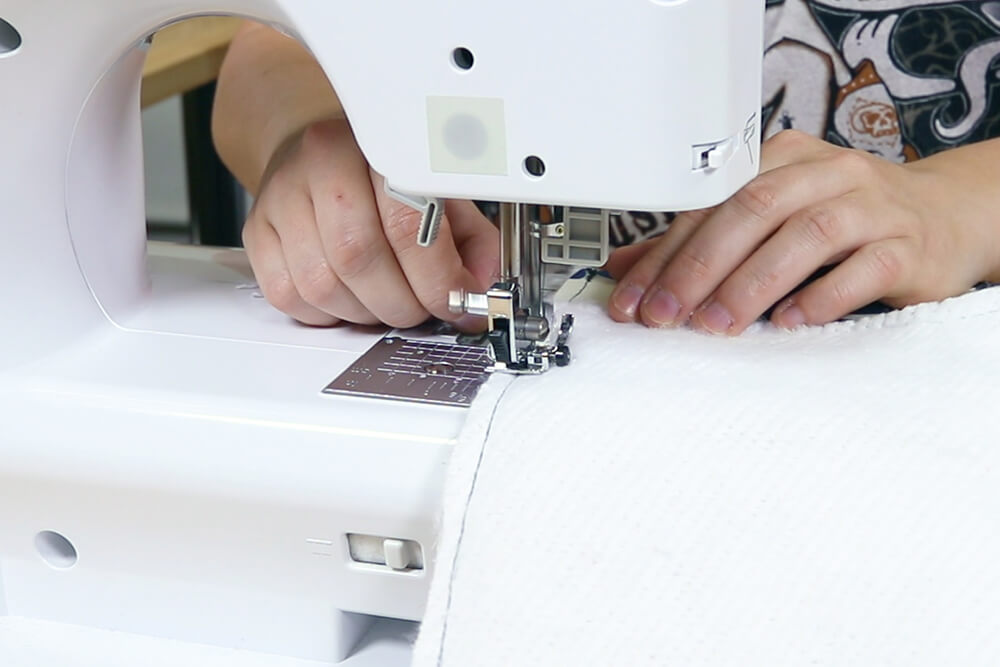
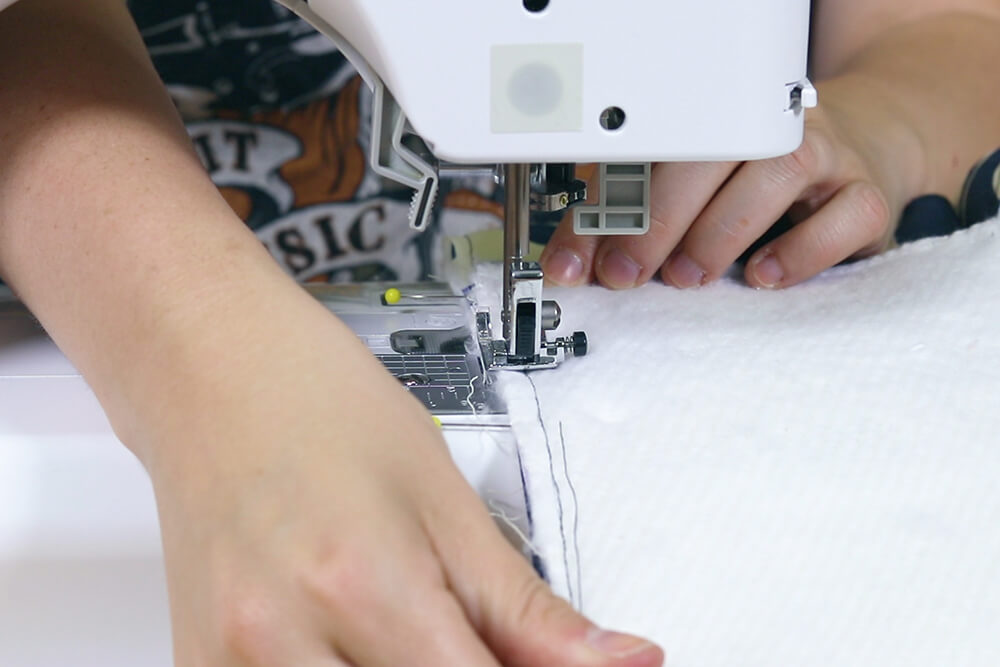
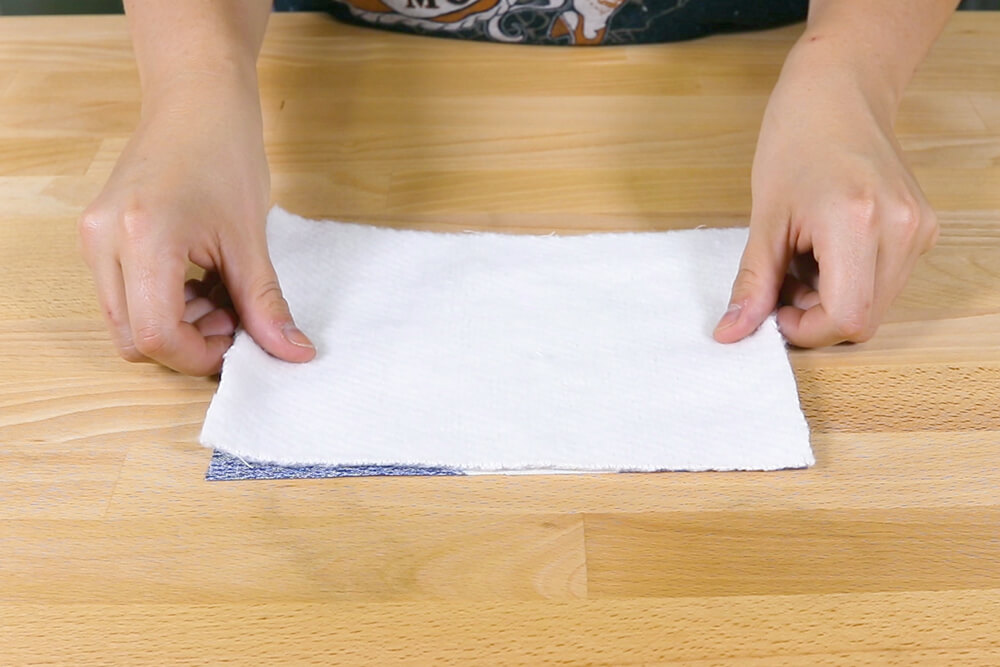
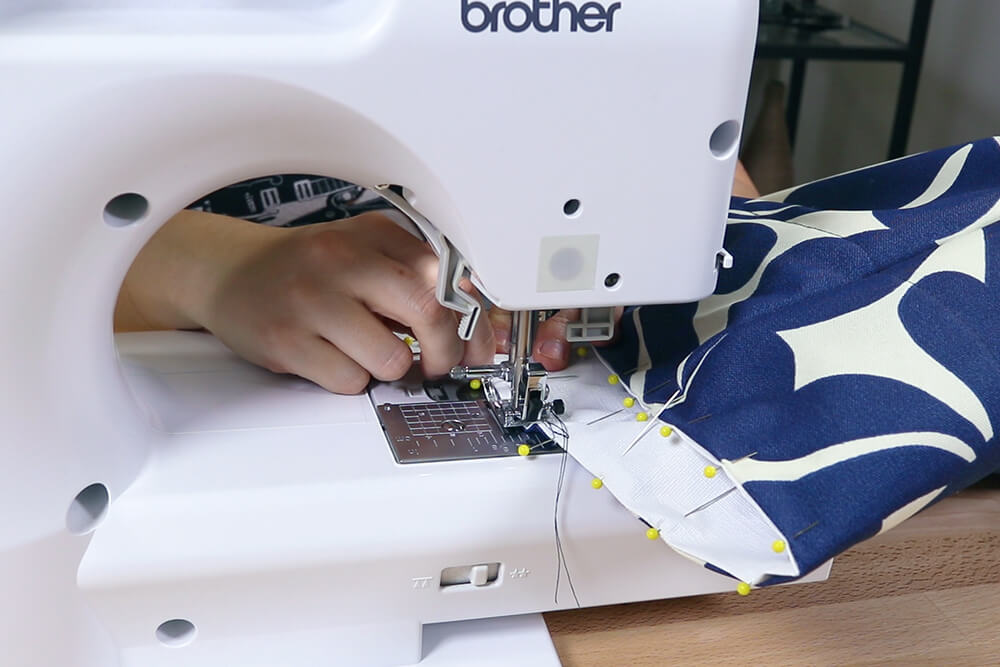
Fold the ends in and pin to the bottom piece on each side. Stitch with a quarter inch seam allowance leaving a quarter inch open on each end in the middle. Do this for both sides. Pin and stitch along the side seams. Repeat these steps to sew the lining pieces together.
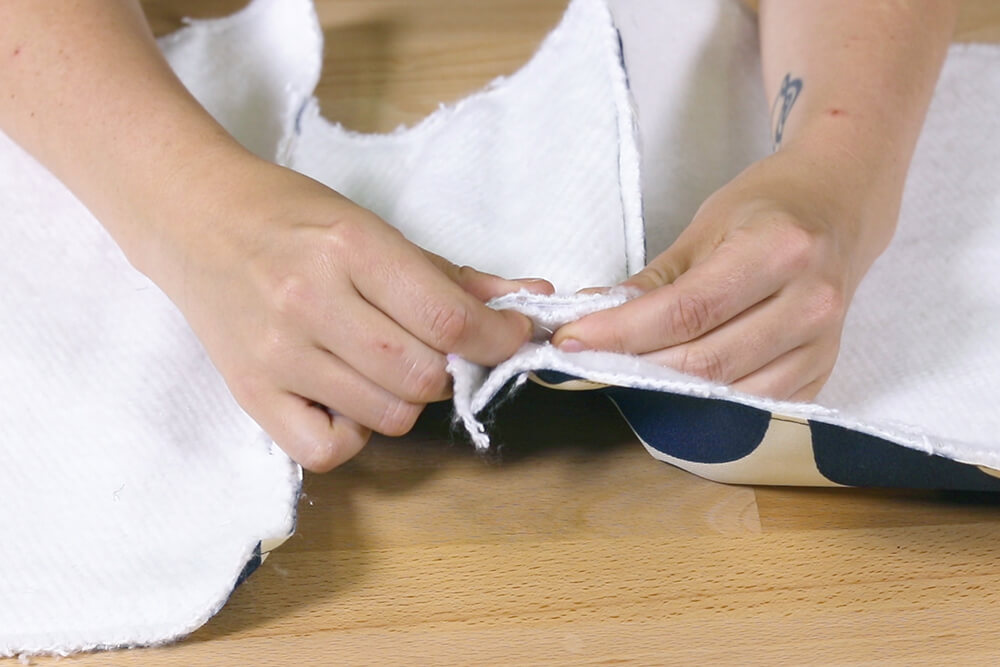
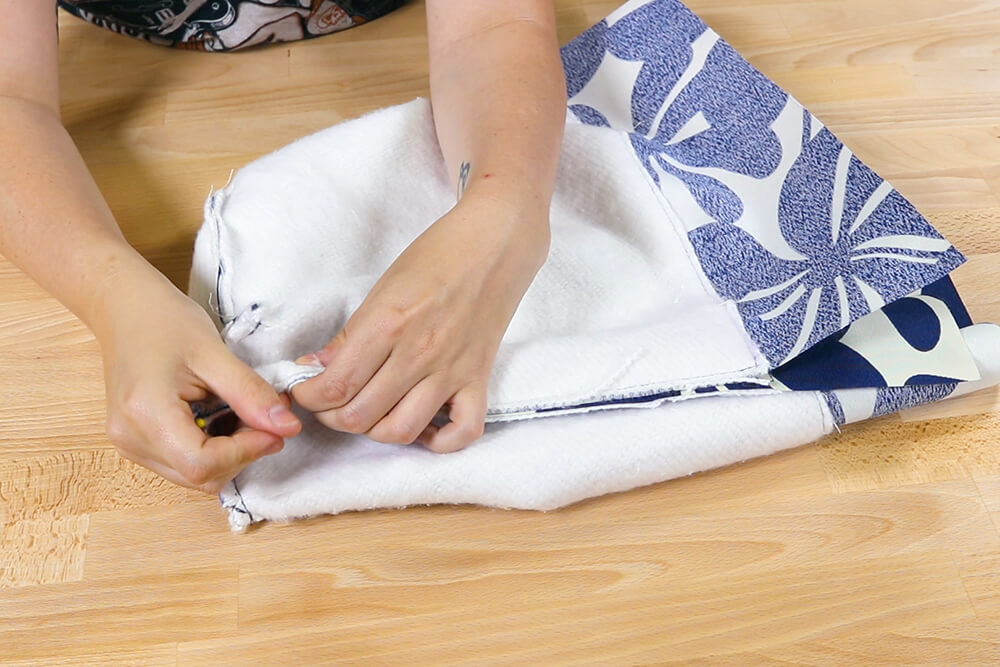
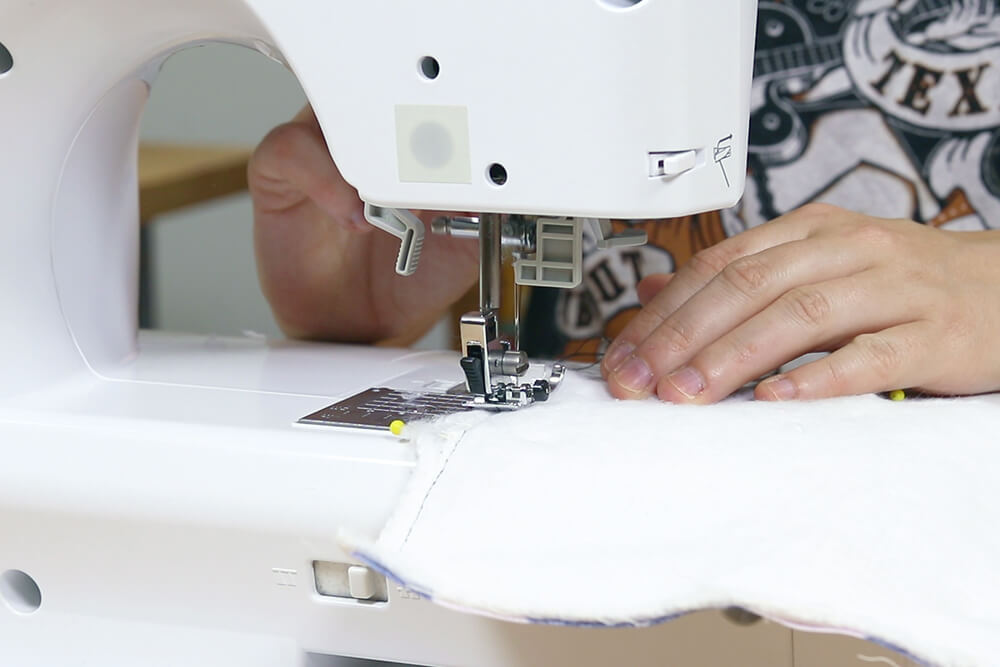
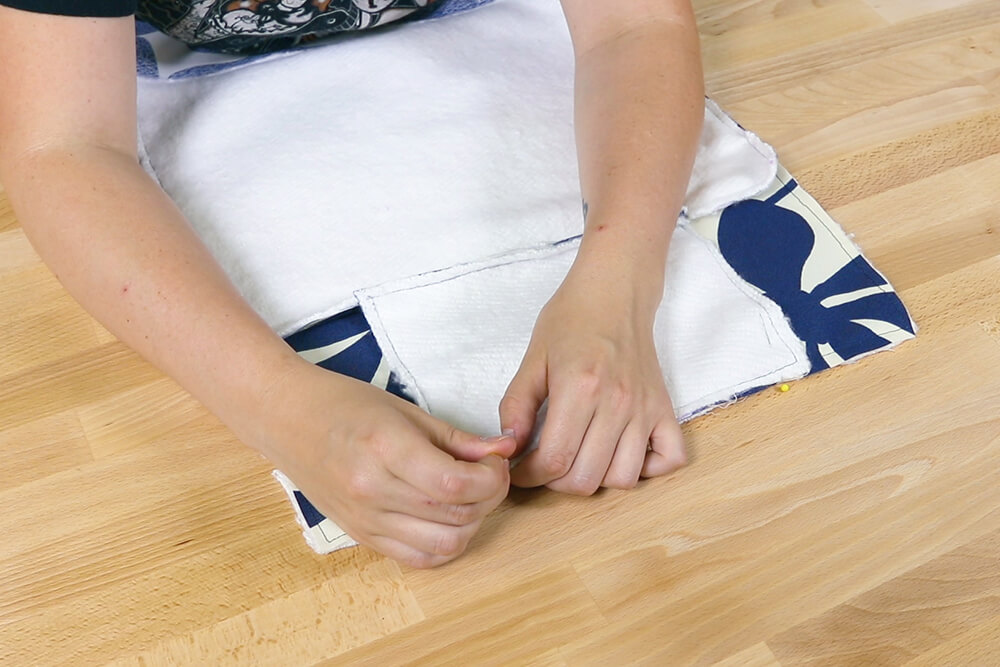
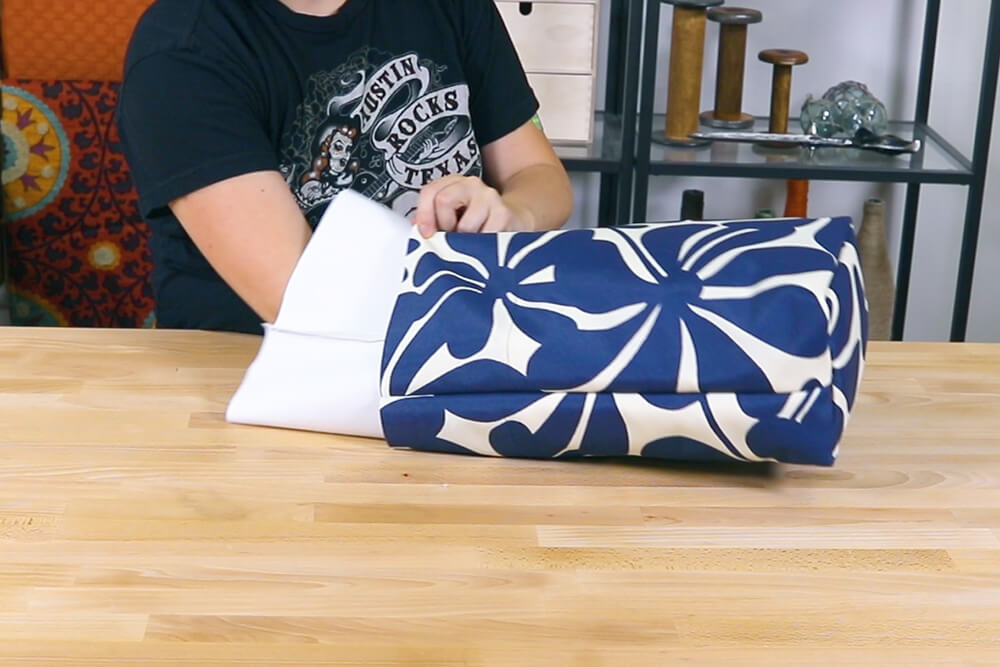
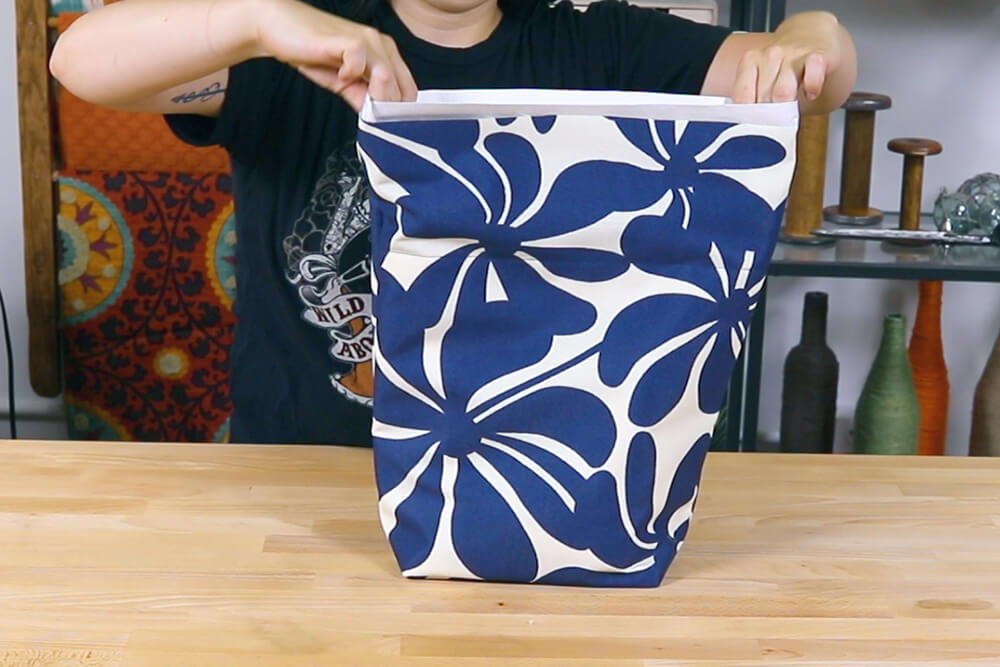
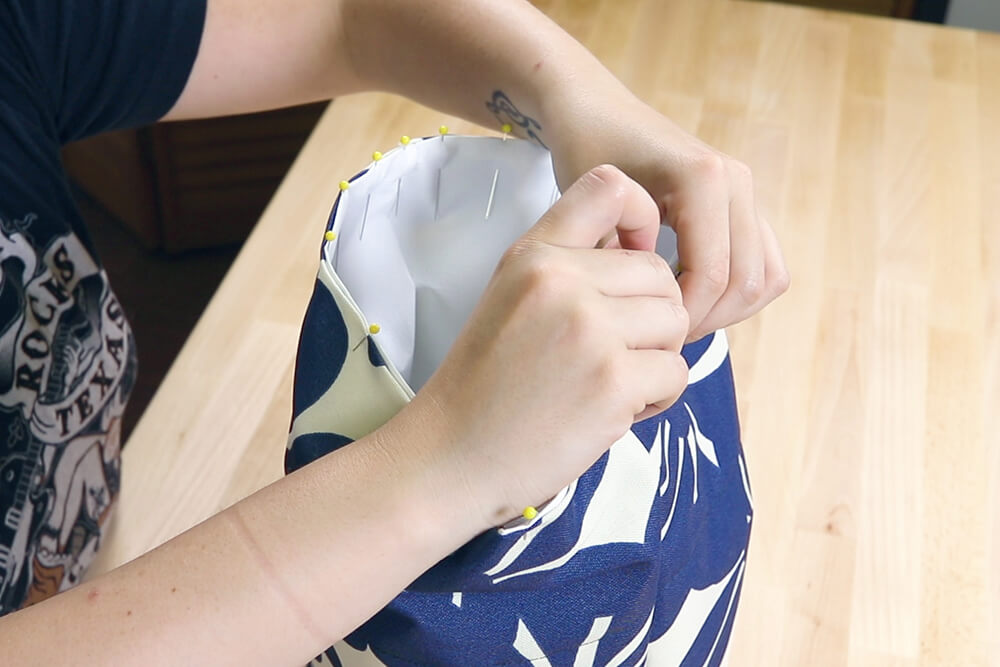
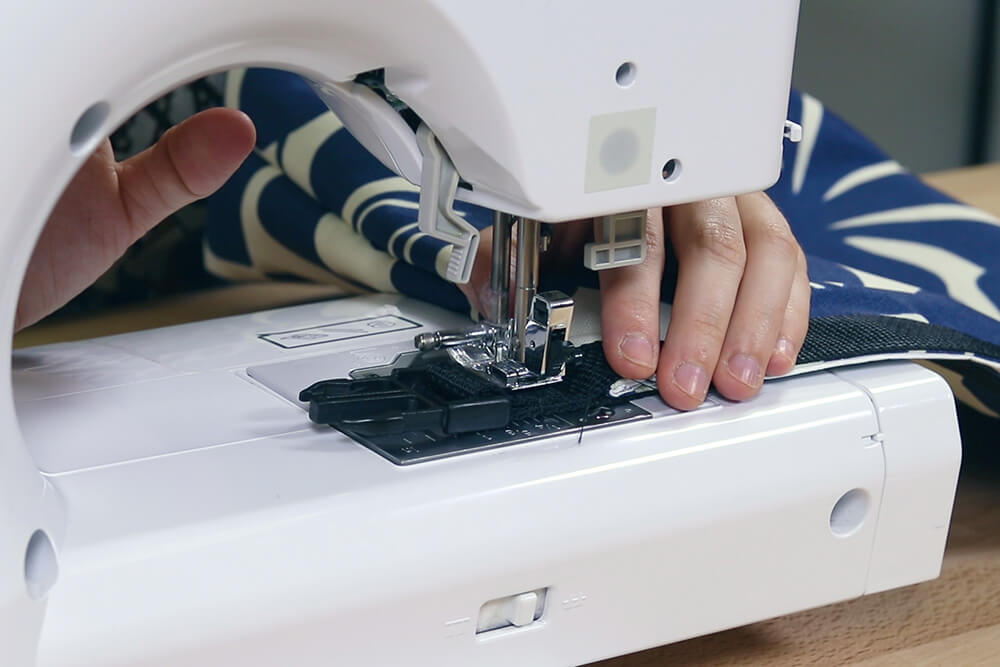
Step 4: Insert the lining
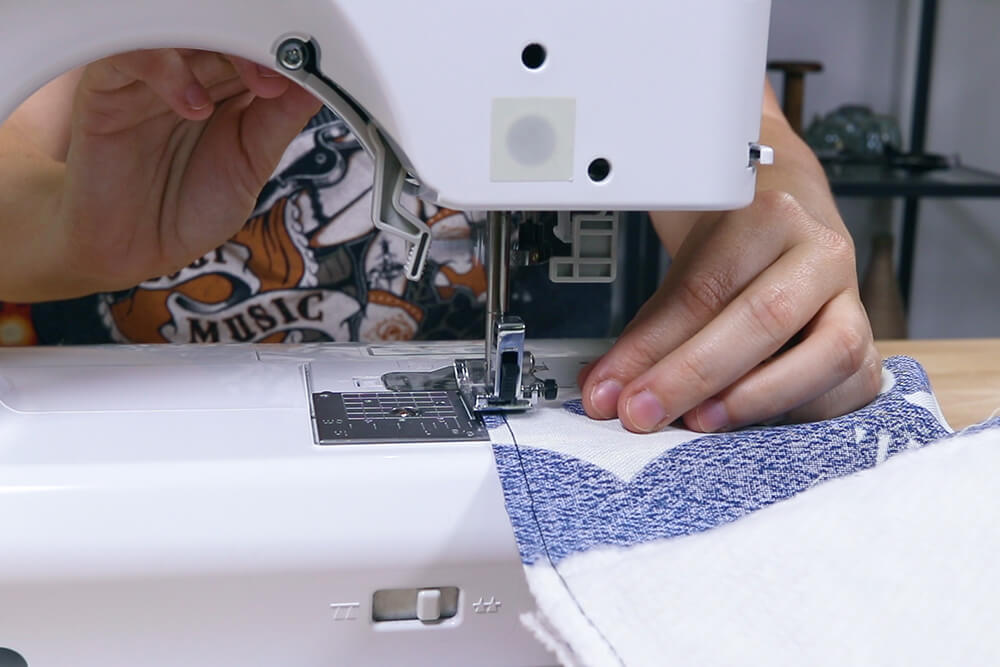
Turn the outer piece to the inside and insert the lining. At the top fold the ends of the lining and the outside fabric inwards a quarter inch and pin. Stitch with a 1/8″ seam allowance.
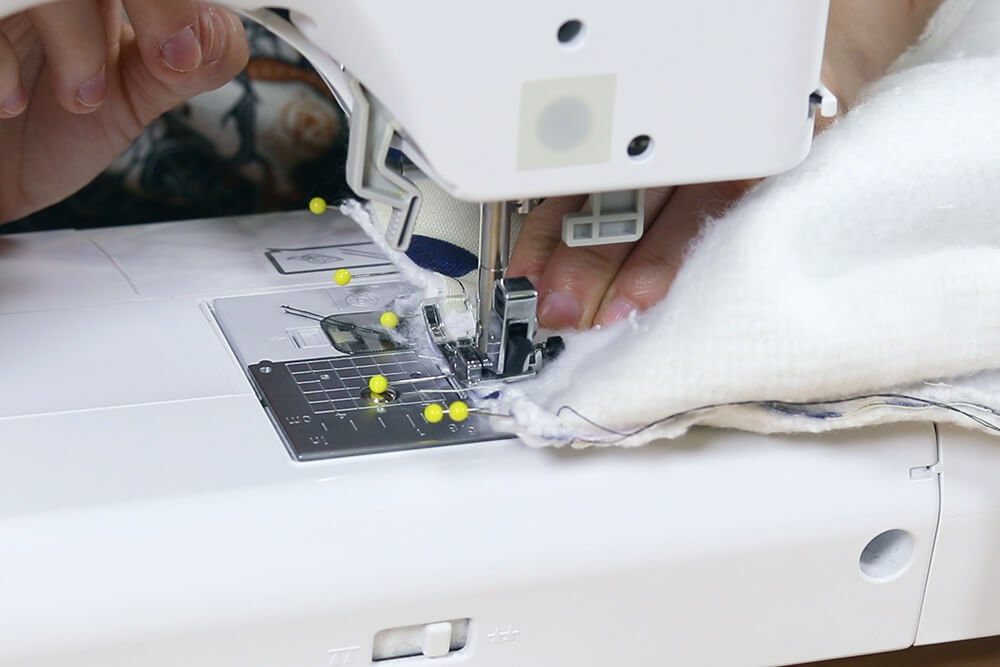
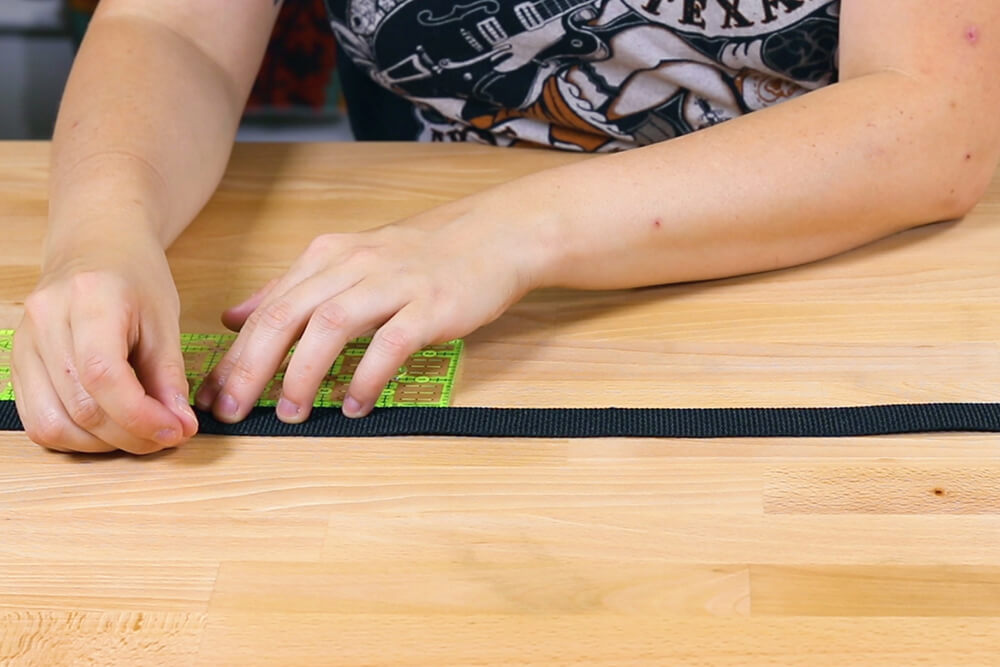
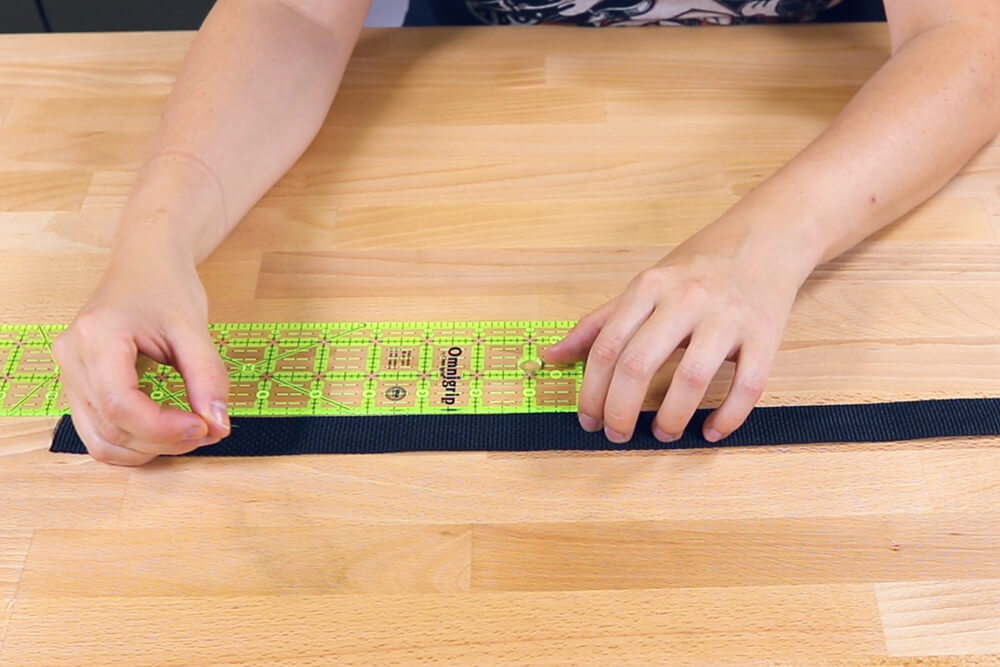
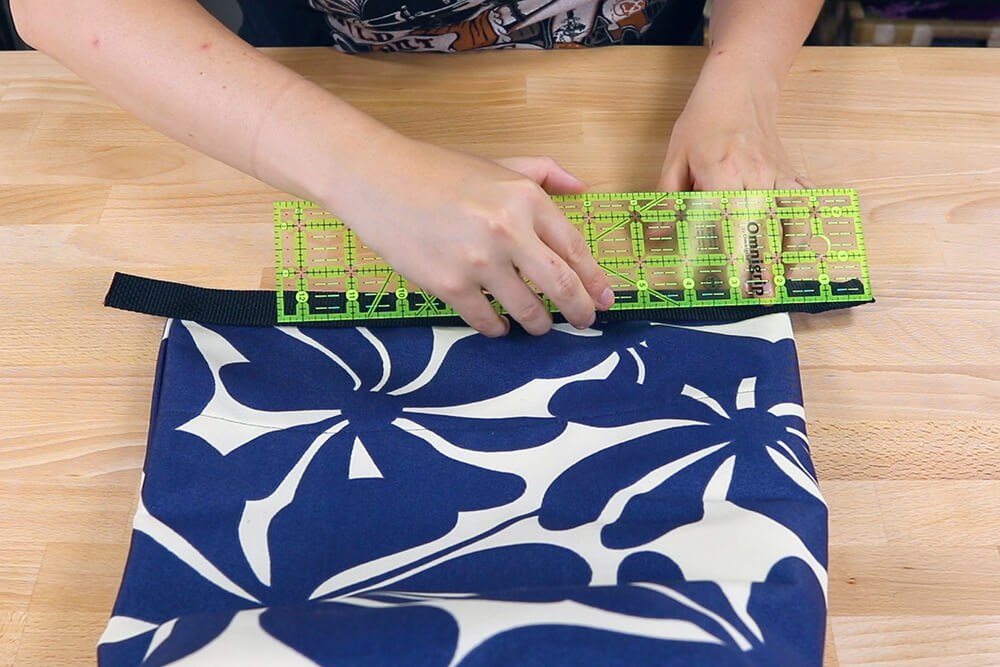
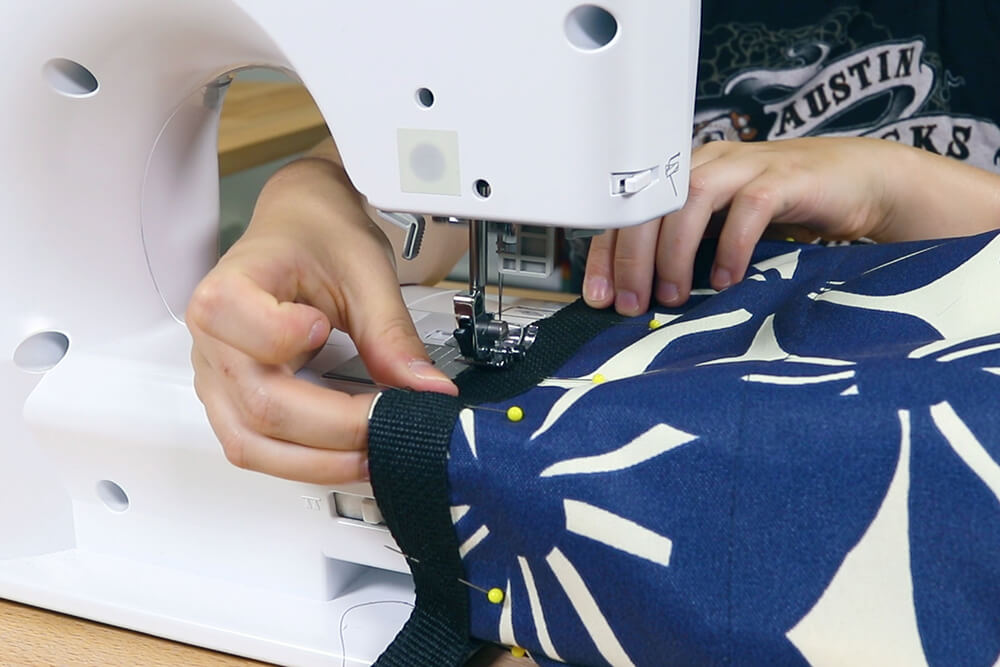
Step 5: Attach the webbing and buckle
Measure and cut two pieces of webbing. One should be 16″ long and the other should be 20″ long. On the longer strip, fold the ends over a 1/2″ and stitch.
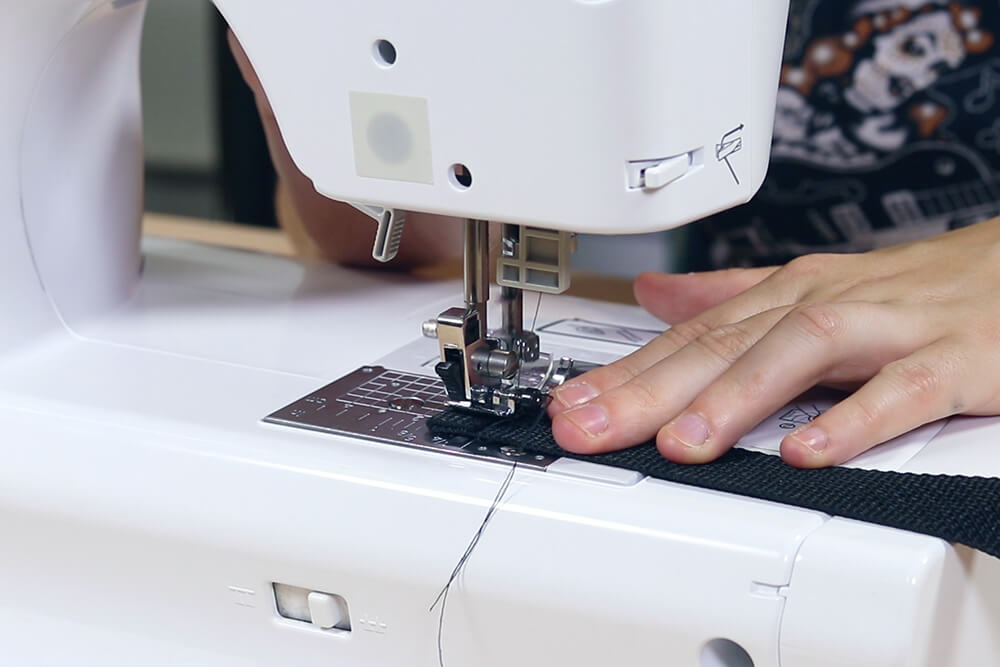
Place the shorter piece on one side of the bag and pin. Make sure there’s an inch and a half on both ends. On the other side, pin the longer piece along the top. Make sure there’s 3 1/2″ on each end.
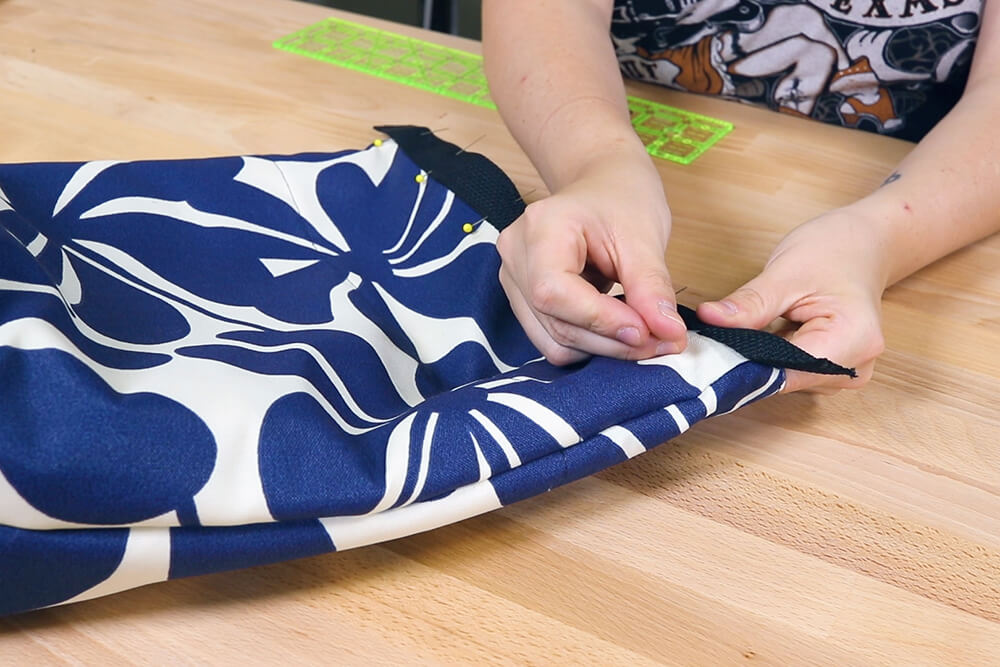
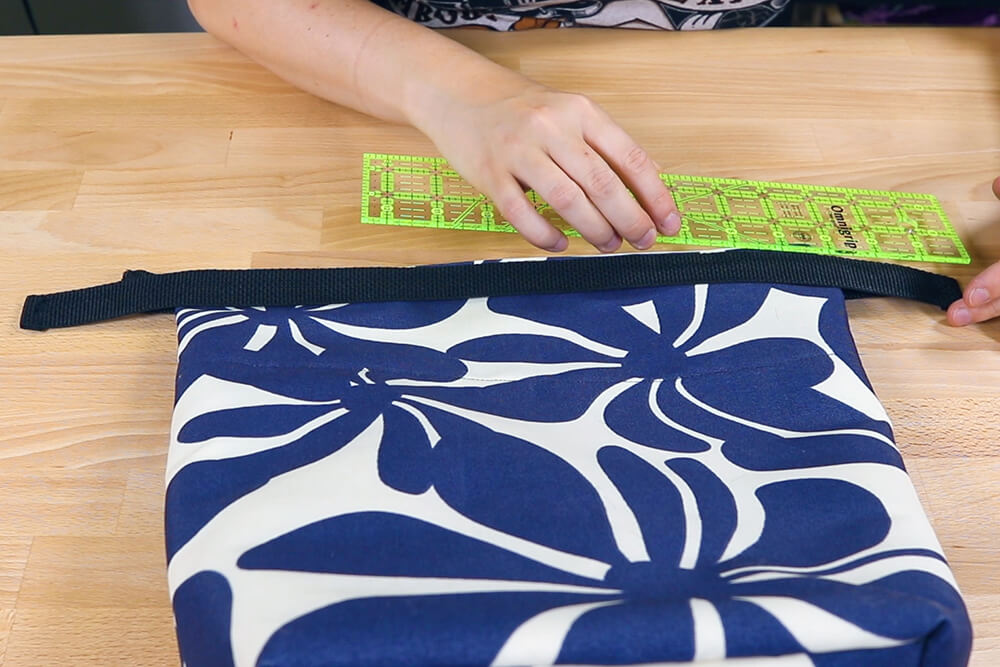
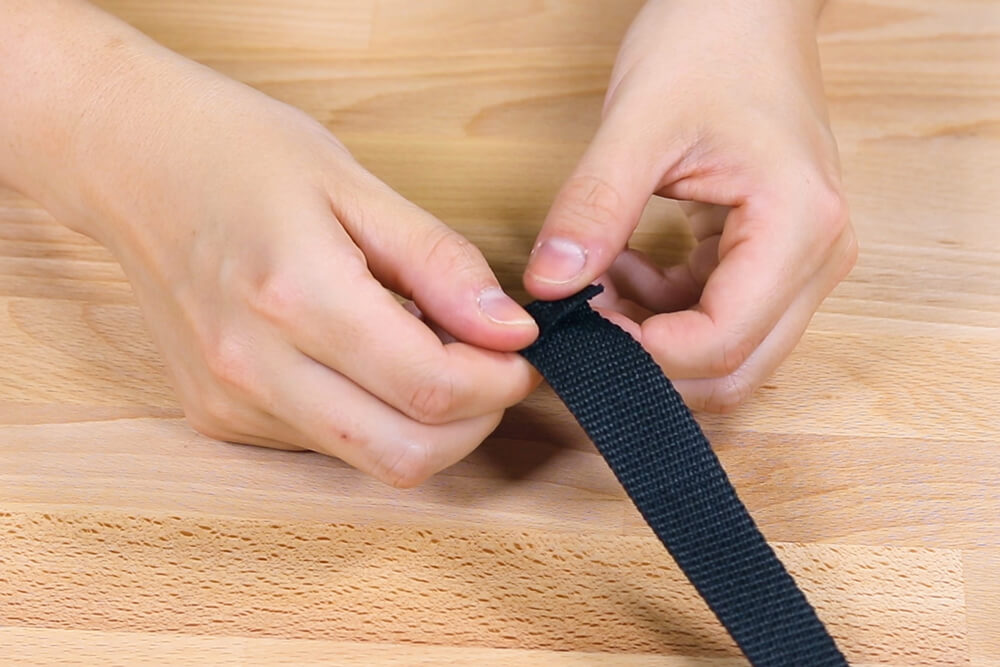
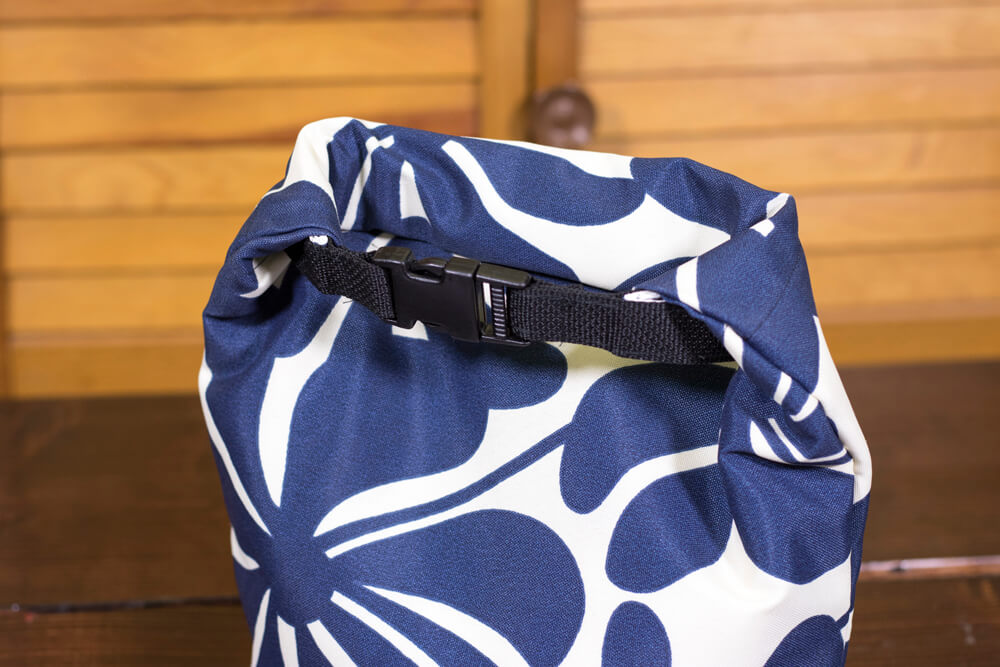
Stitch the ends of the webbing together at the top and bottom of the strips. Then stitch the top and bottom of the webbing to the bag. Slide each end through the bottom of the buckle pieces. Fold the ends over about an inch and stitch. The lunch bag is now finished.


Want to see more outdoor fabric? Click here!